AAHC supports both the English and Swedish languages for each of the UI and report elements. For better organization and navigation, AAHC groups each language elements under the respective categories.
To set up the language of an element:
Select Languages from the left navigation bar.
The Languages page lists each element in a table with its English term and the corresponding Swedish translation.
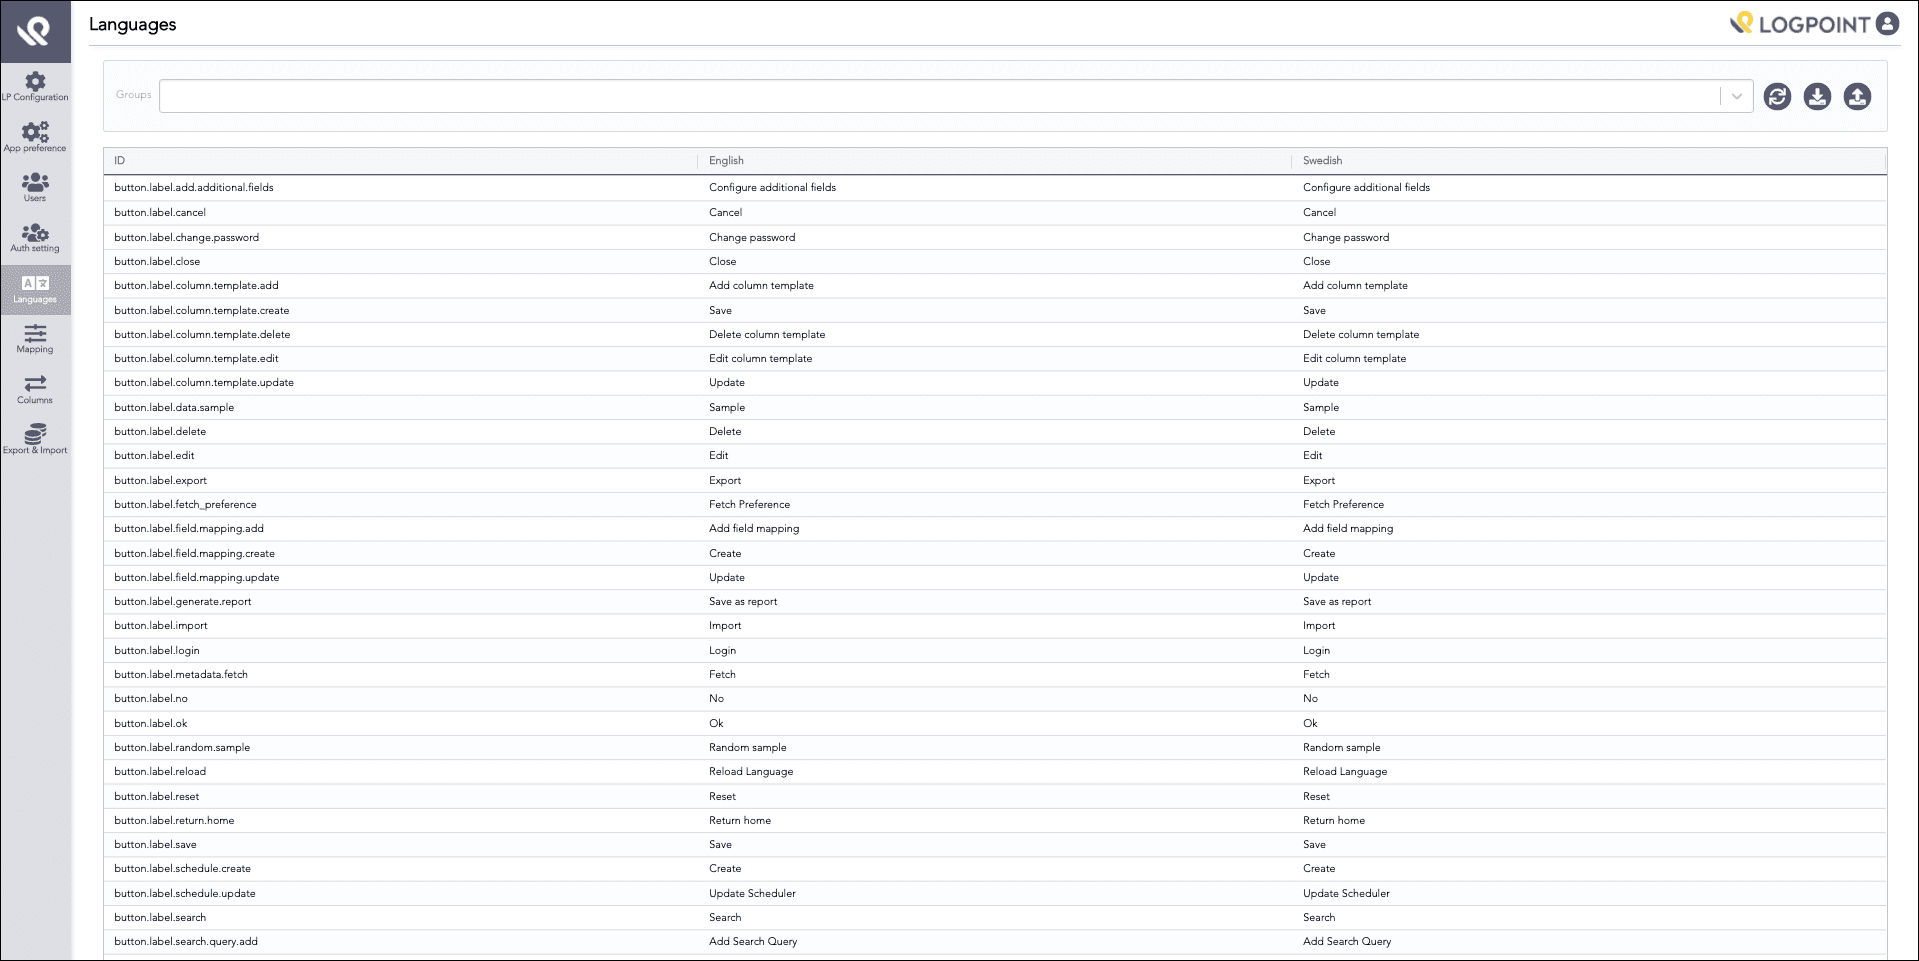
Languages
Locate the element in the table.
Select the term to change.
Change the term as required.
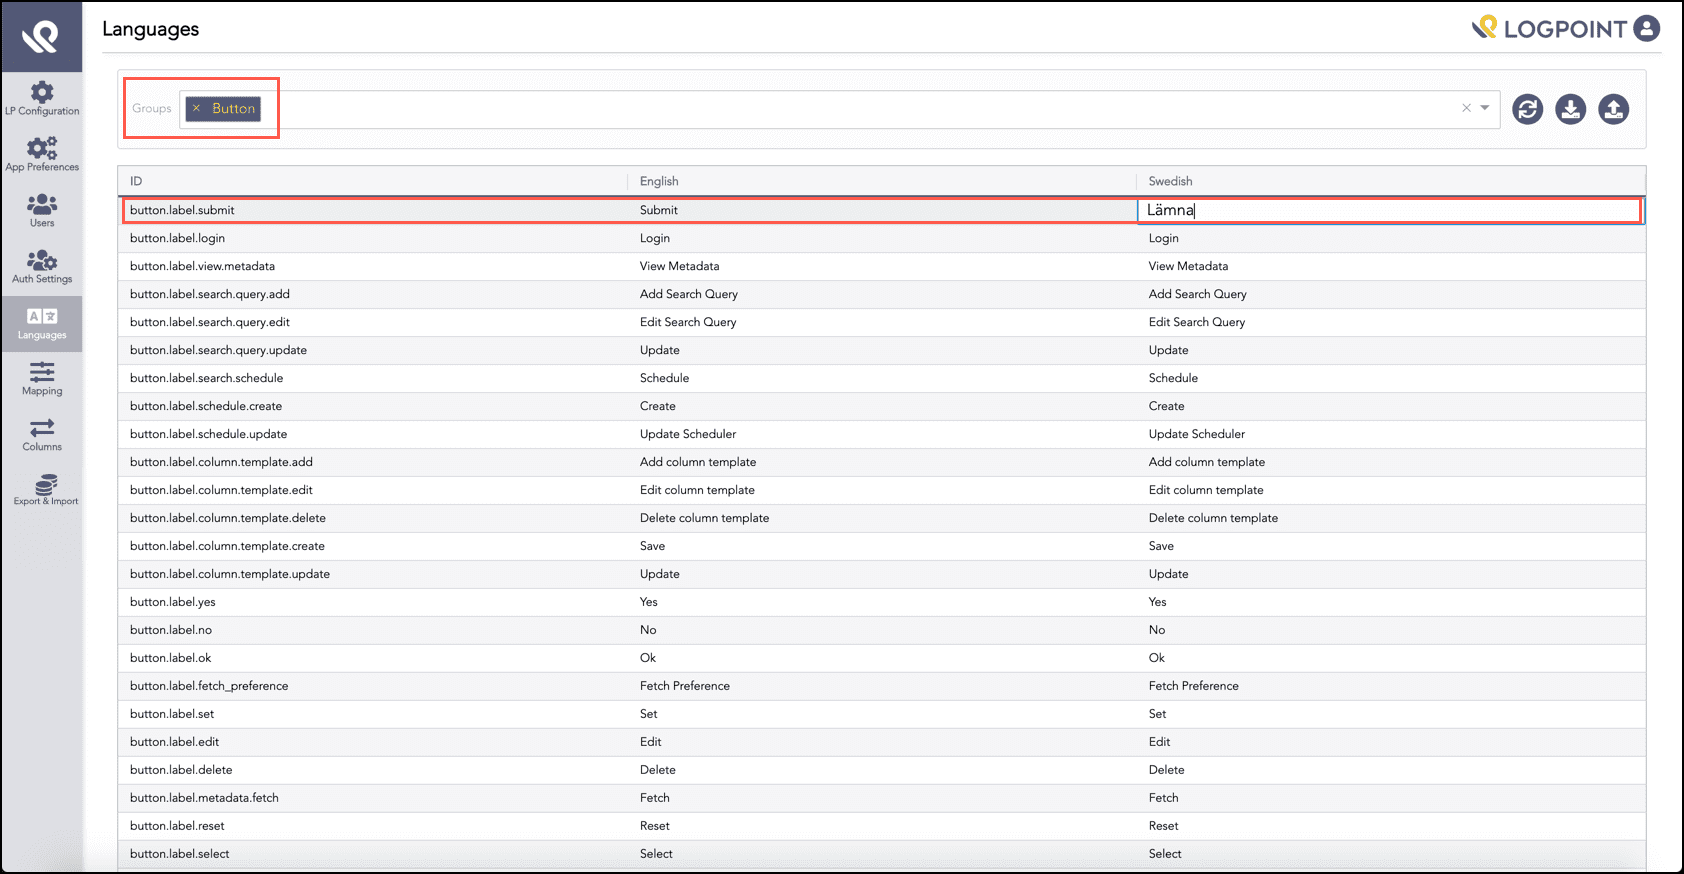
Changing the Swedish Term for the button.label.submit Element
Warning
For the values of some UI and report elements, the application uses certain placeholders (written in all caps). You must not translate these placeholders. For example, the report.generated.date element has the value Generated at : GENERATED_DATE, where GENERATED_DATE is a placeholder for the date of the report generation. So, while translating the value for the report.generated.date element to Swedish, you must translate Generated at only and keep GENERATED_DATE as it is.
Click the Reload Language icon on the top right corner to update the change.
Note
The application supports Swedish NZE characters.
Once you set up the language configurations, you can use the same configurations in other AAHC machines. To do this, you can download the translation file from one machine and import it to the required machines.
Select Languages from the left navigation bar.
The Languages page lists each element in a table with its English term and the corresponding Swedish translation.
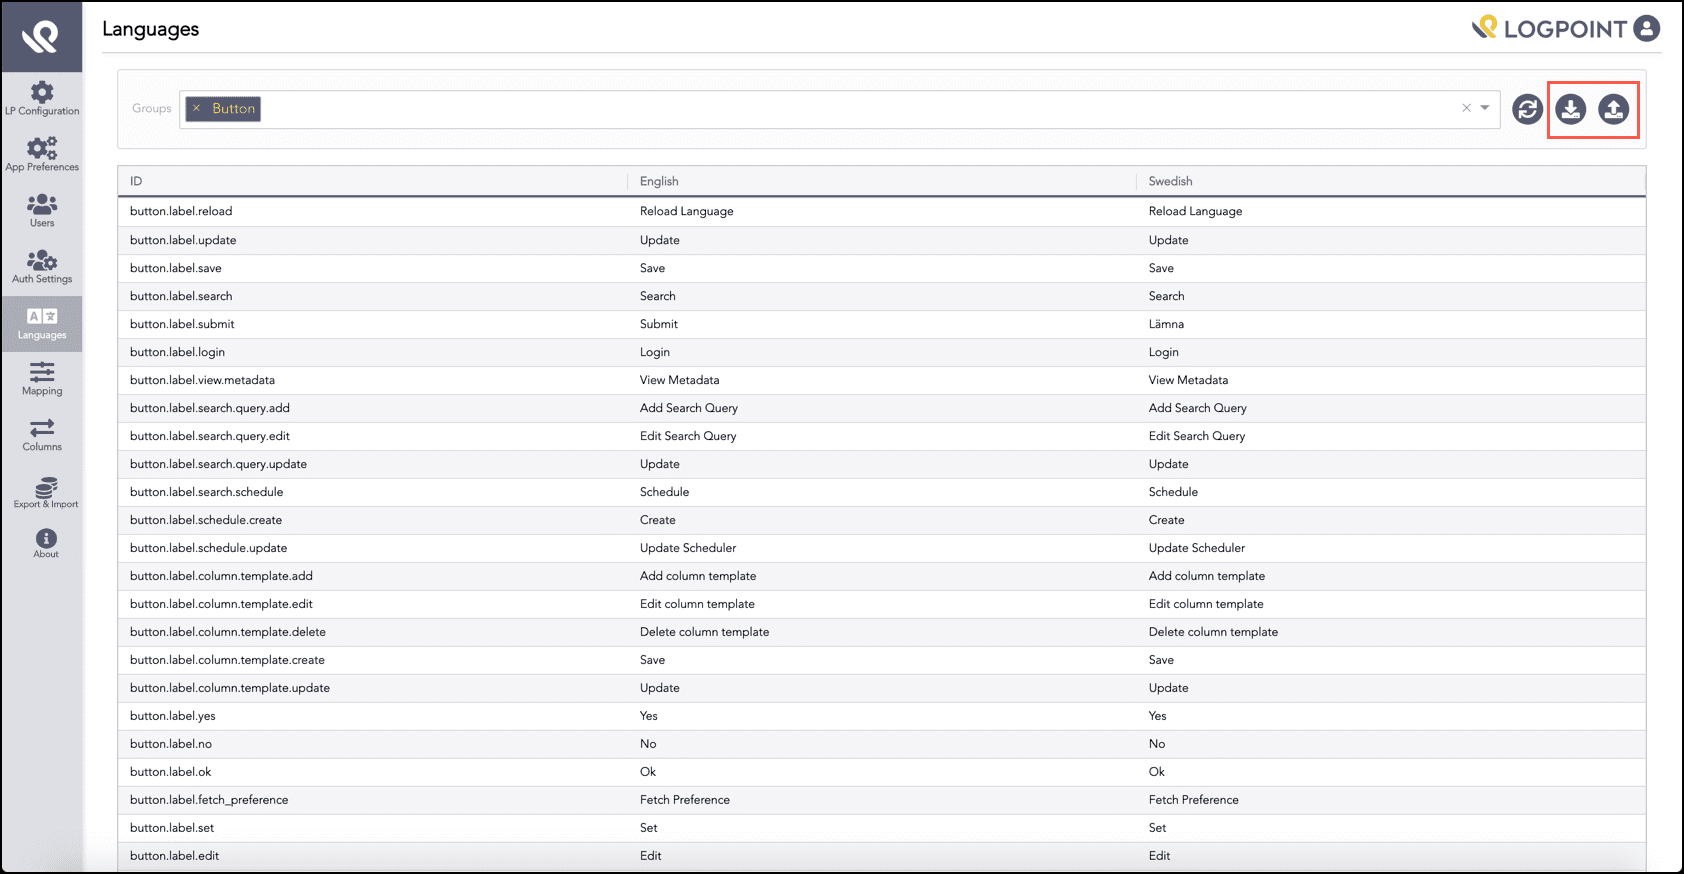
Downloading and Uploading the Languages Configurations
Click the Download icon at the top right corner of Languages. The translation file is exported in CSV.
Go to the required machines where you want to use the translation.
Click the Upload translation icon at the top right corner of the Language page to open the Import translations panel.
Click Select to browse for the translation file.
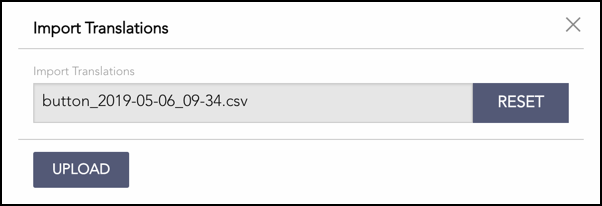
Uploading Translations
You can click Reset to change the selected translation file.
Click Upload.
Warning
The newly uploaded language translation replaces all the existing translation. So, make sure to upload the correct translation.
Click the Reload Language icon at the top right corner of the Language page to reflect the change.