Deploy in the following order:
Fabric Server AMI
API Server AMI
LPSM AMI
Note
You must deploy the Fabric Server AMI and install the Fabric applications before deploying the API Server AMI.
You must plan the IP addresses for the AMIs before configuring security groups.
Zpool related SNMP and diagnostic metrics are unavailable for the Director AMIs.
Log in to AWS Management Console.
In All services, find and select EC2.
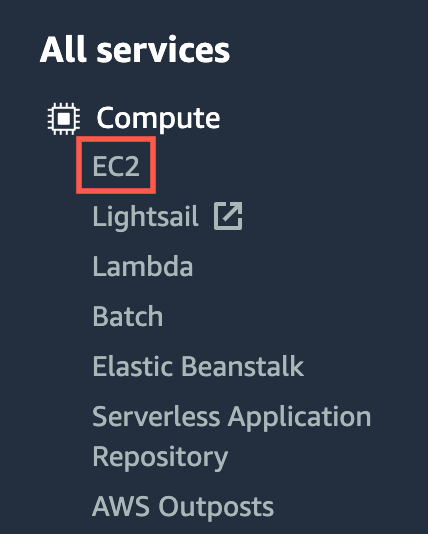
All Services
In Network & Security, find and select Security Groups.
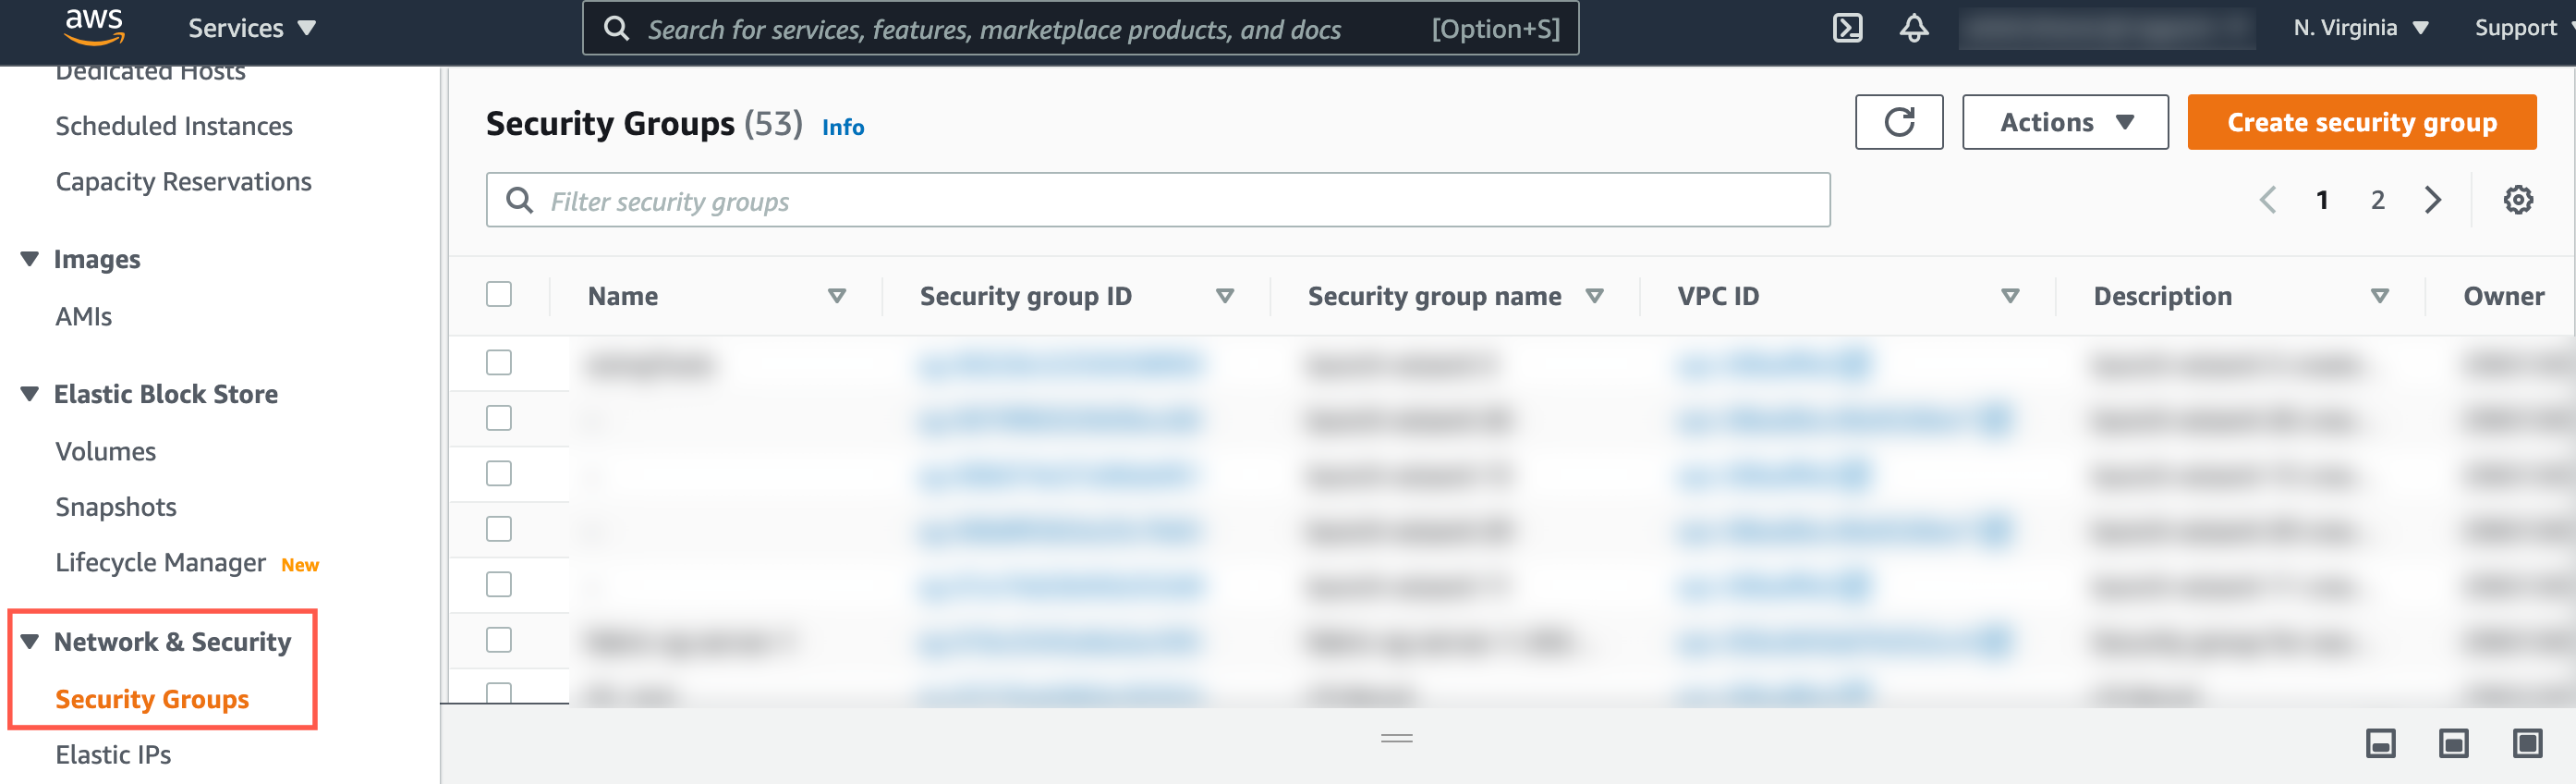
Network & Security
Click Create security group.
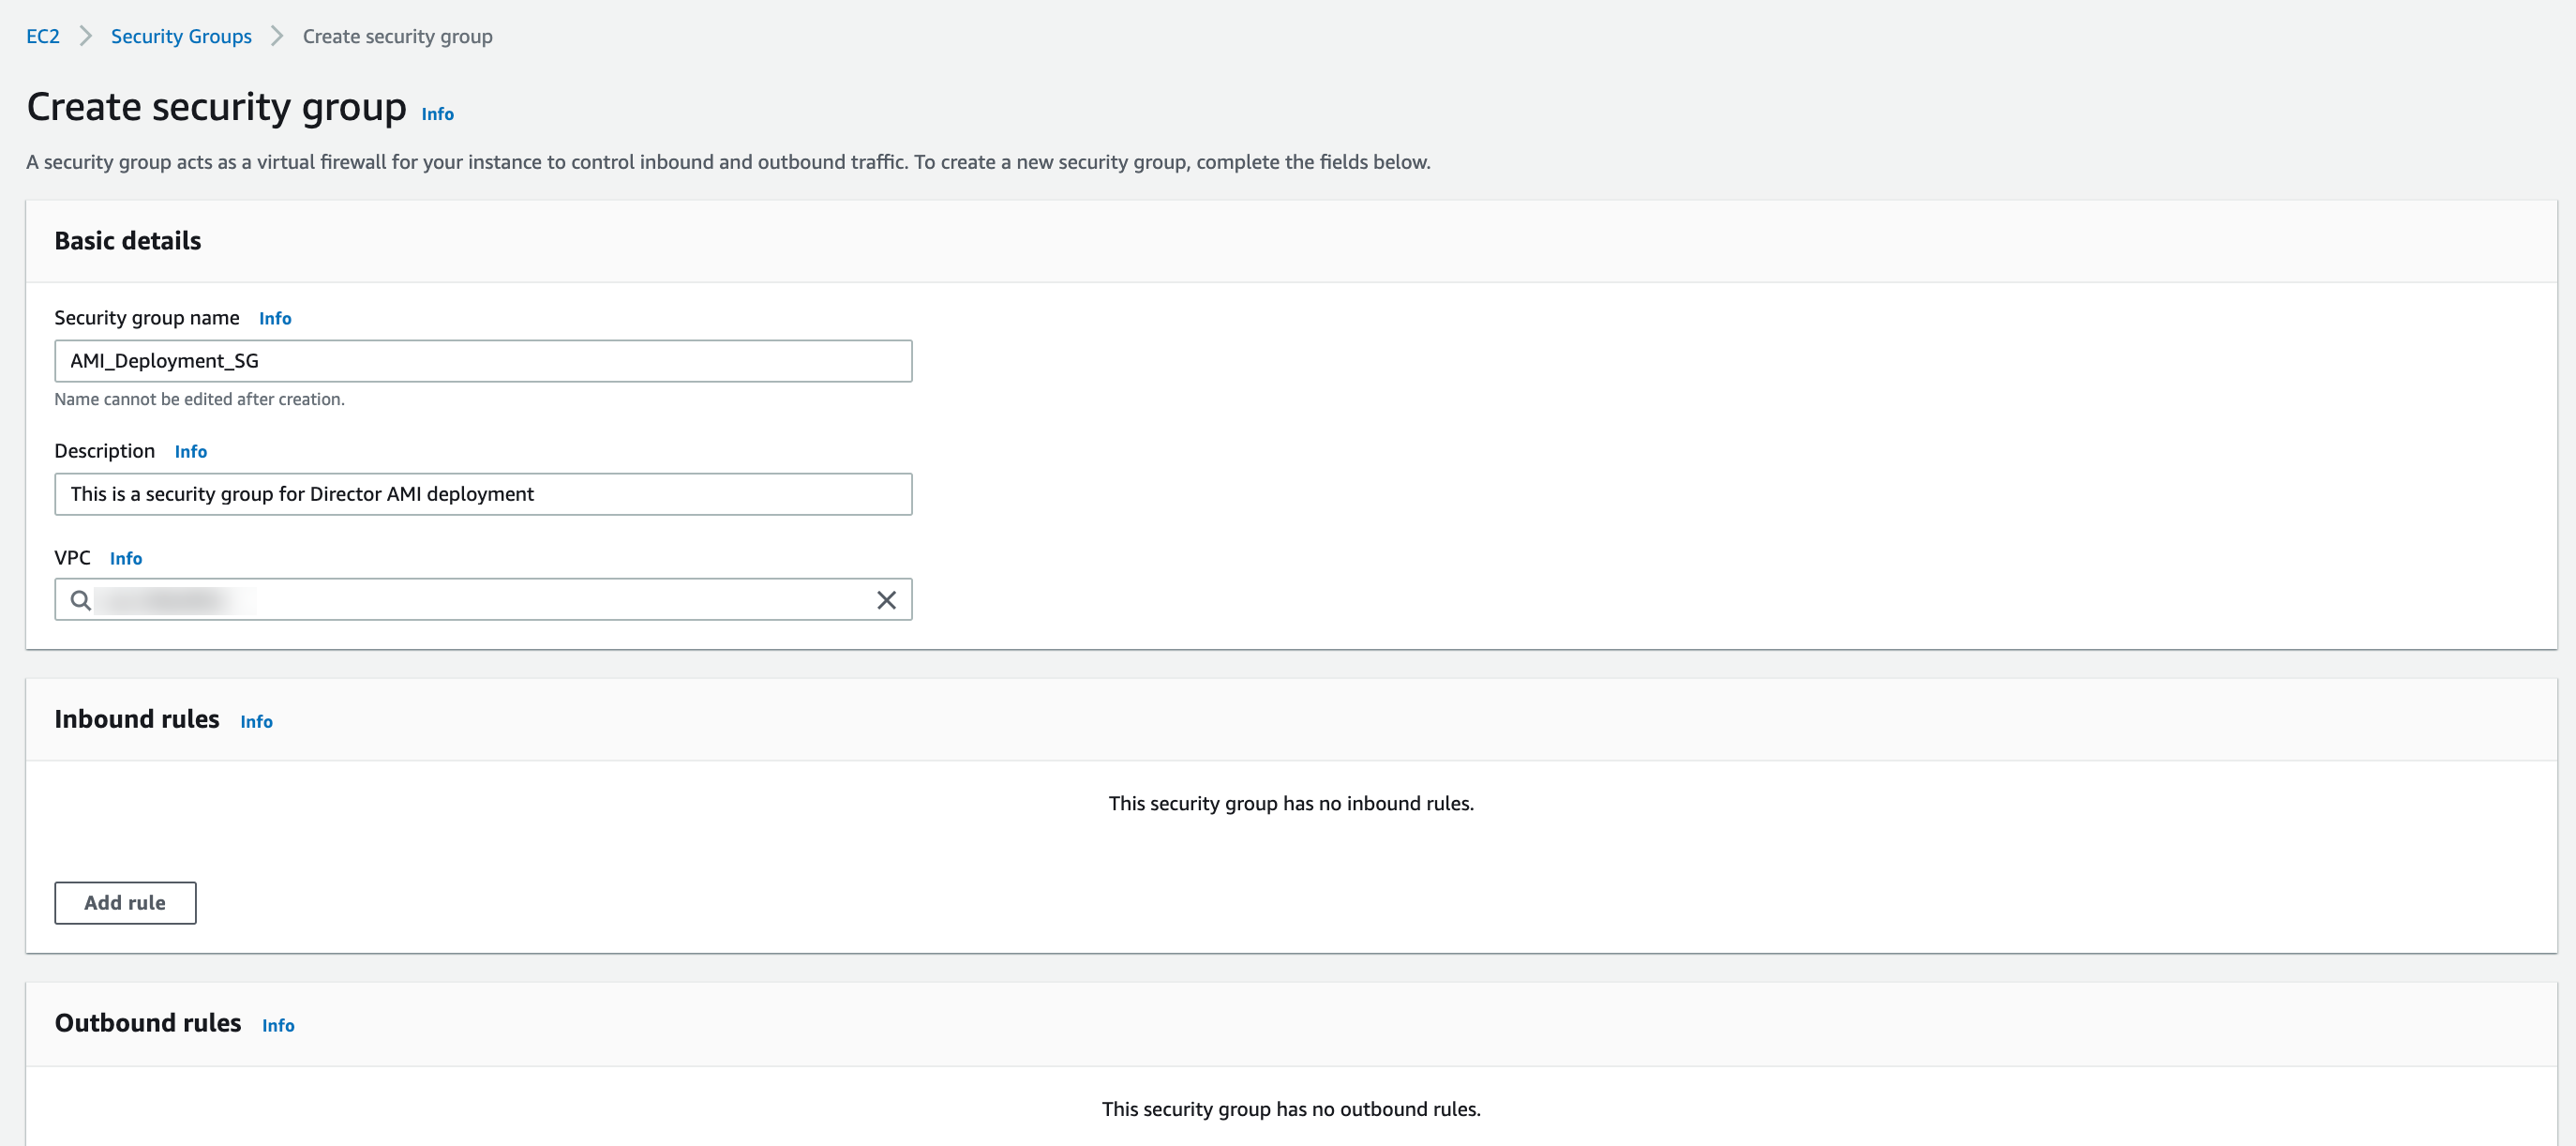
Creating a Security Group
Enter a Security group name and a Description. You cannot edit them once you create the security group.
Search and select the security group’s VPC (Virtual Private Cloud).
Add rule for Inbound rules and Outbound rules for the Director AMIs:
Inbound rules:
Inbound Rules for a Fabric Server in the Standalone Mode¶ Type
Protocol
Port range
Source (Custom)
Description
All ICMP - IPv4
ICMP
All
Appropriate CIDR blocks, security groups, IP addresses, or prefix lists
Ping the Fabric Server from the specified sources.
Custom TCP
TCP
22
Appropriate CIDR blocks or IP addresses
Connect to the Fabric Server using SSH from the API Server, LPSM, user’s machine, and LogPoint instances.
Custom UDP
UDP
1194
Appropriate CIDR blocks or IP addresses of the API Server, LPSM, and LogPoint instances
Communicate with the Fabric Server.
Inbound Rules for Fabric Server Instances in the Cluster Mode¶ Type
Protocol
Port range
Source (Custom)
Description
All ICMP - IPv4
ICMP
All
Appropriate CIDR blocks, security groups, IP addresses, or prefix lists
Ping the Fabric Server from the specified sources.
Custom TCP
TCP
22
Appropriate CIDR blocks or IP addresses
Connect to the Fabric Server using SSH from the API Server, LPSM, user’s machine, and LogPoint instances.
Custom UDP
UDP
1194
Appropriate CIDR blocks or IP addresses of API Server, LPSM, and LogPoint instances
Communicate with the Fabric Server.
Custom TCP
TCP
88, 464, 749, 750, 754, 2181, 2121, 8485, 9000, 10004, 10006, 50020, 50475, 51070, 2888, 3888
Appropriate CIDR blocks or IP addresses
Communicate with the Fabric Server instance from other Fabric Server instances.
Custom UDP
UDP
88, 464, 750
Appropriate CIDR blocks or IP addresses
Establish a connection to the Fabric Server instance from other Fabric Server instances.
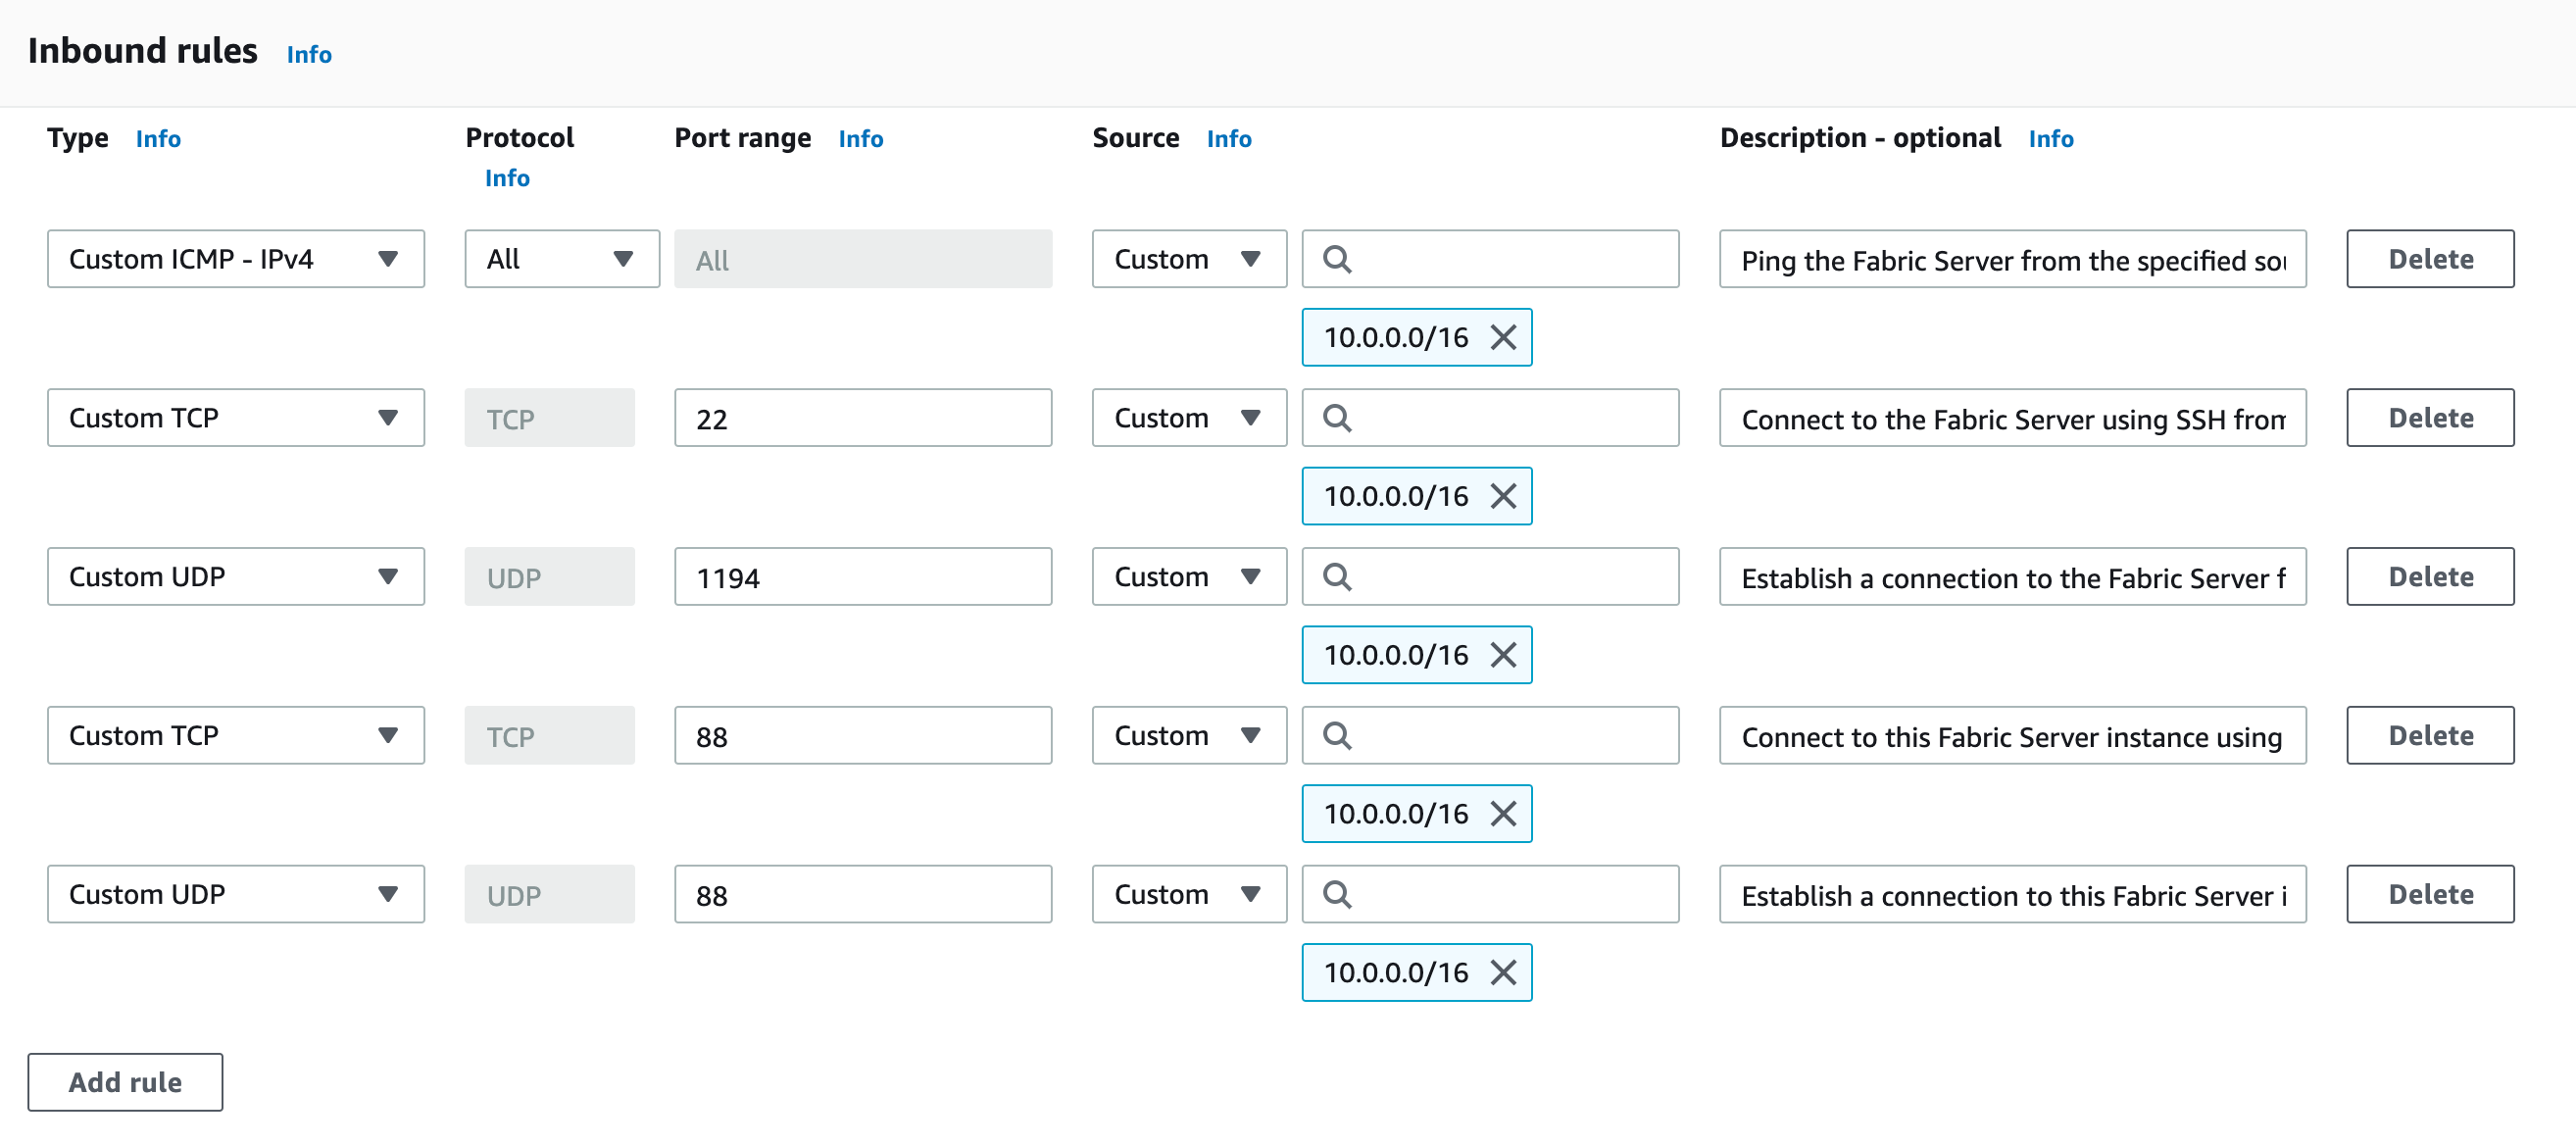
Adding Inbound Rules for Fabric Server
Inbound Rules for the API Server, LPSM, and LogPoint Instances in the Standalone Mode and the Cluster Mode¶ Type
Protocol
Port range
Source (Custom)
Description
All ICMP - IPv4
ICMP
All
Appropriate CIDR blocks, security groups, IP addresses, or prefix lists
Ping the clients (API Server, LPSM, and LogPoint instances) from the specified sources.
Custom TCP
TCP
22
Appropriate CIDR blocks or IP addresses
Connect to the clients (API Server, LPSM, and LogPoint instances) using SSH from the user machine and the Fabric Server.
Custom TCP
TCP
443
User machines’ IP addresses
Use clients’ (API Server, LPSM, and LogPoint instances) web services.
Outbound rules:
Outbound Rules for a Fabric Server Instance in the Standalone Mode¶ Type
Protocol
Port range
Destination (Custom)
Description
All ICMP - IPv4
ICMP
All
Appropriate CIDR blocks, security groups, IP addresses, or prefix lists
Ping the specified sources from the Fabric Server.
Custom UDP
UDP
123
Appropriate CIDR blocks or IP addresses
Connect to the NTP server.
Custom UDP
UDP
53
Appropriate CIDR blocks or IP addresses
Connect to the DNS server.
Custom UDP
UDP
1193
LogPoint support’s IP address
Connect to LogPoint support.
All traffic
All
All
Appropriate CIDR blocks or IP addresses of clients - API Server, LPSM, and LogPoint instances
Connect to API Server, LPSM, and LogPoint instances.
Outbound Rules for Fabric Server Instances in the Cluster Mode¶ Type
Protocol
Port range
Destination (Custom)
Description
All ICMP - IPv4
ICMP
All
Appropriate CIDR blocks, security groups, IP addresses, or prefix lists
Ping the specified sources from the Fabric Server instances.
Custom UDP
UDP
123
Appropriate CIDR blocks or IP addresses
Connect to the NTP server.
Custom UDP
UDP
53
Appropriate CIDR blocks or IP addresses
Connect to the DNS server.
Custom UDP
UDP
1193
LogPoint support’s IP address
Connect to LogPoint support.
All traffic
All
All
Appropriate CIDR blocks or IP addresses of clients - API Server, LPSM, and LogPoint instances
Connect to API Server, LPSM, and LogPoint instances.
Custom TCP
TCP
88, 464, 749, 750, 754, 2181, 2121, 8485, 9000, 10004, 10006, 50020, 50475, 51070, 2888, 3888
Appropriate CIDR blocks or IP addresses
Communicate with other Fabric Server instances.
Custom UDP
UDP
88, 464, 750
Appropriate CIDR blocks or IP addresses
Establish a connection with other Fabric Server instances from this instance.
Outbound Rules for the API Server, LPSM, and LogPoint Instances in the Standalone Mode and the Cluster Mode¶ Type
Protocol
Port range
Destination (Custom)
Description
All ICMP - IPv4
ICMP
All
Appropriate CIDR blocks, security groups, IP addresses, or prefix lists
Ping the clients from the specified sources.
Custom UDP
UDP
123
Appropriate CIDR blocks or IP addresses
Connect to the NTP server.
Custom UDP
UDP
53
Appropriate CIDR blocks or IP addresses
Connect to the DNS server.
Custom UDP
UDP
1193
Appropriate CIDR block or IP address of the Fabric Server
Establish a connection to the Fabric Server.
Log in to AWS Management Console.
In All services, find and select EC2.
All Services
In Images, select AMIs.
Select Private images in the drop-down next to the search bar.
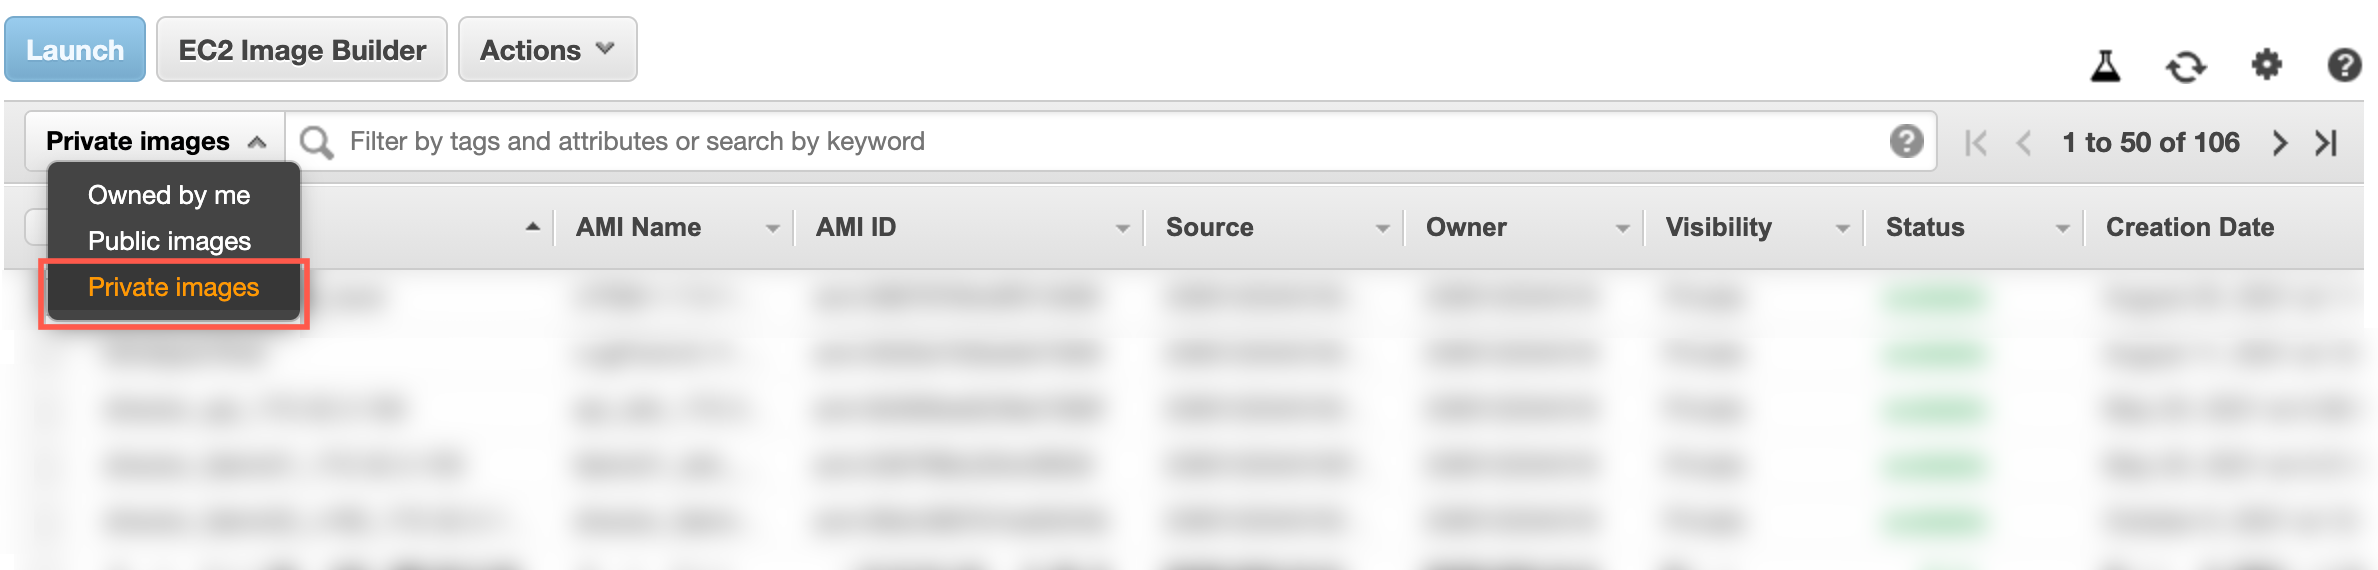
Images Drop-Down
Find the relevant AMI in the list and right-click it.
Click Copy AMI.
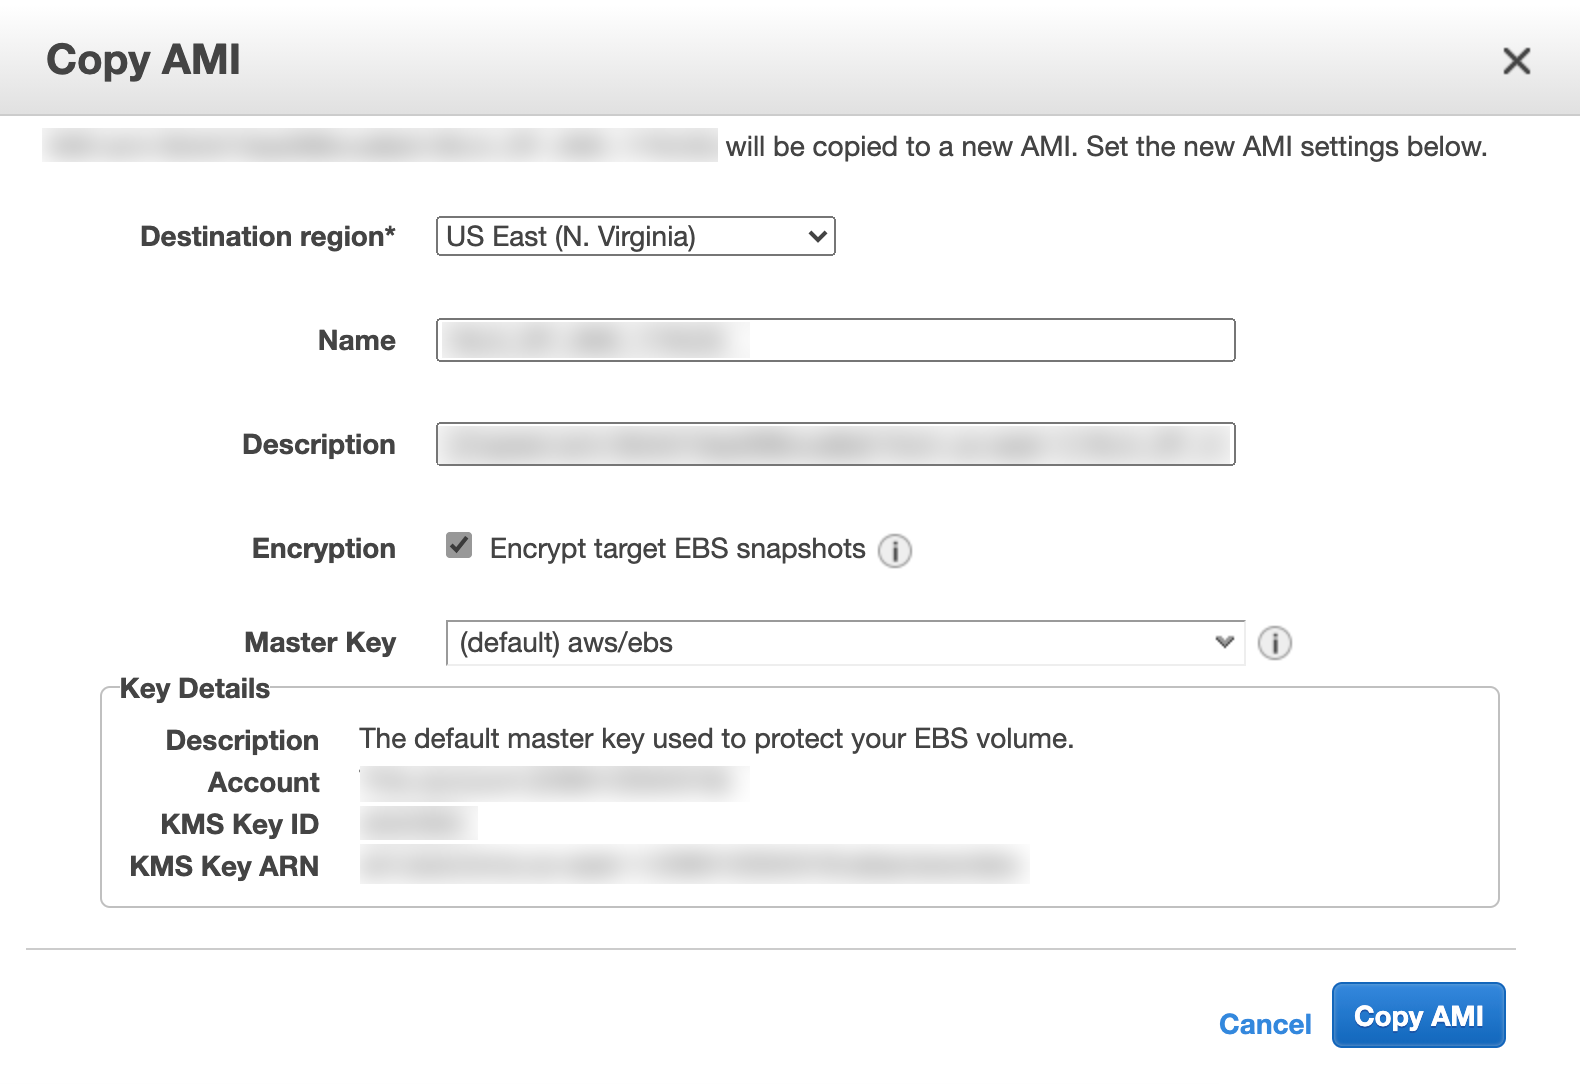
Copy AMI Panel
In Copy AMI:
7.1. Select the Destination region.
7.2. Enter a Name and a Description.
7.3. Select Encrypt target EBS snapshots and select a Master Key to encrypt the target snapshots.
Click Copy AMI.
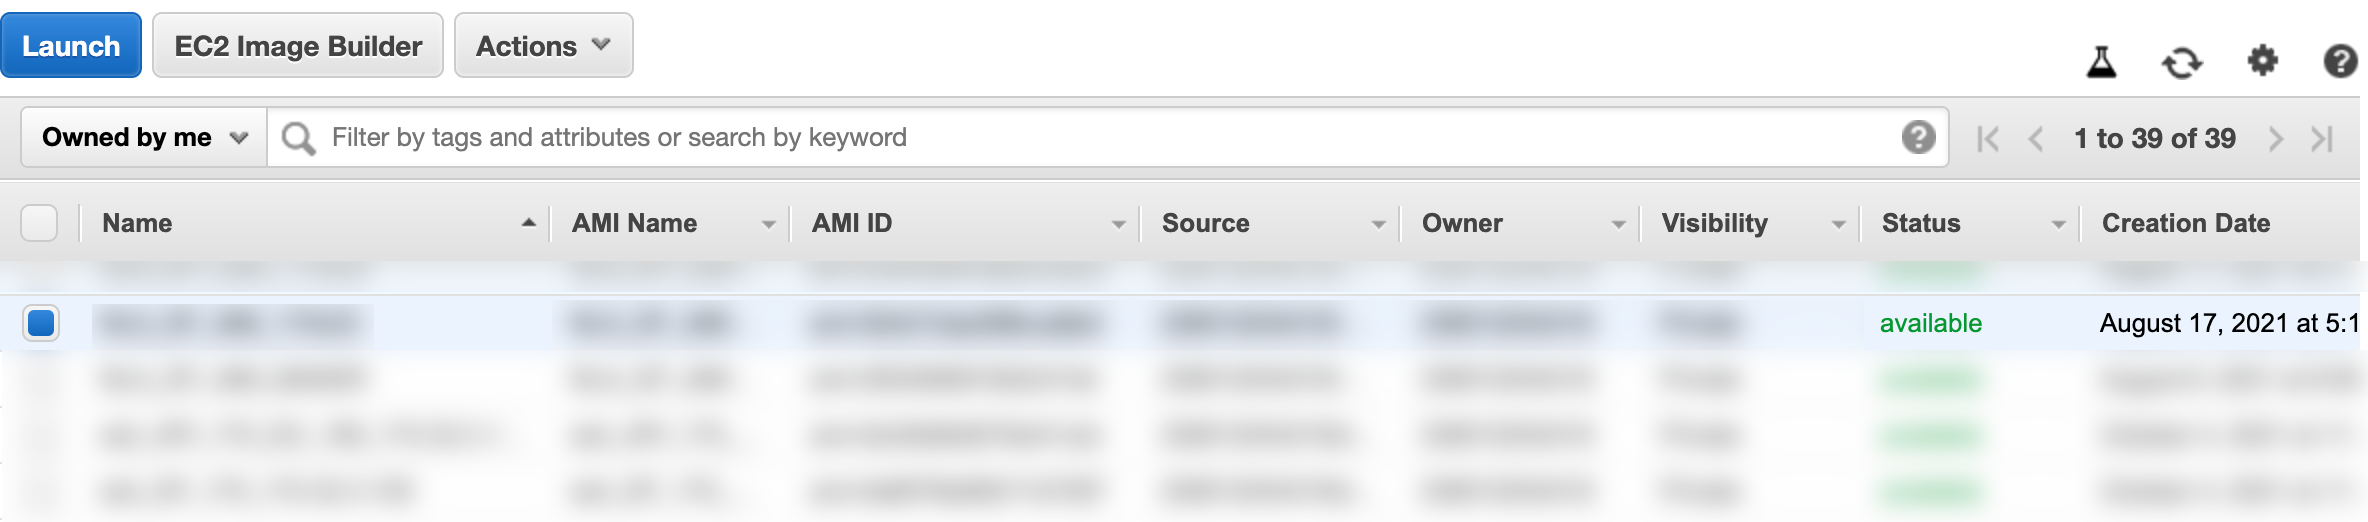
Select Owned by me from the drop-down next to the search bar.
Select the AMI and click Launch. You are redirected to the Launch instance wizard.
Launching the AMI
Note
If you want to launch an AMI without enabling EBS encryption, select Private Images from the drop-down, select the AMI, and click Launch.
Select a suitable Instance Type from the list.
Type |
vCPUs |
Memory (GiB) |
|---|---|---|
t2.xlarge |
4 |
16 |
Type |
vCPUs |
Memory (GiB) |
|---|---|---|
t2.medium |
2 |
4 |
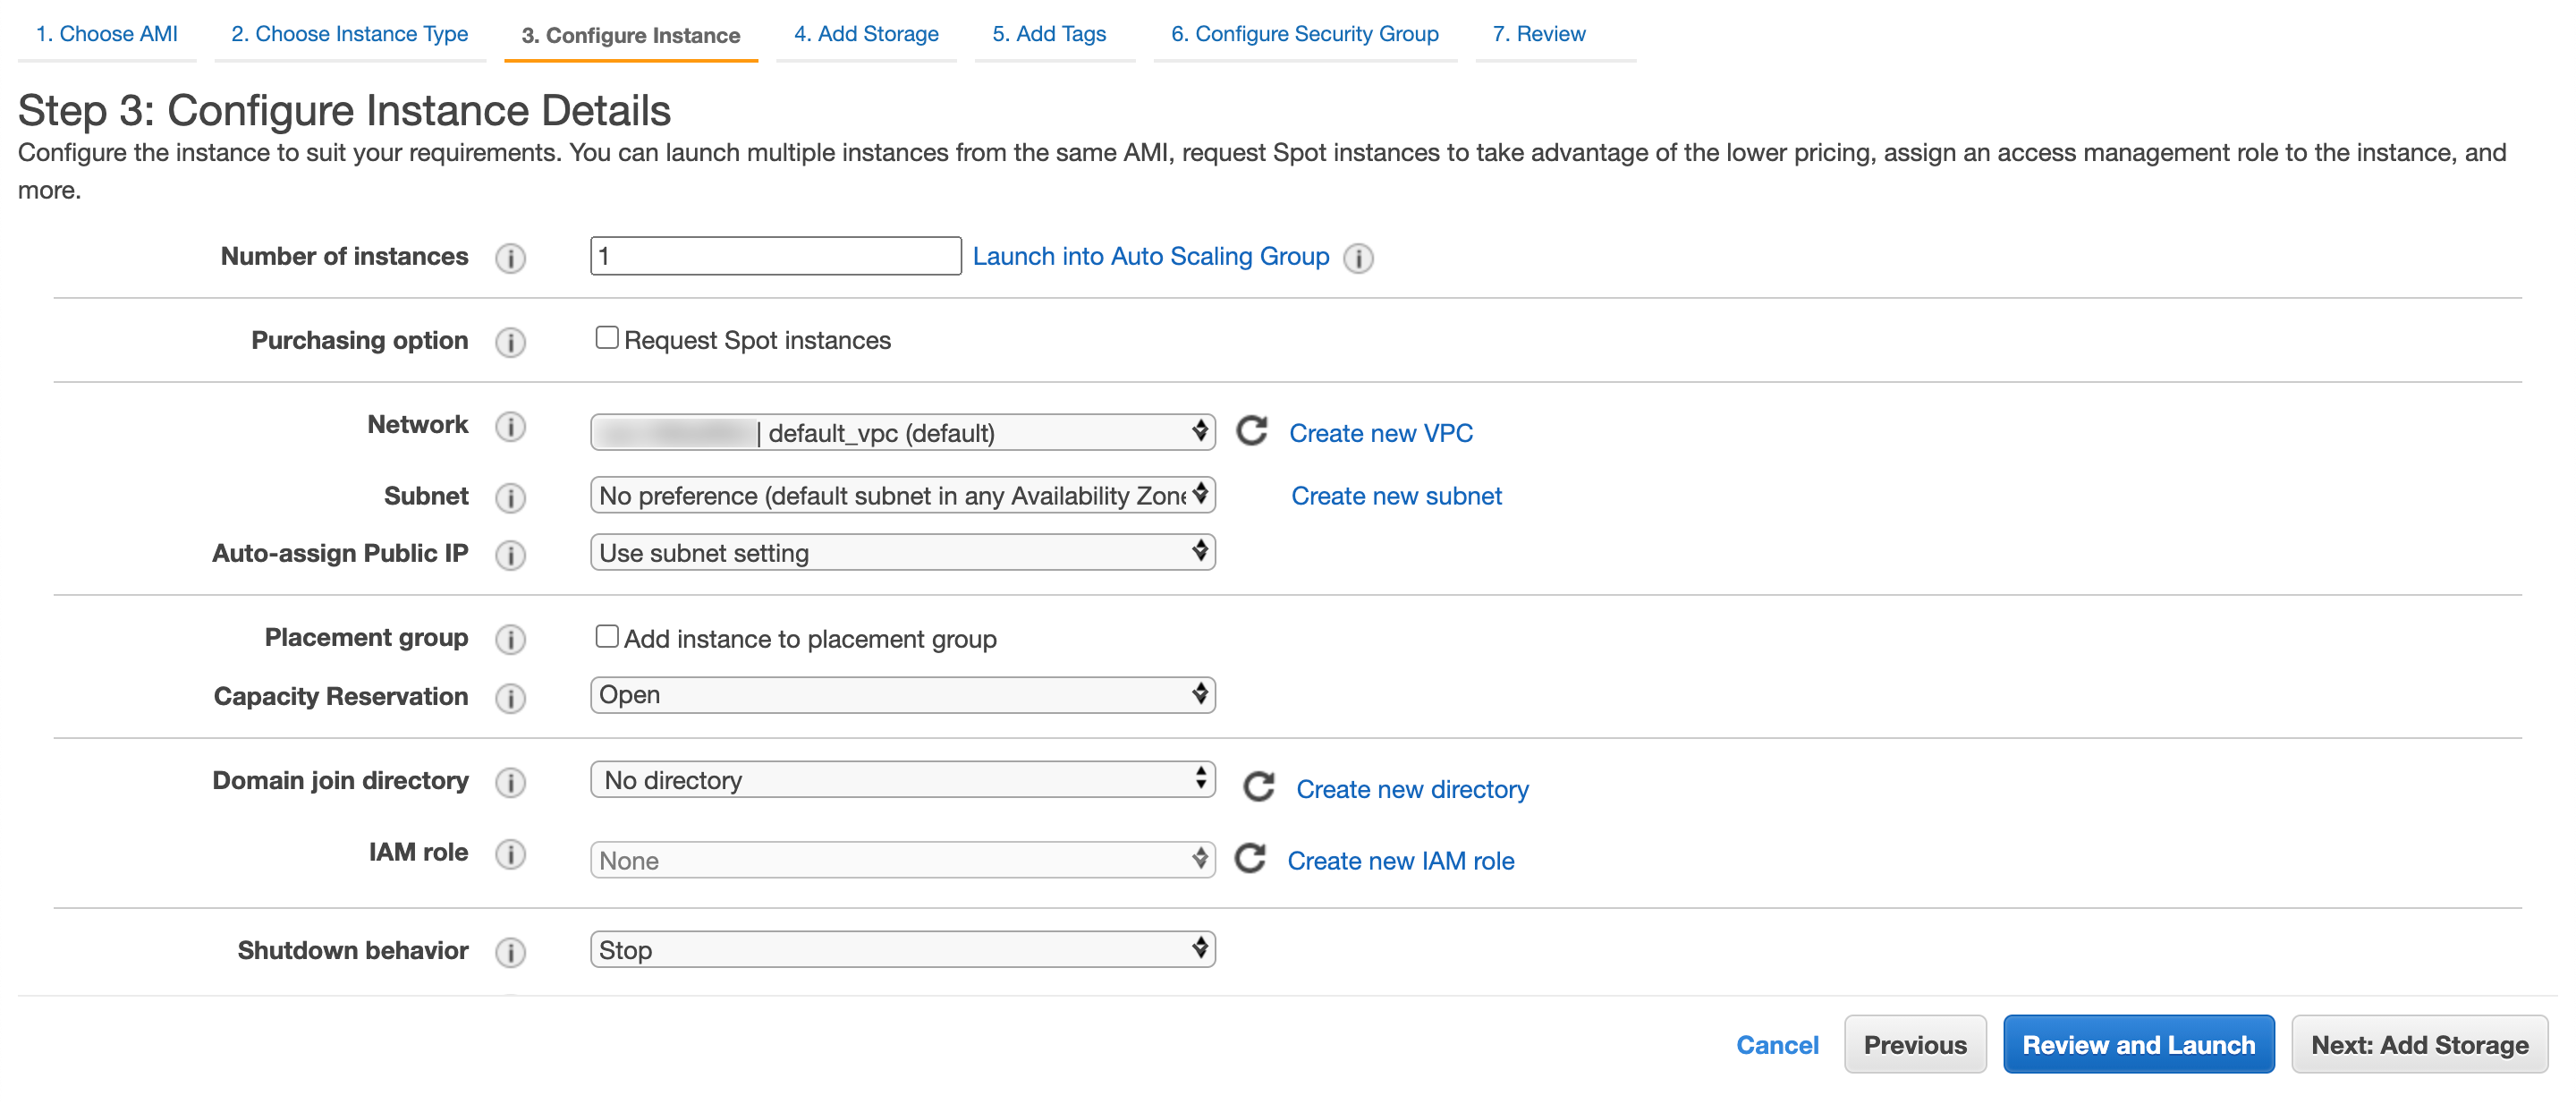
Click Next: Configure Instance Details.
Configuring the Instance
Enter the Number of instances to launch.
Select the Network where you want to launch the AMI, also known as Amazon Virtual Private Cloud (VPC).
14.1. You can also Create new VPC.
Select a Subnet for the AMI.
15.1. You can also Create new subnet.
Select Auto-assign Public IP. AWS provides public IPv4 addresses to the instances in the default subnet.
Select a Shutdown behavior. Select:
17.1. Stop to stop the instance at shut down.
17.2. Terminate to delete the instance at shut down.
17.3. Enable termination protection if you want to protect the instances from accidental termination.
Note
To learn what the other configurations options do, go to the AWS documentation.
Click Next: Add Storage.

Adding the Storage
Enter the Size (GiB) and select the Volume Type for your instance. You need at least 100 GiB for the Fabric Server and API Server instances and 80 GiB for the LogPoint and LPSM instances.
Click Next: Add Tags.
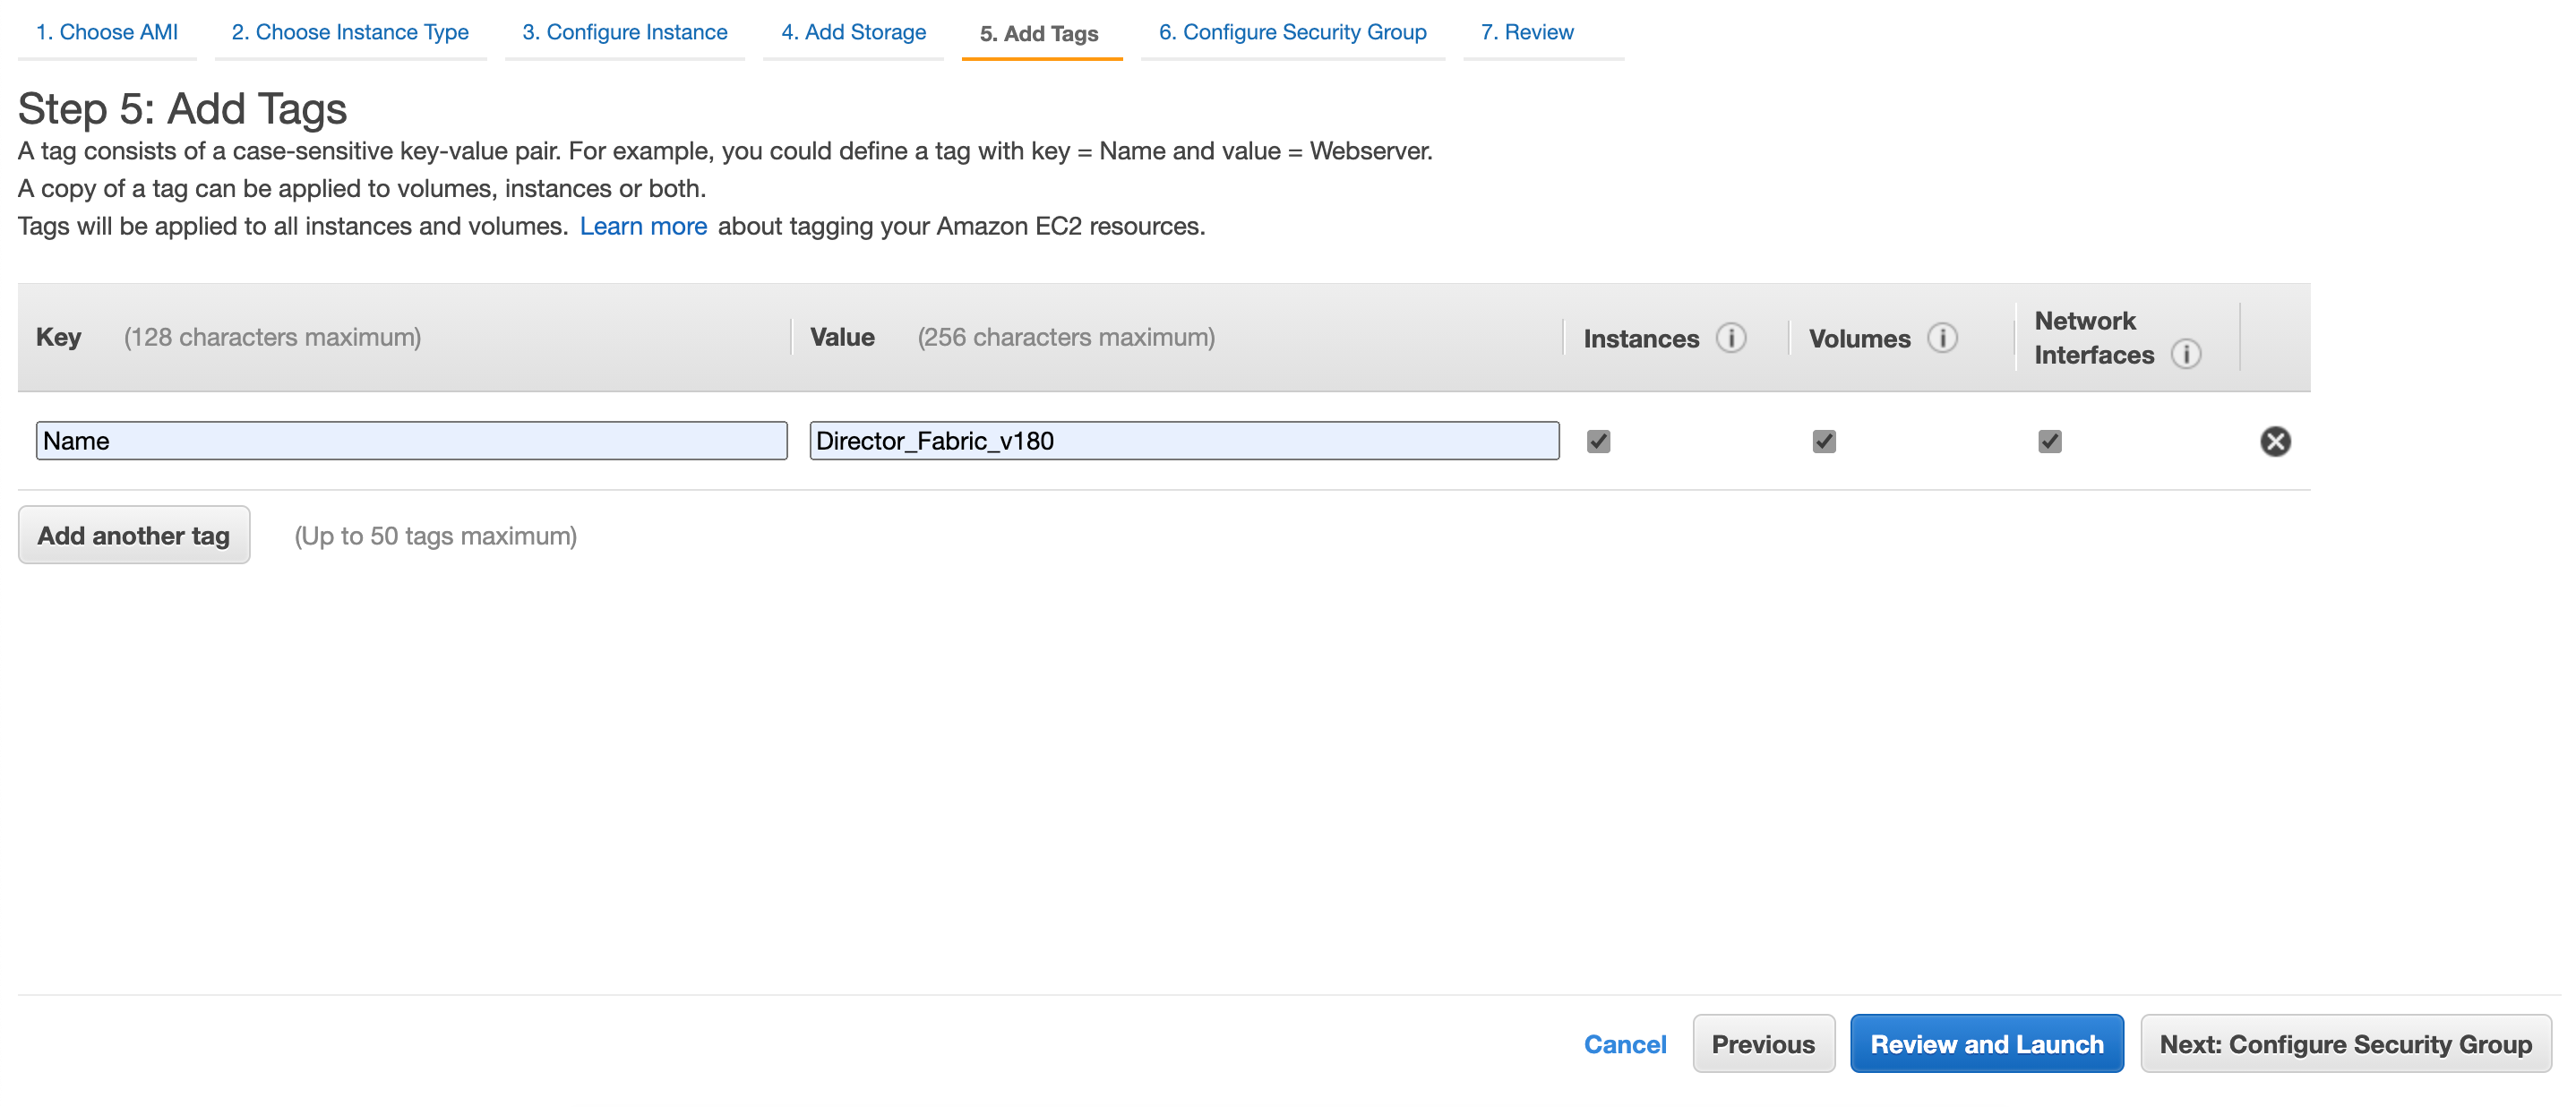
Adding the Tags
Click Add Tag to add a tag to your instances, volumes, and network interfaces. Tags improve your search or filter results.
Click Next: Configure Security Group.
Selecting the Security Groups
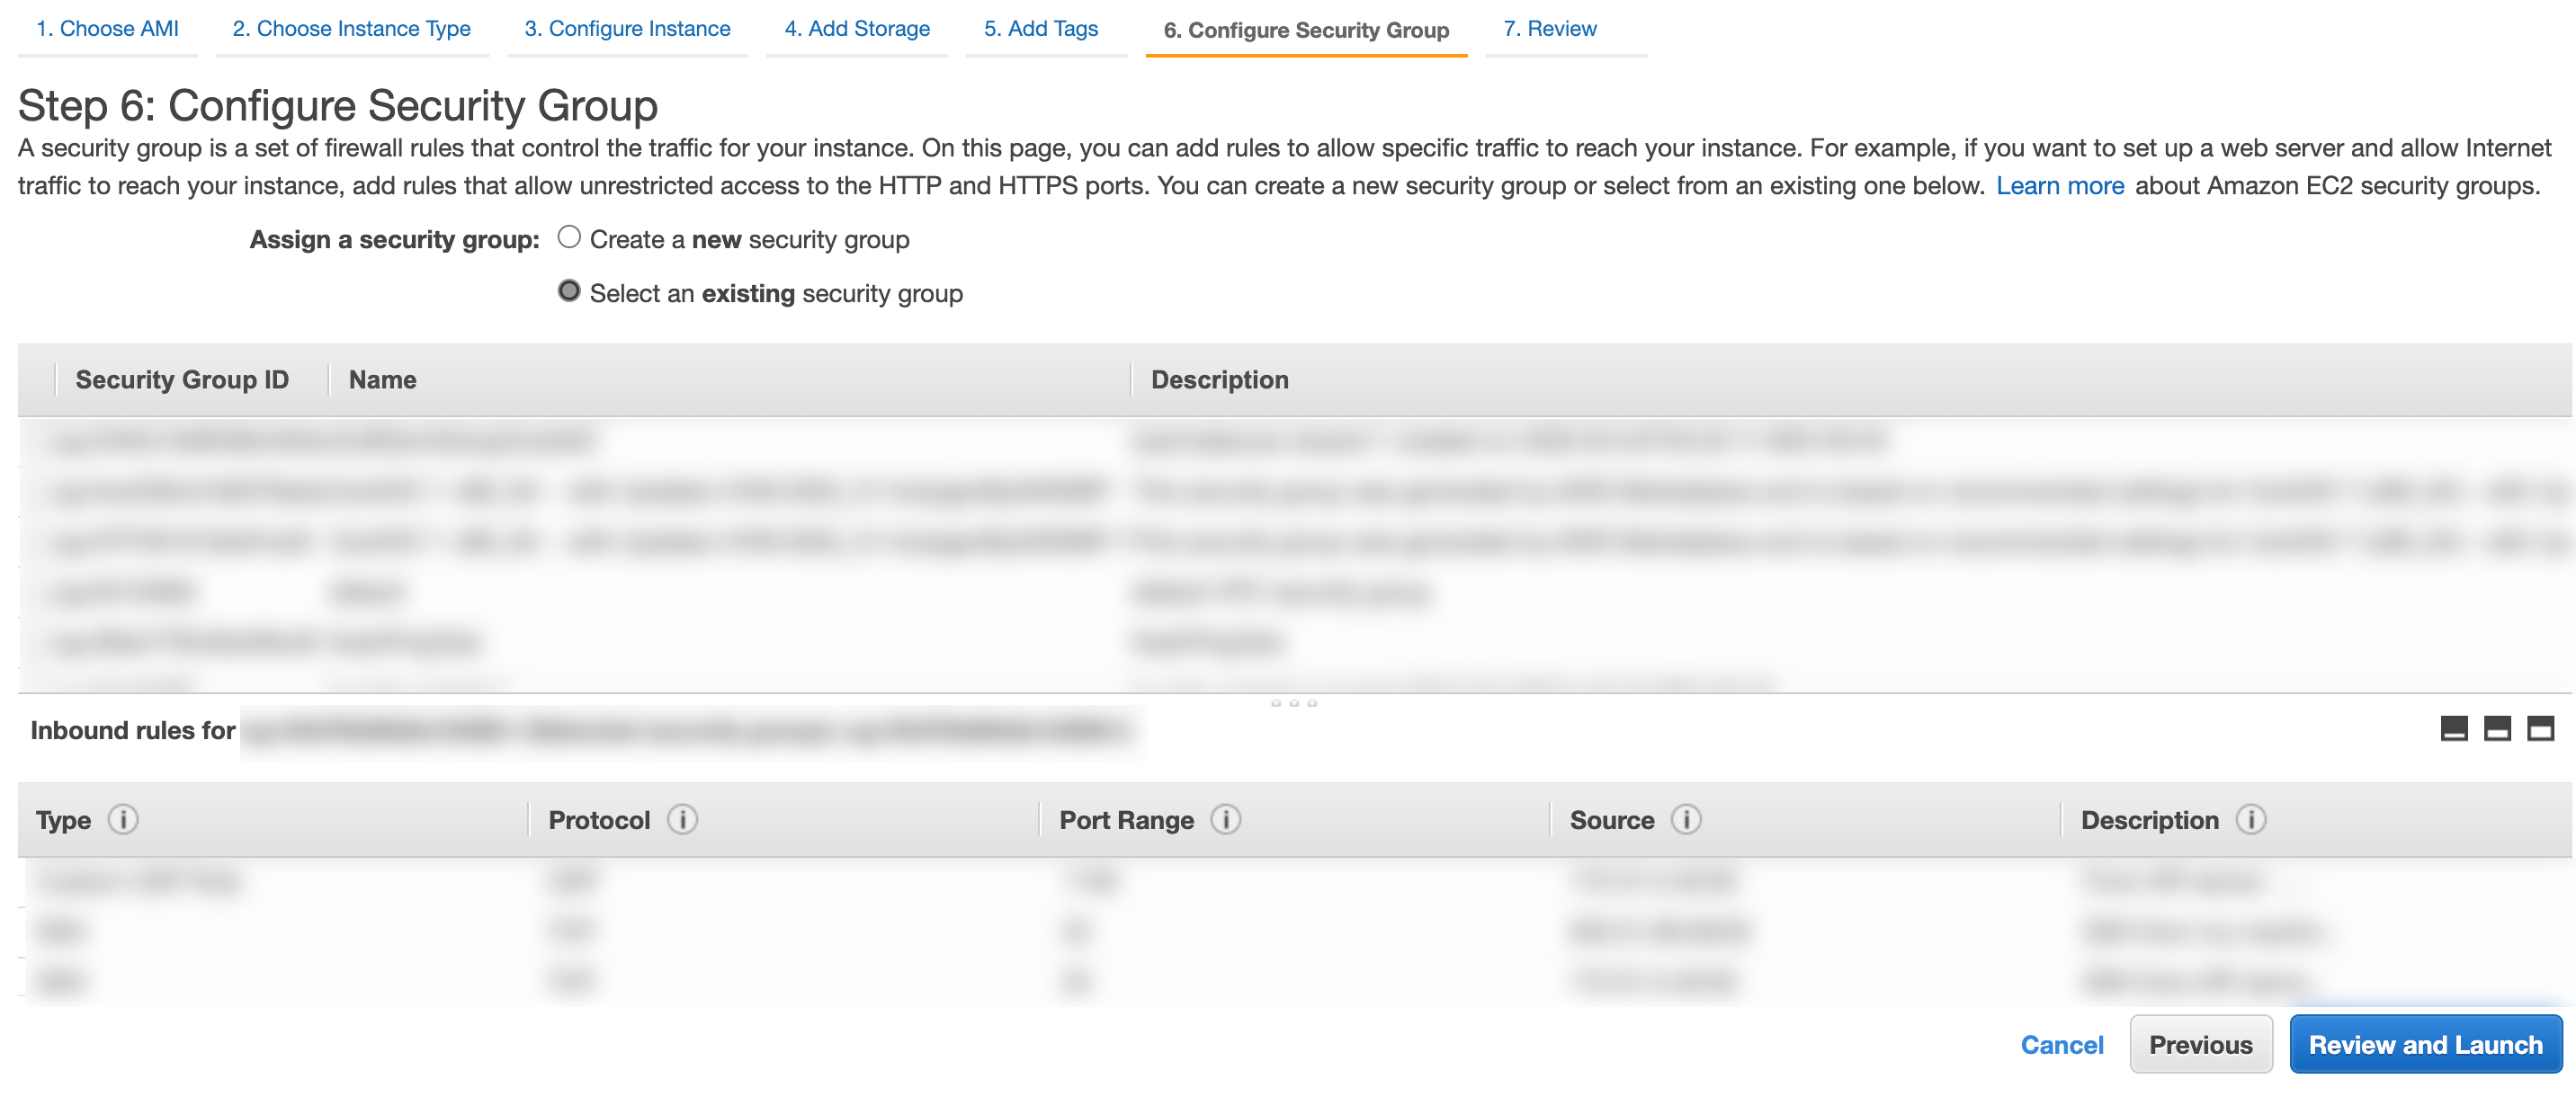
In Assign a security group, select Select an existing security group.
Select the security group created earlier. For details, go to Configuring Security Groups.
Click Review and Launch.
Review the configurations and click Launch Instances.
Select Create a new key pair from the drop-down. You need a key pair to establish an SSH connection with the Director setup.

Selecting a Key Pair
27.1. If you already have an RSA key pair, select Choose an existing key pair.
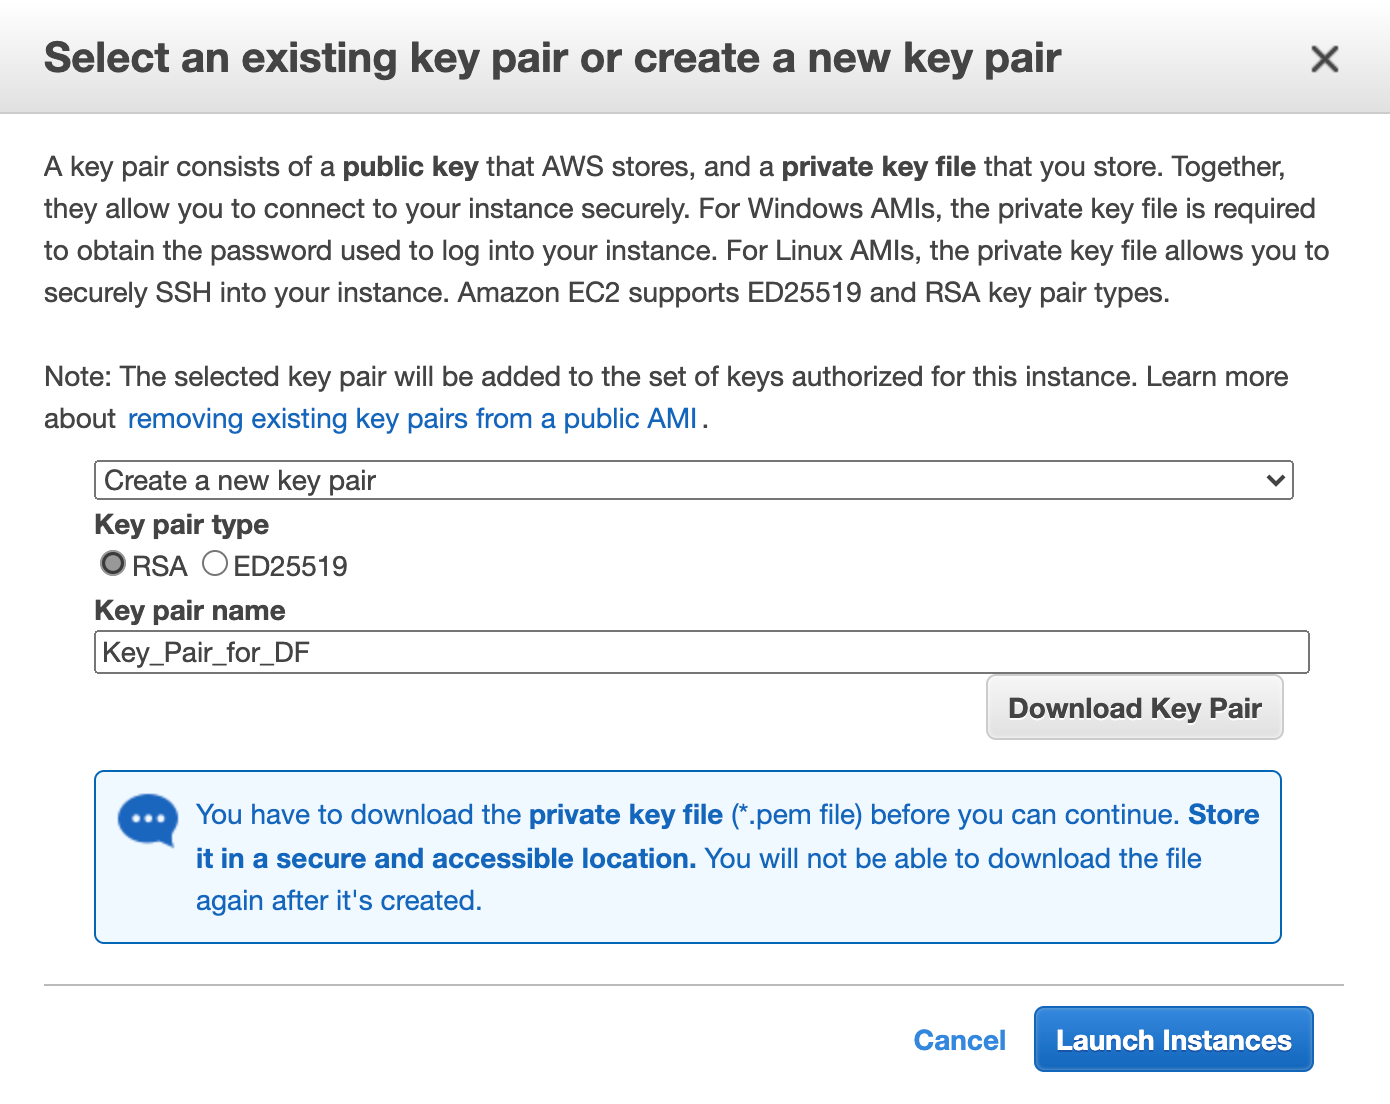
Creating a New Key Pair
Select RSA Key pair type.
Enter a key pair name and click Download Key Pair.
Click Launch Instances. You can click the instance ID to view the launch status.
Note
If you have any issues, contact the LogPoint support team. They will need your Director support connection details to fix the issue.