To obtain the LogPoint Hyper-V VHD file, log into the LogPoint Help Center and download the VHD file.
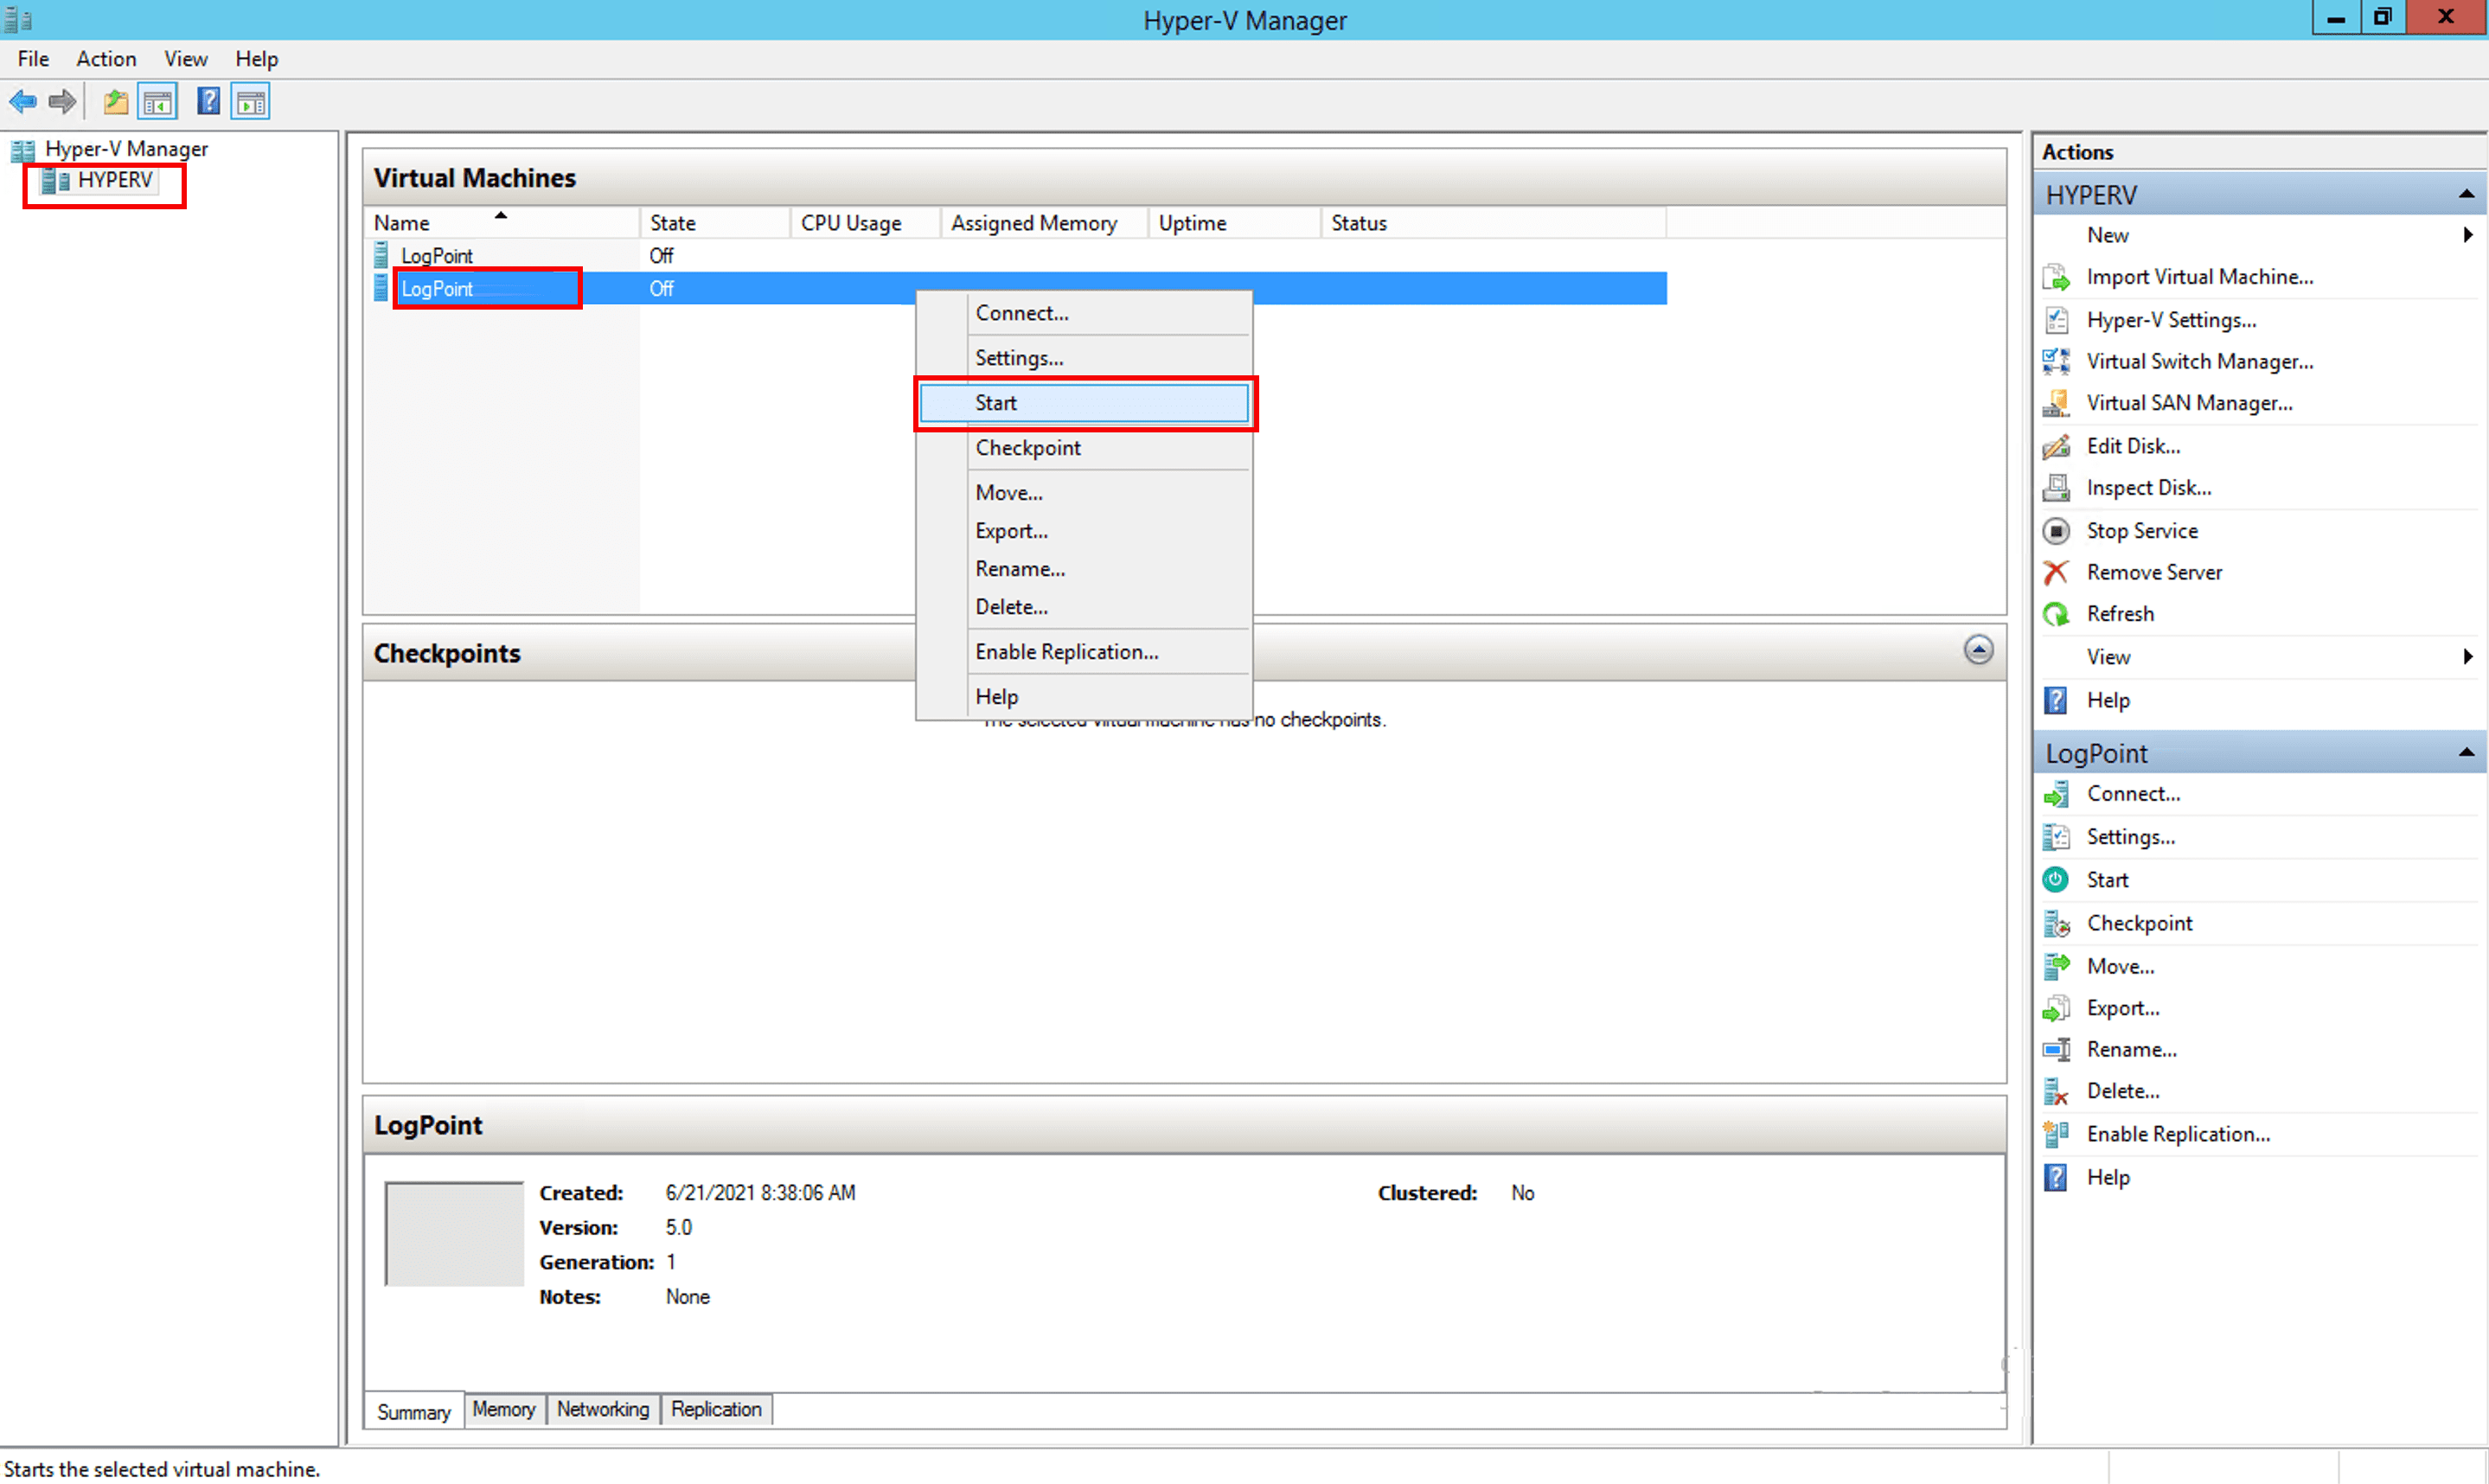
You can launch the LogPoint Hyper-V VHD through either Hyper-V Manager from a different Windows machine or Windows PowerShell of the Hyper-V server itself.
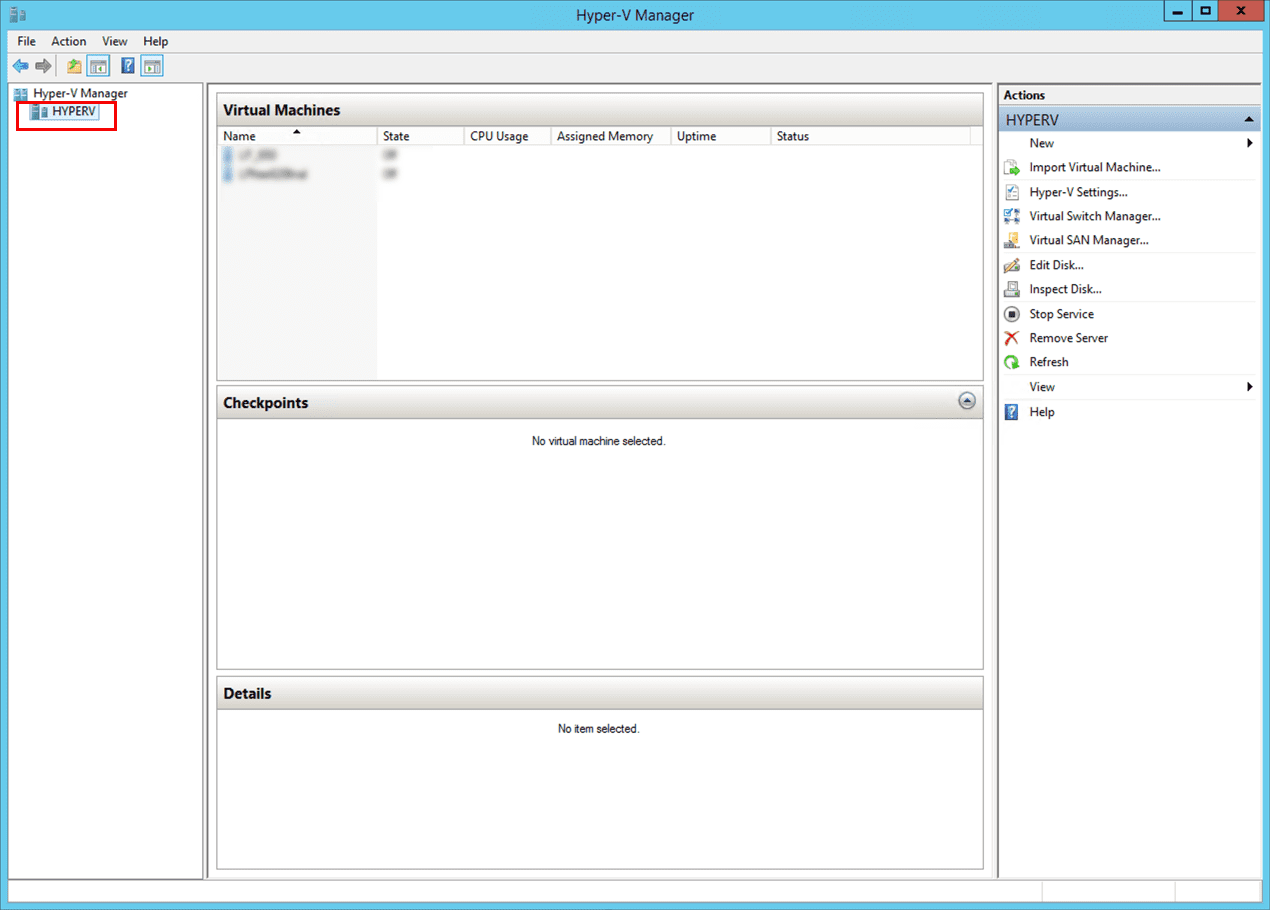
Open the Hyper-V Manager console and select the Hyper-V server where you want to launch the LogPoint instance.
Hyper-V Manager Console
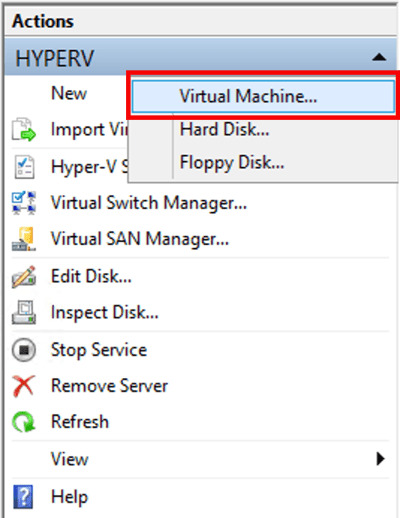
On the Actions tab of the console, click New and select Virtual Machine.
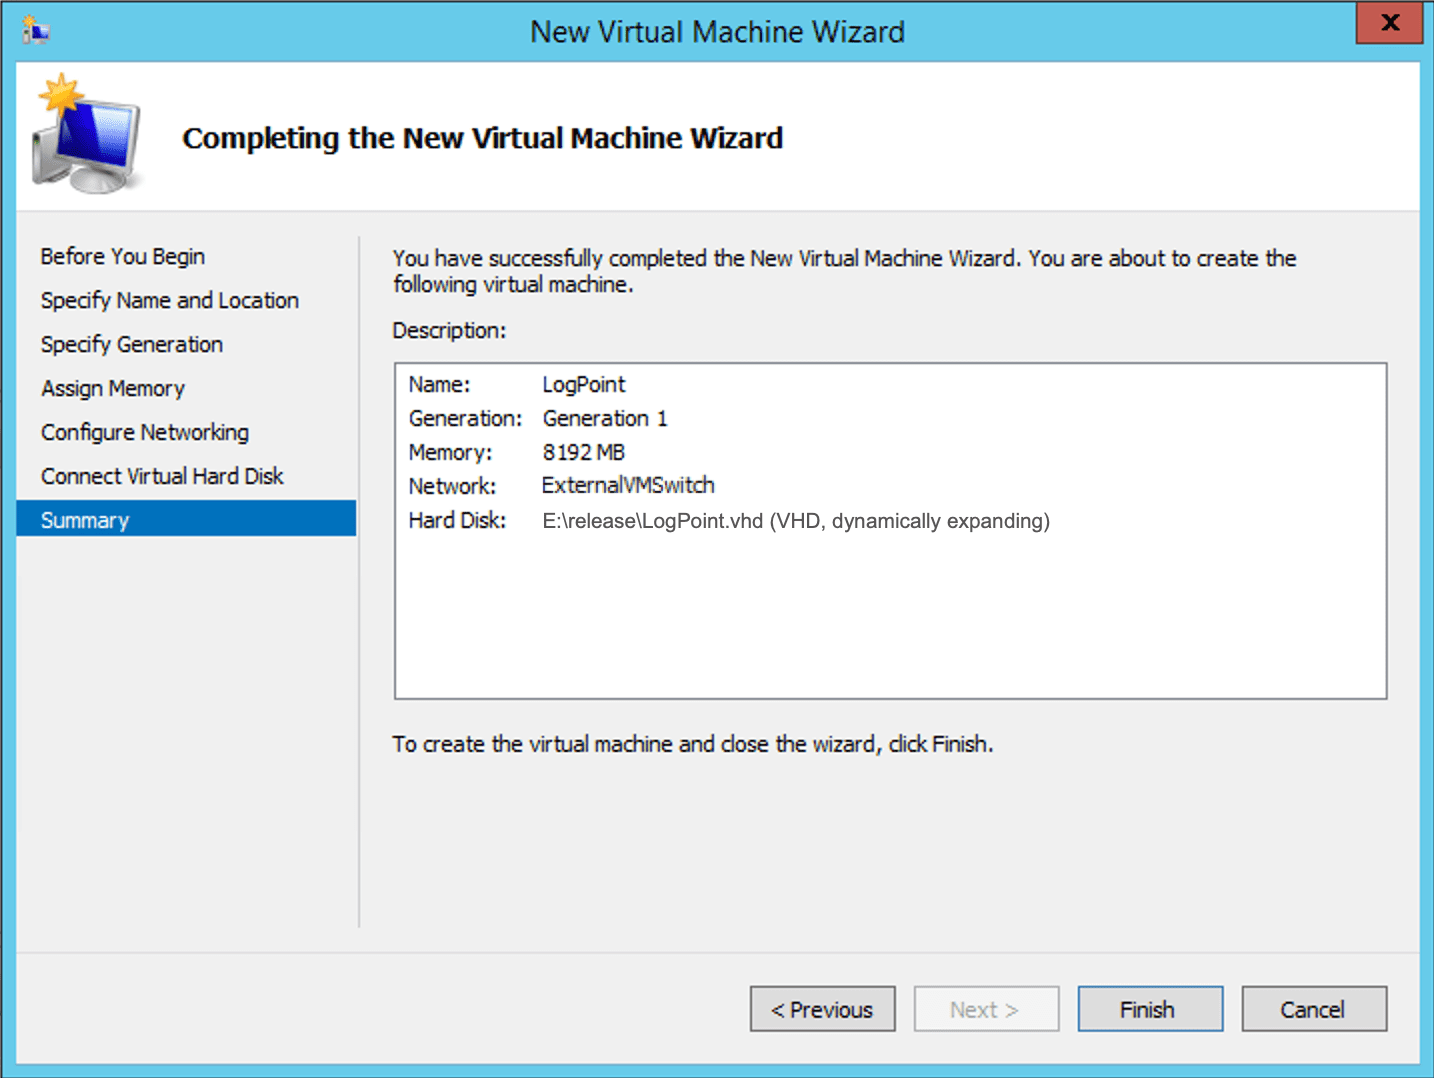
Creating a New Virtual Machine
Read the details on the Before You Begin tab and click Next.
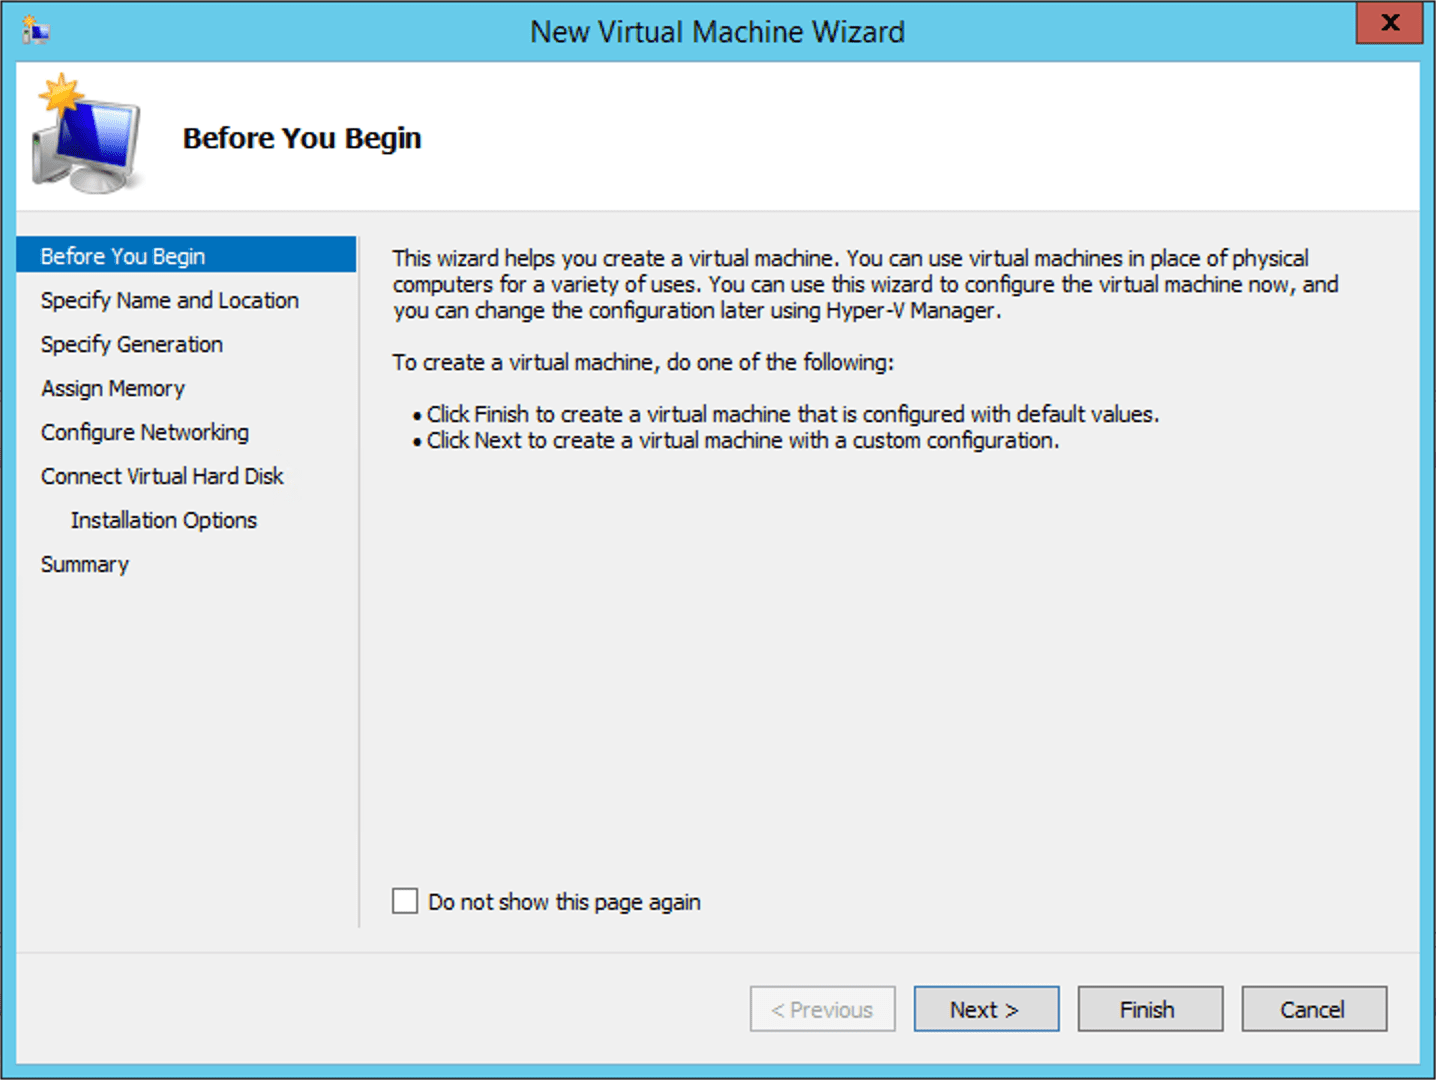
New Virtual Machine Wizard
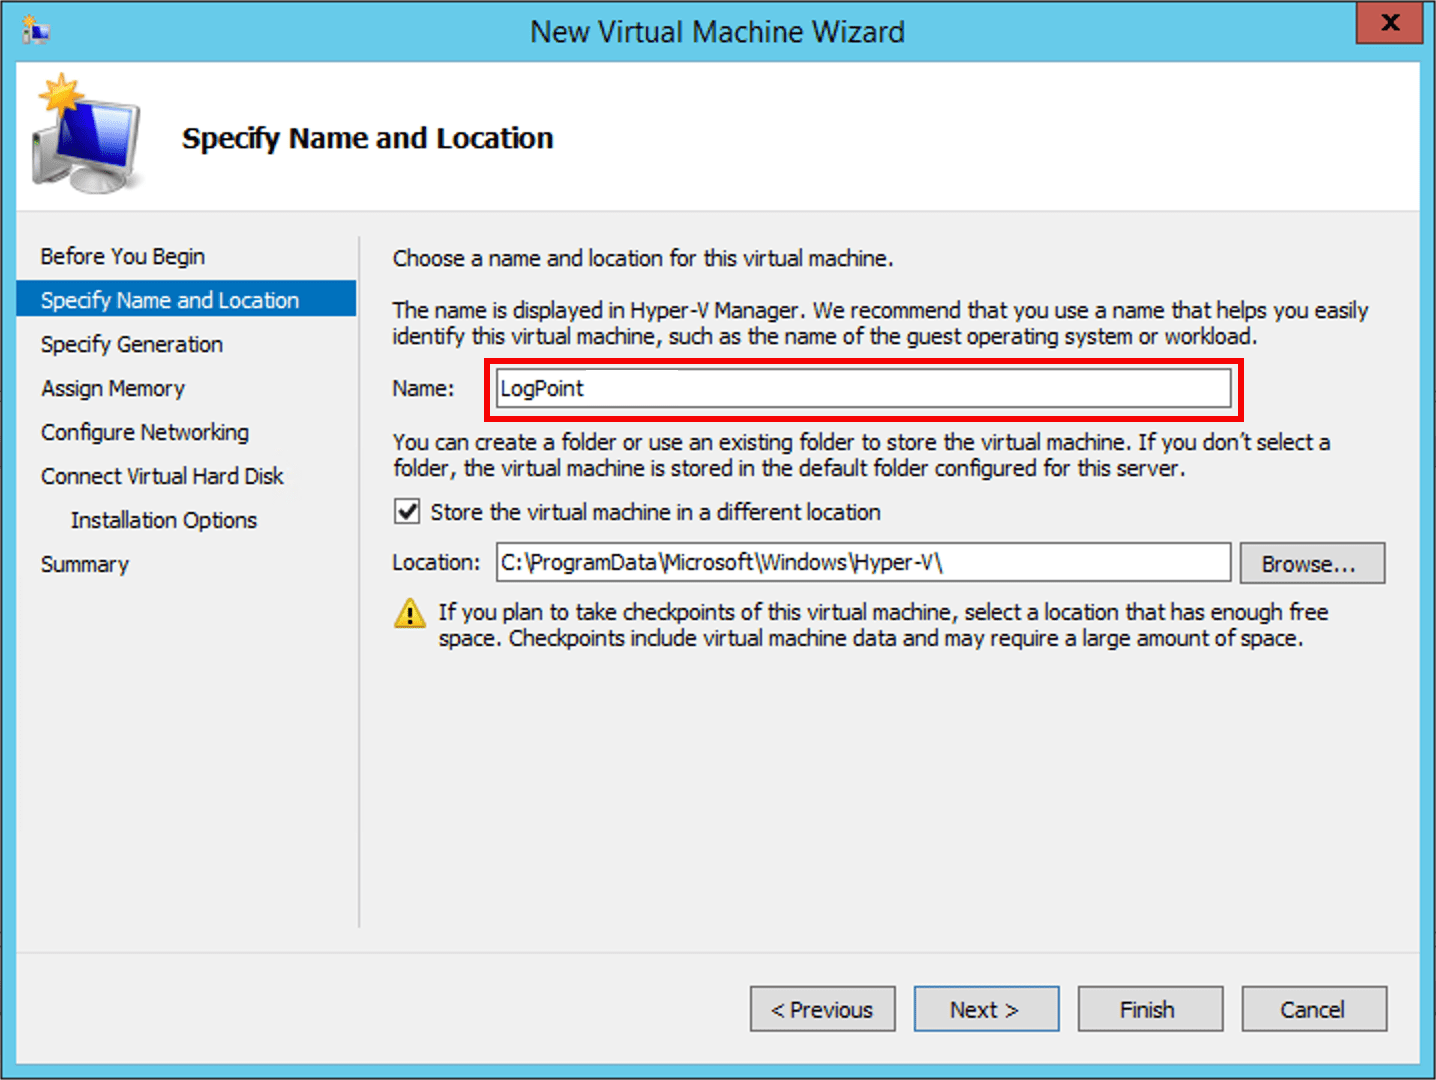
Specifying Name and Location
Enter a Name for the virtual machine.
Select a Location to store the virtual machine (VM). We recommend you to create a separate folder to store the LogPoint VM. Make sure the folder has enough space to store the files of the LogPoint VM.
Click Next.
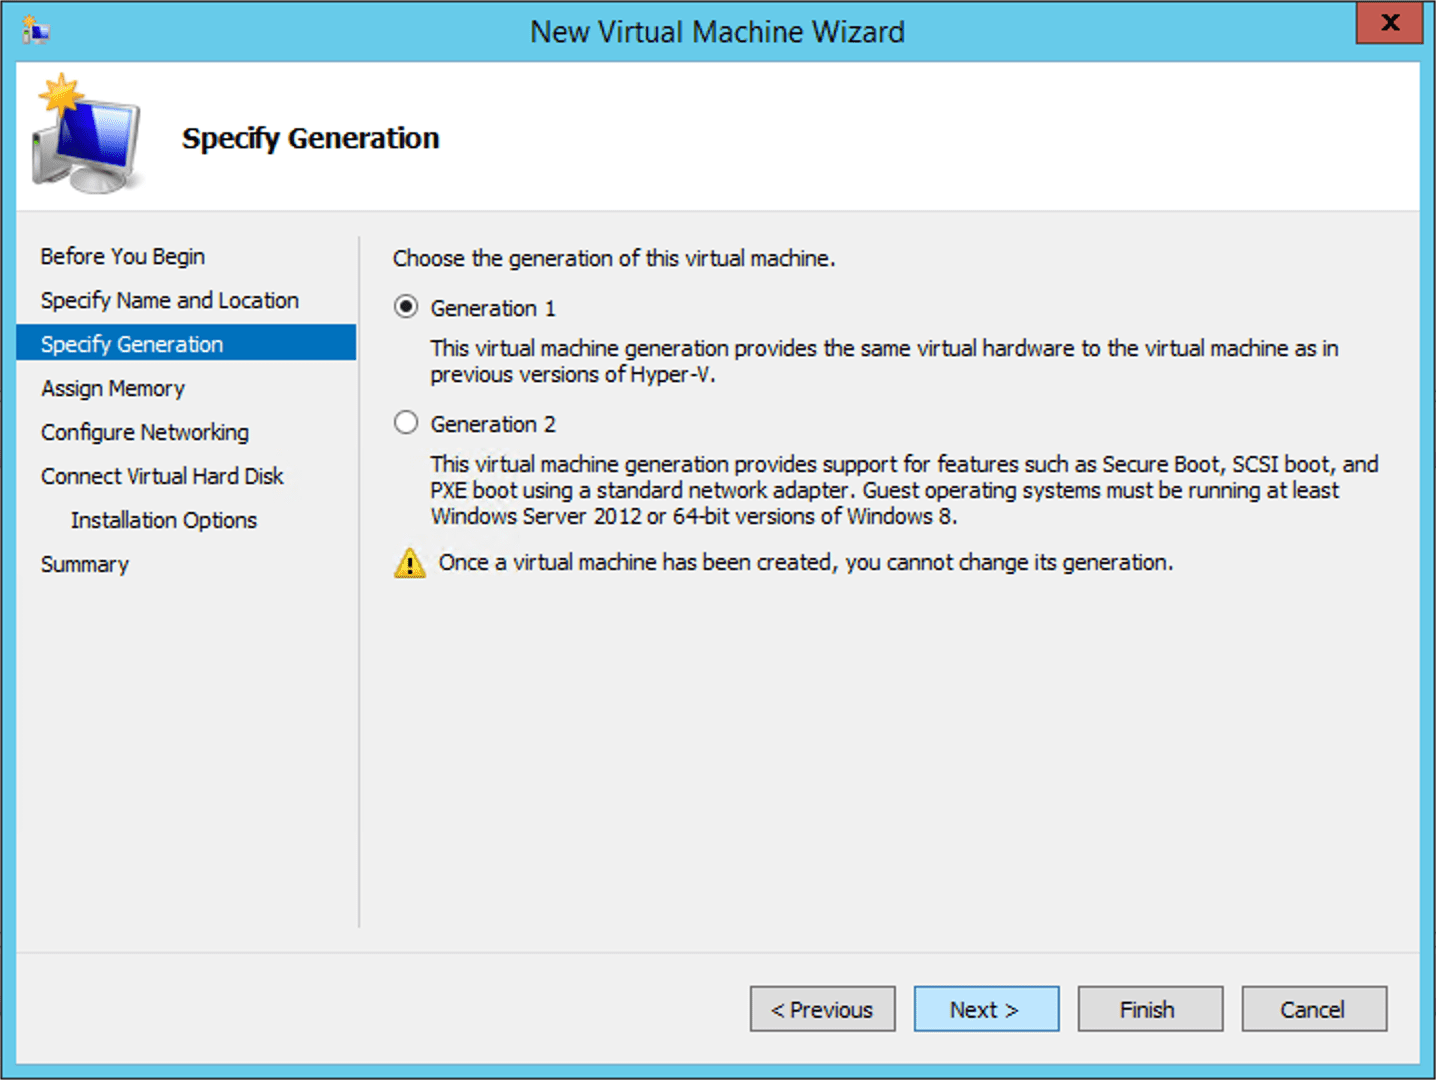
Specifying the Generation of the Virtual Machine
Select Generation 1.
Click Next.
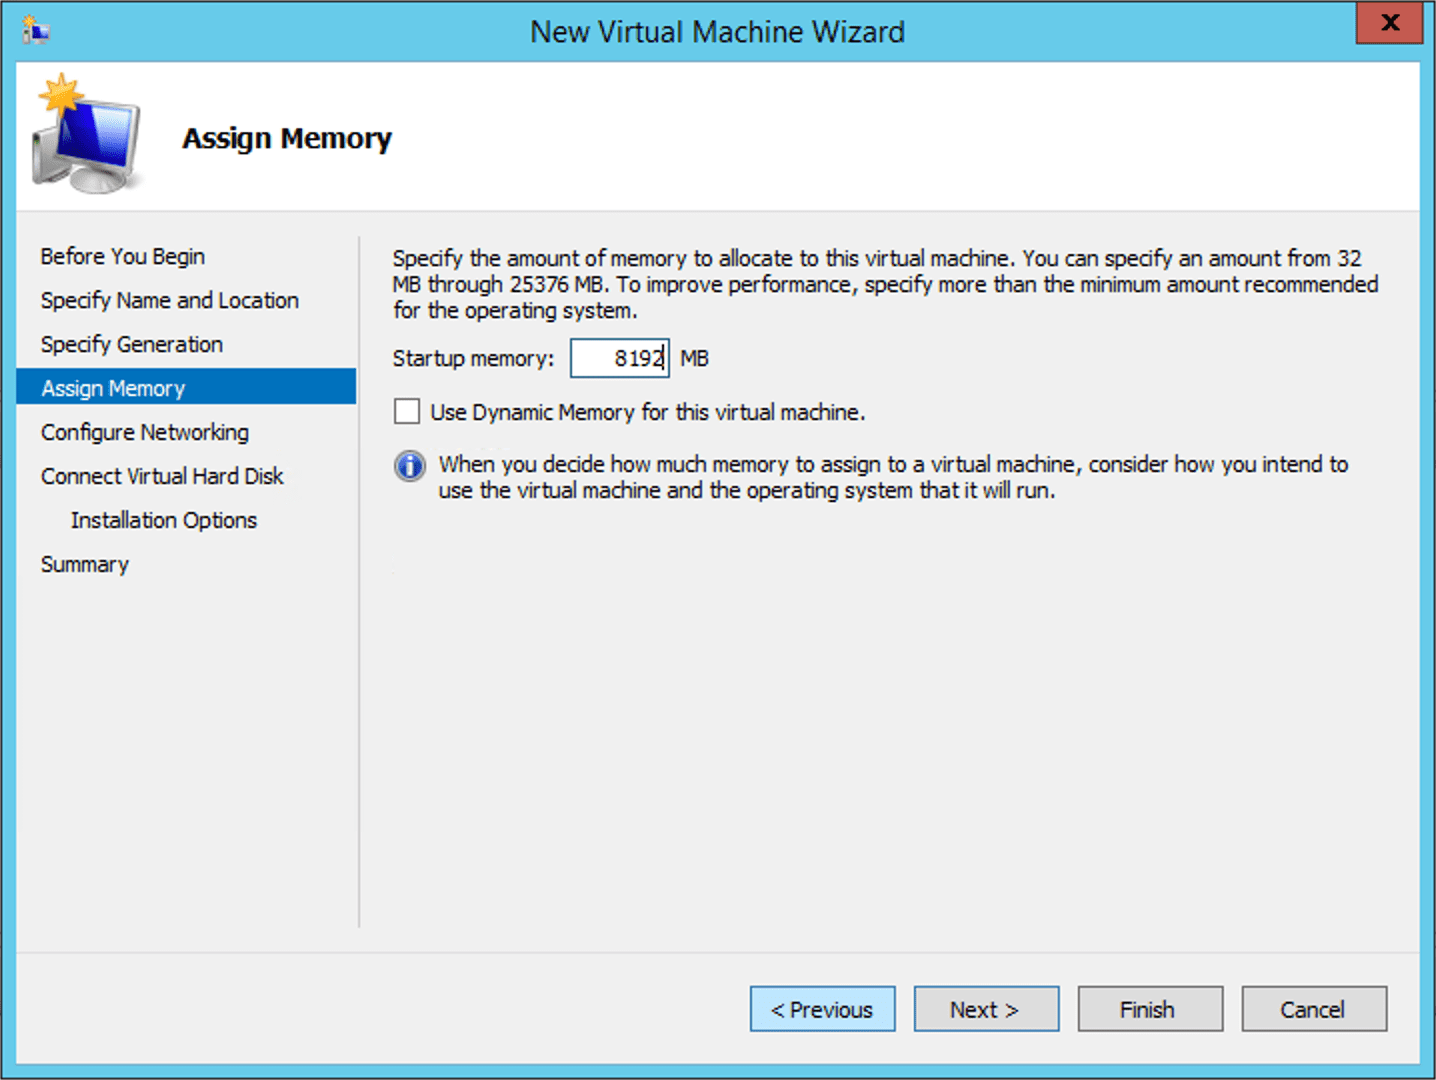
Assigning Memory
Specify the Startup memory for the virtual machine. LogPoint currently requires a minimum of 8GB.
Enable Dynamic Memory to use on-demand memory allocation.
Click Next.
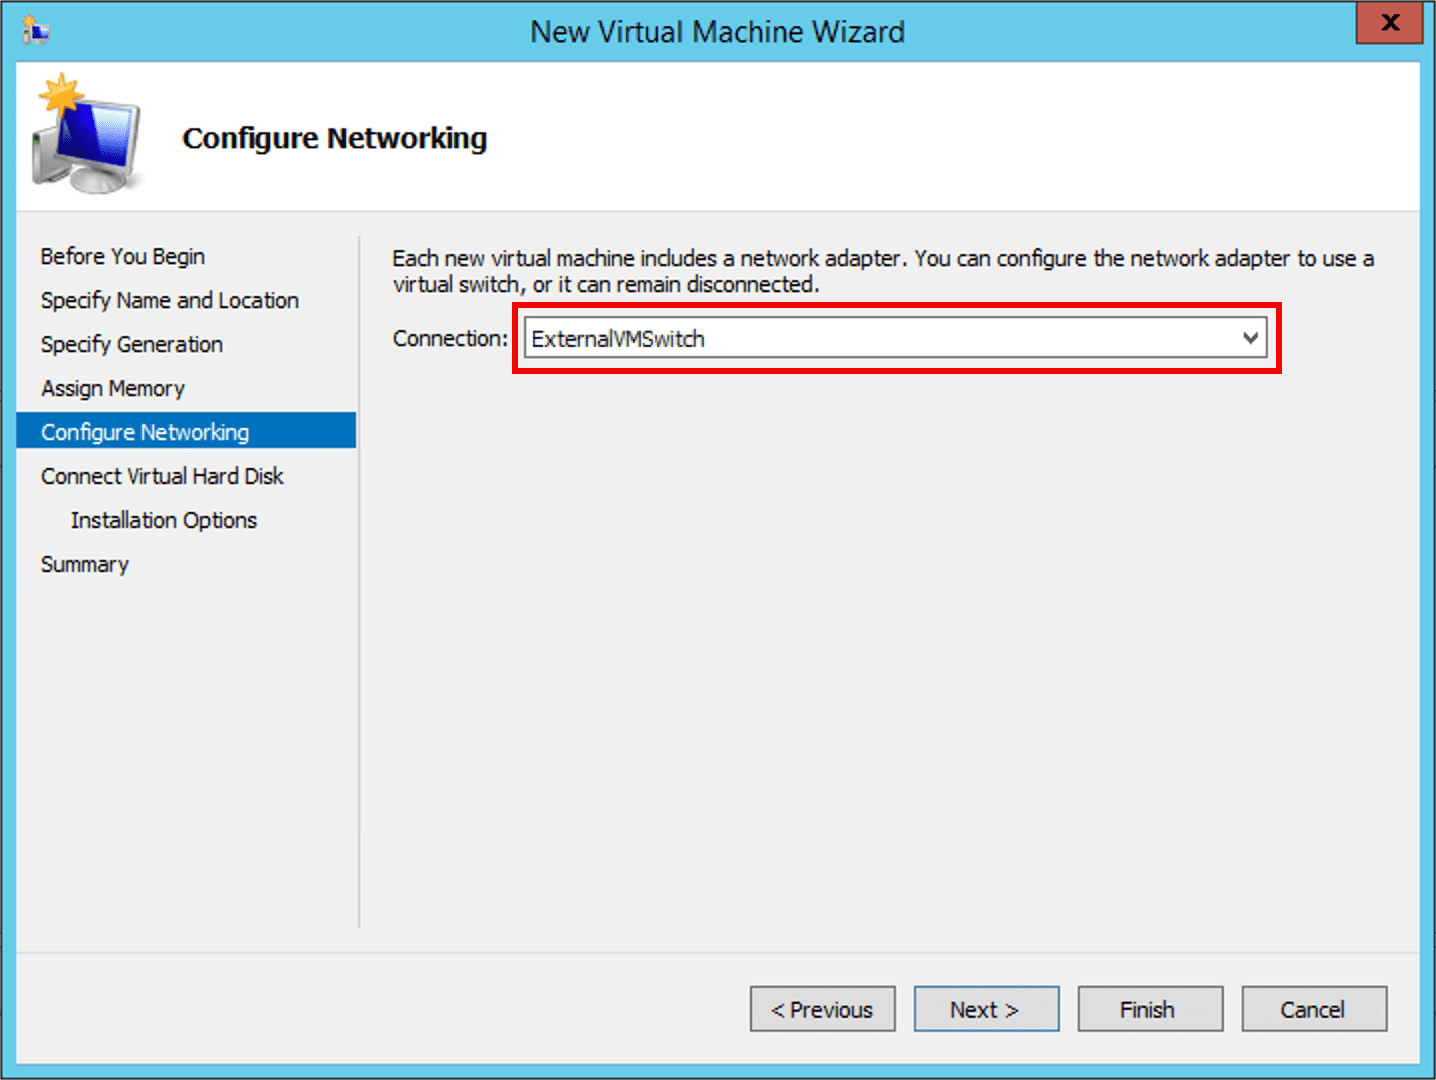
Connection Networking
Select the switch as per your networking requirement from the Connection drop-down.
In the above screenshot, we have selected an already created ExternalVMSwitch. For further information about the Hyper-V virtual switches refer to Microsoft’s documentation for Hyper-V virtual machine.
Click Next.
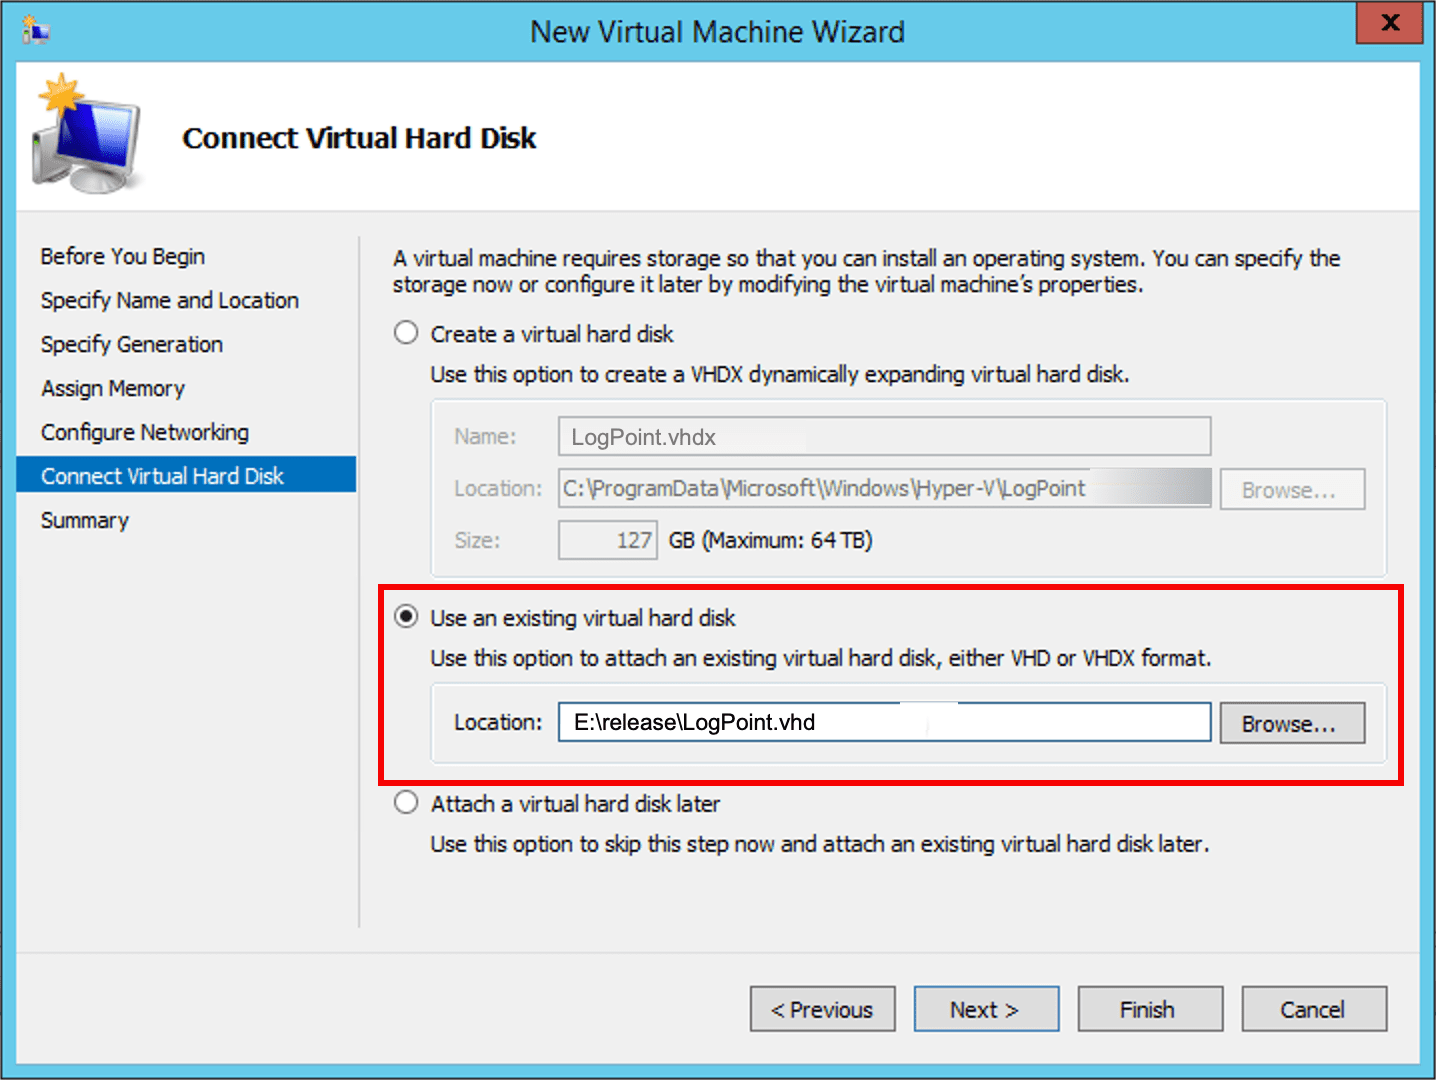
Connecting VHD
Select the Use an existing virtual hard disk option and browse the location of the VHD file downloaded earlier.
Click Next.
In the Hyper-V server, open PowerShell as an administrator and run the following command:
- New-VM -Name <VM_Name> -MemoryStartupBytes 8GB -BootDevice VHD -VHDPath "<the_LogPointVHD_path>" -Path <"<destination_path_for_the_VM>"> -Generation 1 -Switch <virtual_switch_name>