In DHCP mode, network configuration settings, including IP address, subnet mask, default gateway, and DNS server information, is obtained dynamically from a DHCP server. If your network is not configured, follow steps in Accessing Logpoint in Static mode.
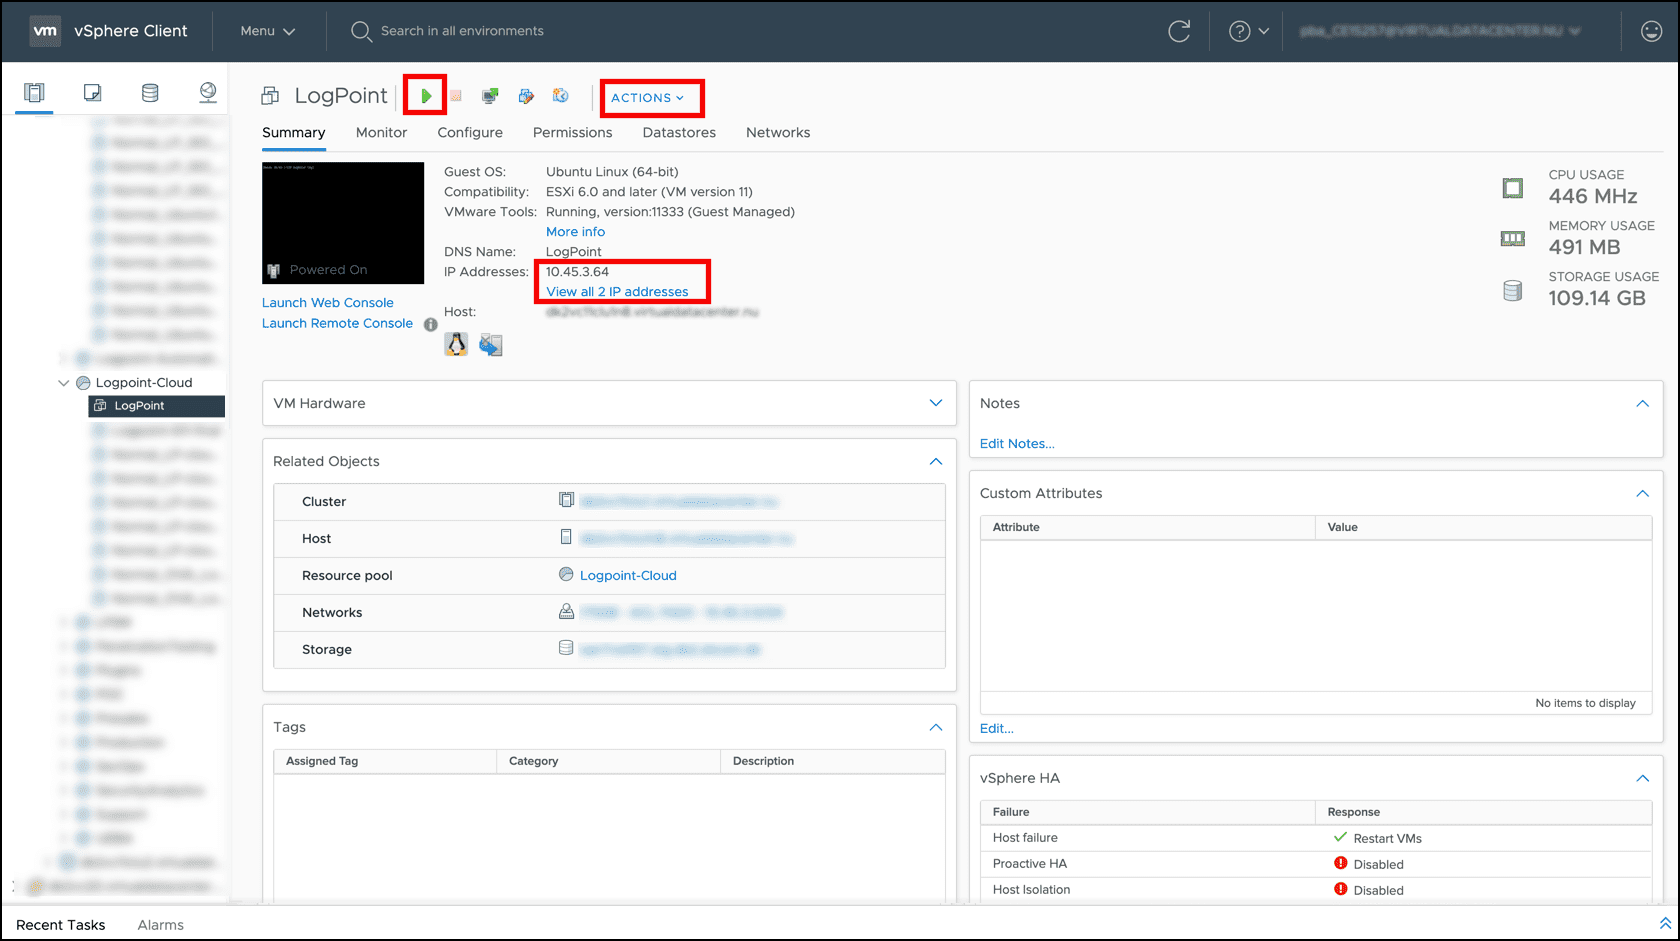
Select the required virtual machine.
Go to Actions >> Power >> Power On.
Note
You can turn on the machine using this button (![]() ).
).
Obtaining the IP addresses
From the Summary section, note down the IP addresses.
Enter the IP addresses in a web browser.
Example: https://10.45.3.64
Log into the user interface using the following credentials.
Username: admin
Password: changeme
Change the password through My Preferences >> Change Password. Refer to My Preferences section in the System Configuration guide for more details.
In Static mode, you have to configure network settings because Logpoint does not dynamically obtain network configuration settings from a DHCP server.
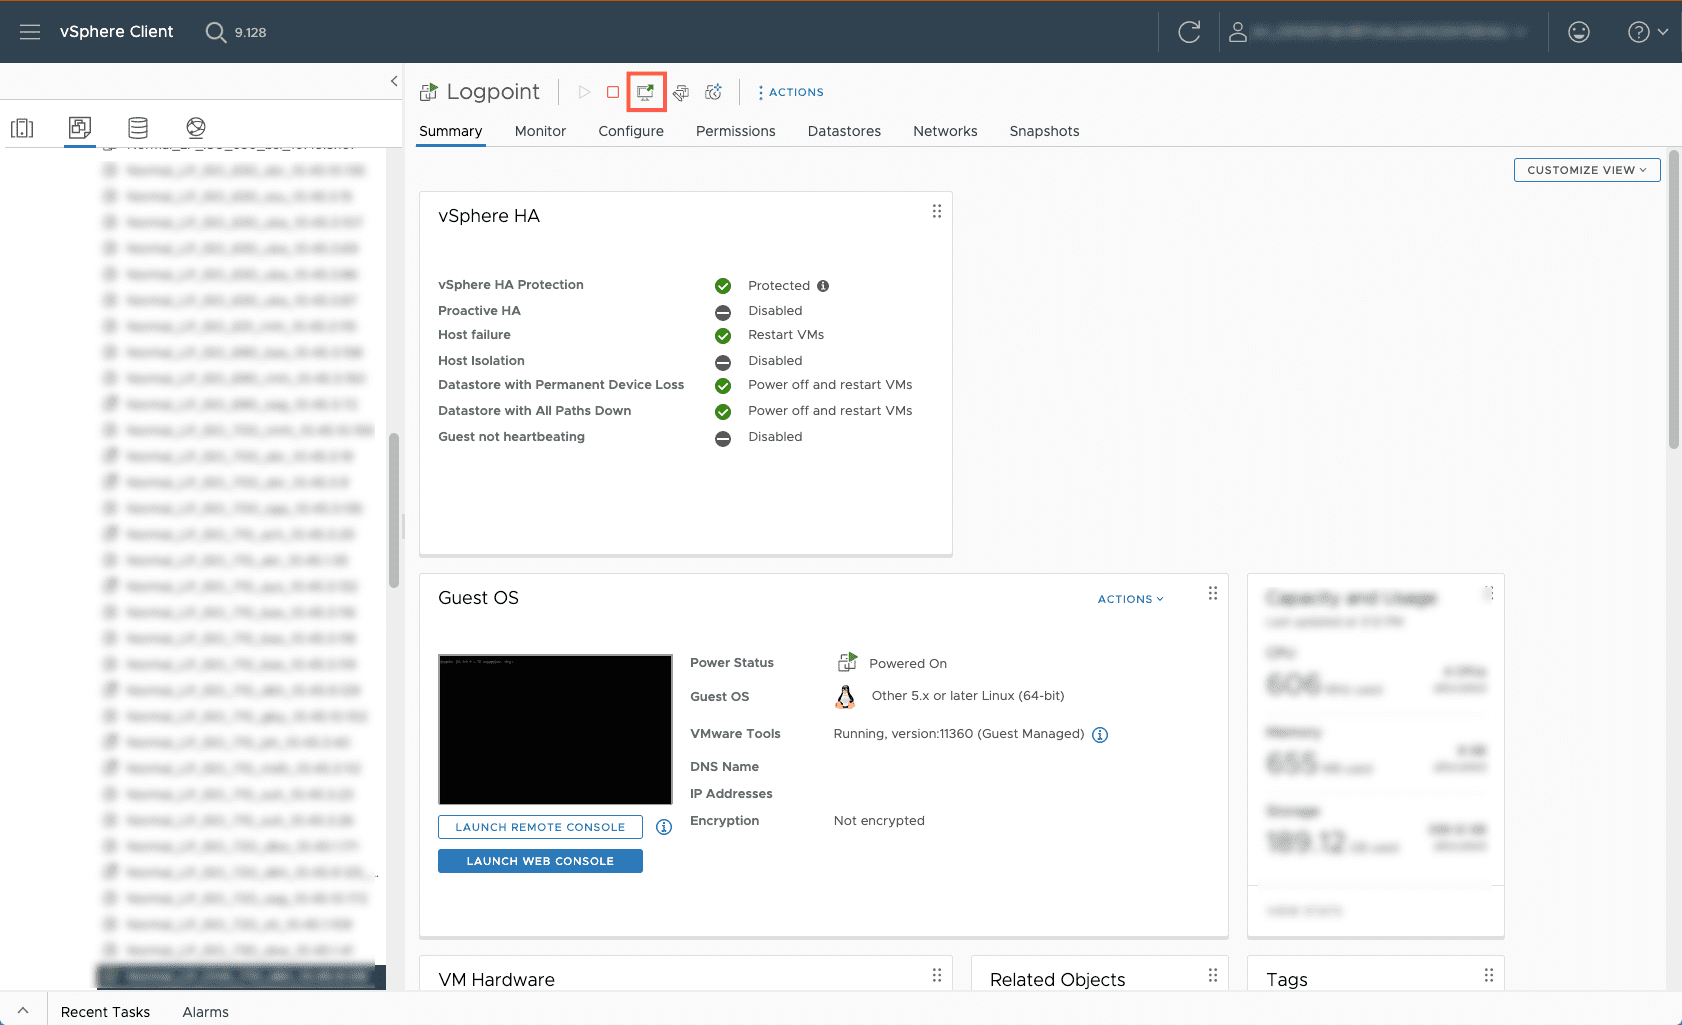
Select the required virtual machine.
Go to Actions >> Power >> Power On.
Click on Launch Console.
Launching Console
Select Web Console. Click LAUNCH.
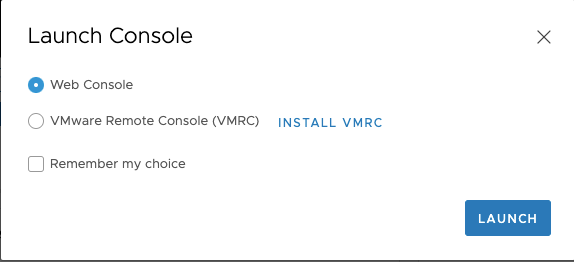
Launching Web Console
Use these credentials to log in:
Username: li-admin
Password: changeme
Run command change-ip.
Enter HOSTNAME.
Example: Logpoint
Enter the IP for your machine.
Example: 10.45.3.64
Enter NETMASK.
Example: 255.255.255.0
Enter GATEWAY.
Example: 10.45.9.1
Enter PRIMARY DNS.
Example: 10.0.3.2
Enter SECONDARY DNS. (Optional)
Example: 8.8.8.8
Enter DOMAIN.
Example: logpoint.local
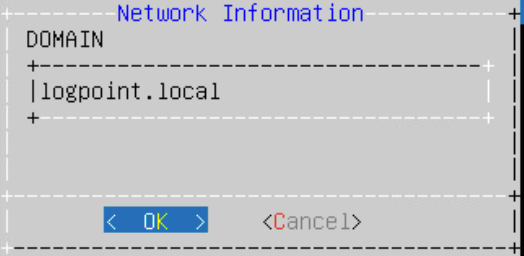
Entering Domain
Select OK.
Run command reboot.
You need a valid Logpoint license to operate your application. This license contains the details of the purchased product, the number of sources the product can handle, and the license’s expiration date.
Before adding a license, contact your vendor and provide them with your Hardware Key. You can find the hardware key under Settings >> System >> Logpoint License. The vendor then sends you the license key based on your requirements.
To install a Logpoint license:
Download the License Key.
Go to Settings >> System >> Logpoint License.
Click Add License.

Adding a Logpoint License
Browse the file containing the License Key.
Go through the END USER LICENSE AGREEMENT (EULA). Mark the checkbox if you agree with the terms and conditions of the EULA.
Click Submit.
After successfully installing Logpoint, you can access the system through the console using the username li-admin. The li-admin user needs an SSH key pair to establish an SSH connection.
You can create and use an SSH key pair for the li-admin user by following the steps given below.
Configuring SSH key pair for the li-admin user
Go to Settings >> System >> System Settings.
Select the SSH Key Pair for li-admin tab.
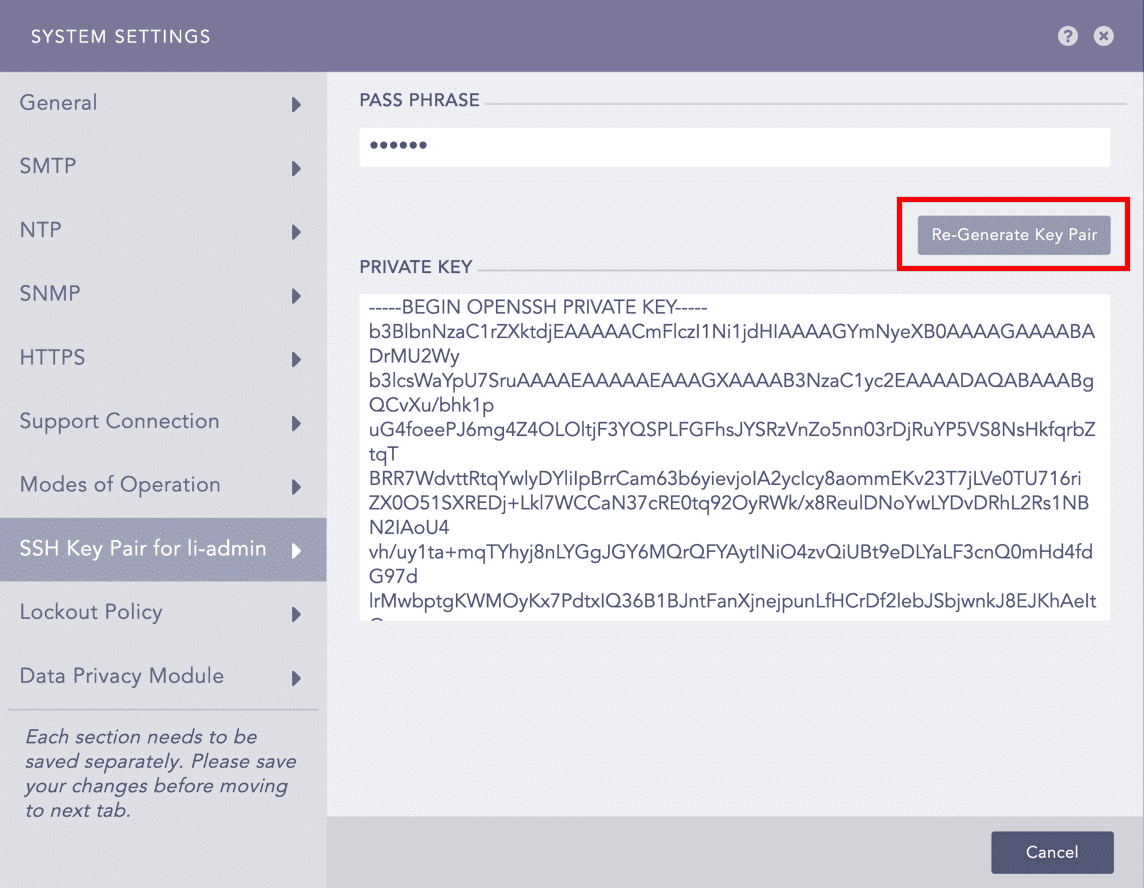
Generating an SSH key pair for a li-admin user
Provide a Pass Phrase.
Click Re-Generate Key Pair.
Copy the Private Key and save it in a file.
Use the chmod 400 <filename> command to make the key accessible for an SSH connection.
Example:
chmod 400 Logpoint.txt
Use the ssh -i "<filename>" li-admin@<LogPoint_Server_IP> command.
Example:
ssh -i "Logpoint.txt" li-admin@10.45.3.64
Enter the Pass Phrase to establish the SSH connection from the remote device.
Once the SSH connection is established, you can either use a password authentication or SSH key pair to access the system.
Note
You can contact the Logpoint Support team in case of any issues. For details on troubleshooting and support, go to Support Connection.