You can create User Groups, add users to them and configure pool permissions in them. The user group is associated with one of the permission groups. Hence, a particular user group setting is a combination of pool permissions and site permissions. The user group setting is applied only to the users associated with a group.
User Groups
Warning
The User Account Administrator users cannot view the users present in the LSPM Administrator user group.
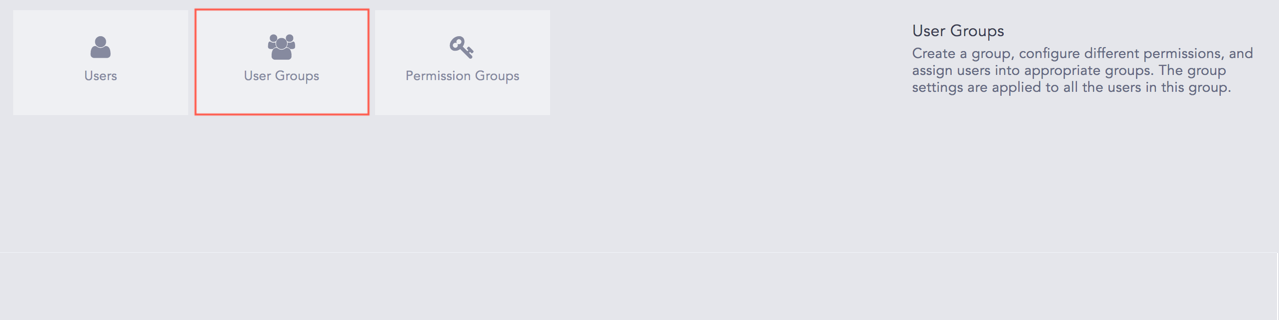
Go to Settings >> User Accounts >> User Groups.
Note
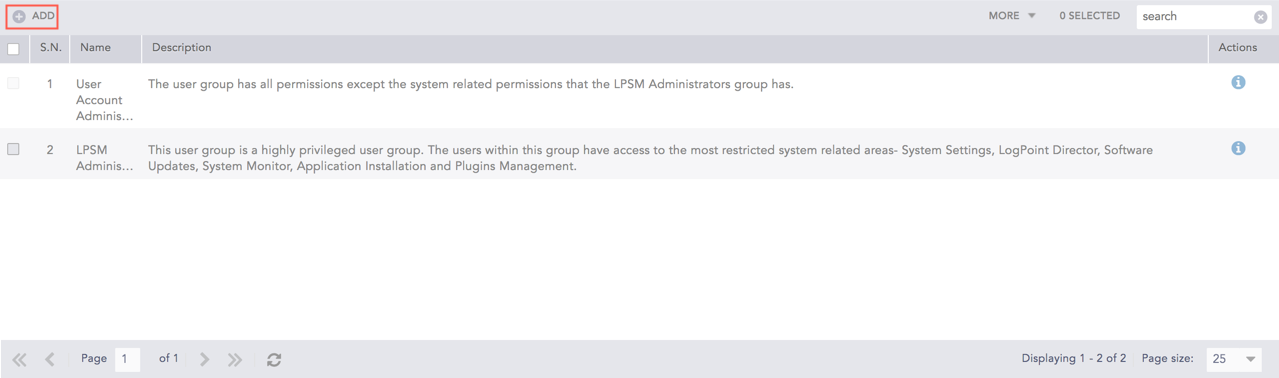
There are two user groups in LPSM by default:
The LPSM Administrator user group is a highly privileged user group. Users assigned to this group have access to all the settings items listed in the User Accounts, Configuration, LogPoint Configuration, and System tabs.
The User Account Administrator user group has all permissions except access to the System tab.
These default user groups cannot be edited or deleted.
Click Add.
Add a User Group
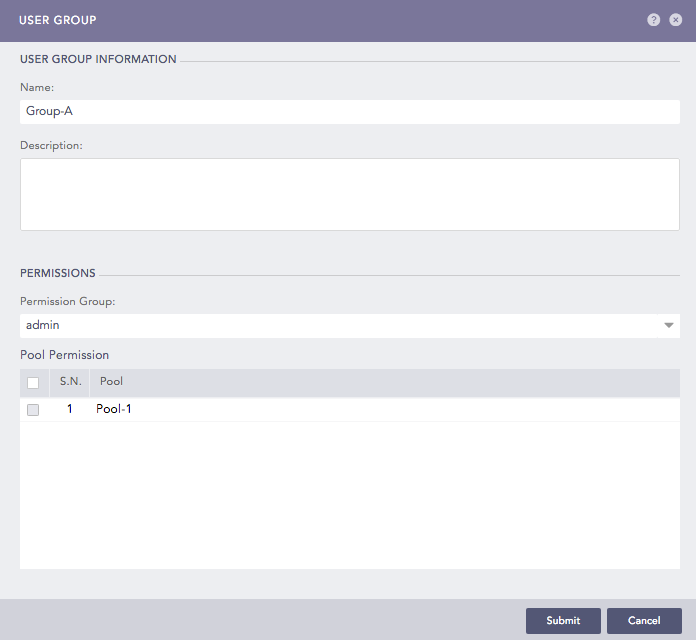
User Group Pop-up Panel
Enter a Name and a Description for the user group.
Select a Permission Group from the drop-down.
Select the LogPoint pool from the Pool Permission. Setting the pool permission allows users to search logs from only the selected pools.
Click Submit.
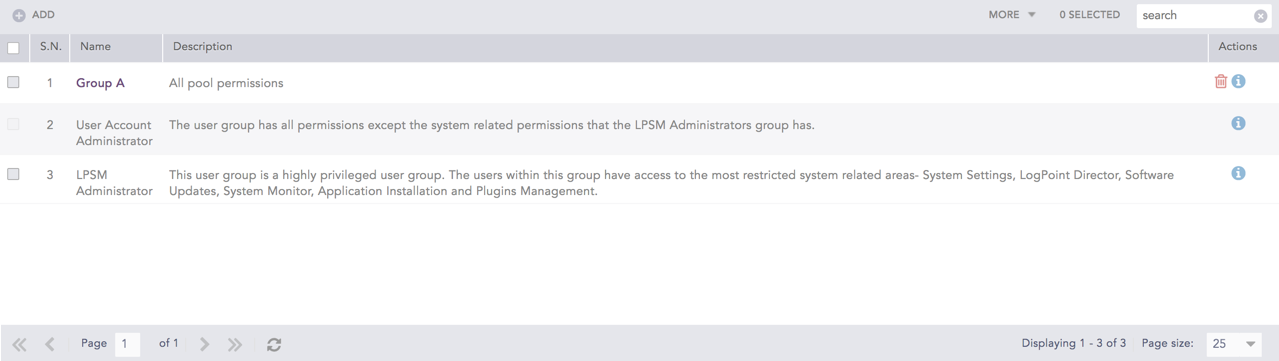
List of User Groups
Click the Name of the user group.
Update the information and click Submit.
Before deleting a user group, make sure that no user is currently using the user group.
To delete a user group, click the Delete (![]() ) icon from the Actions column of the user group.
) icon from the Actions column of the user group.
Note
To delete multiple user groups, select the user groups. Click the More drop-down and select Delete Selected.
To delete all user groups, click the More drop-down and select Delete All.
Click Yes.