Go to Settings >> Configuration >> STIX/TAXII.
STIX/TAXII Application
Note
You can also configure the STIX/TAXII enrichment source from the Threat Intelligence Management panel.
Select the Settings tab.
Select the Enable Source option to fetch STIX data from a TAXII server.
Enter the Discovery URL, which is the location of the discovery service in the TAXII server.
Select a STIX Version.
5.1. If you select the 1.X version:
5.1.1. Select the Fetch From option in hours or days. The application fetches data from the last selected hours or day.
5.1.2. Select the Fetch Interval option in either hours or days.
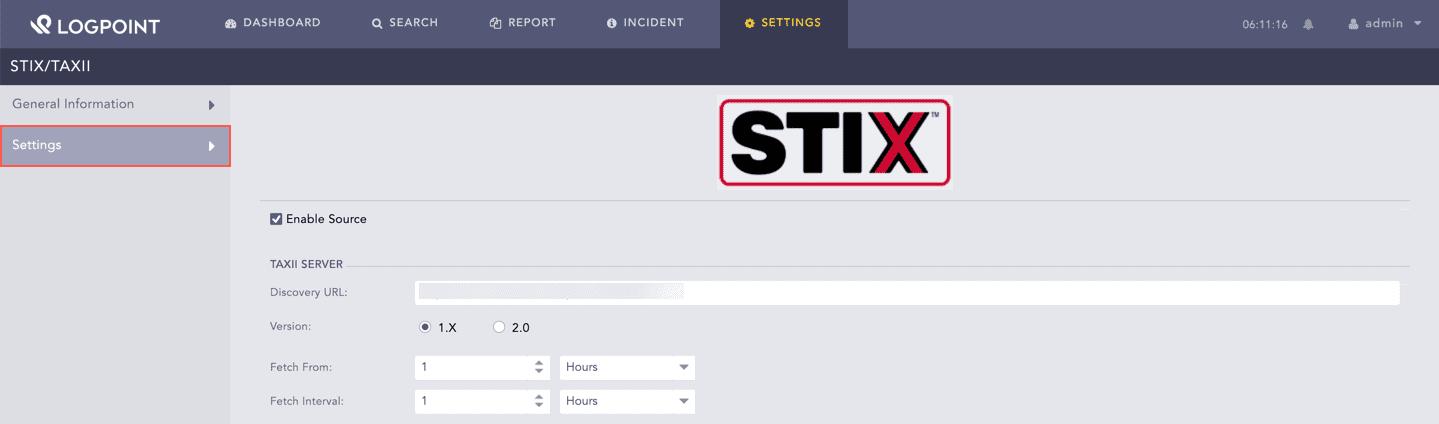
Selecting STIX 1.X Version
5.2. If you select the 2.0 version, select the Fetch Interval option in either hours or days.
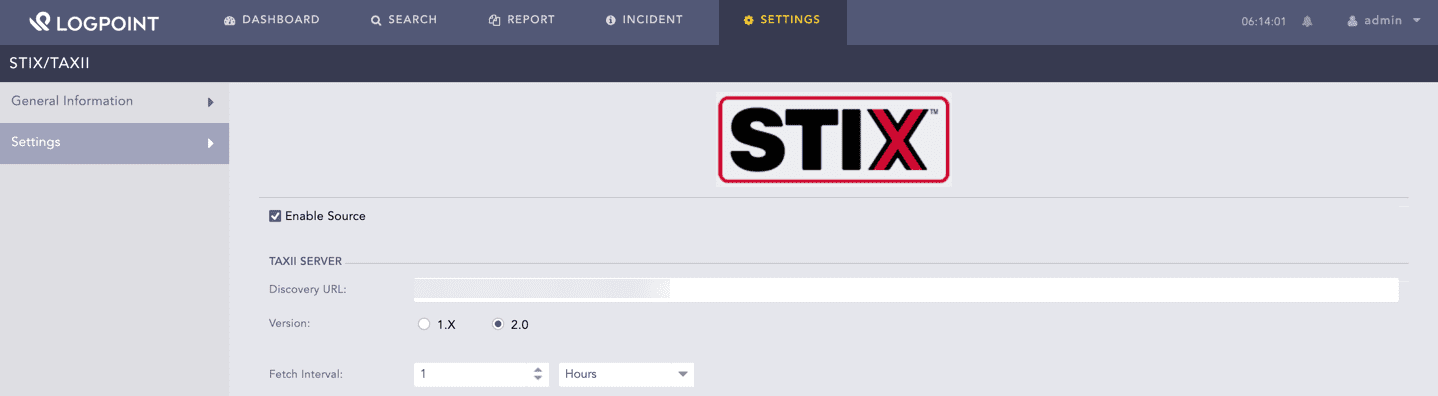
Selecting STIX 2.0 Version
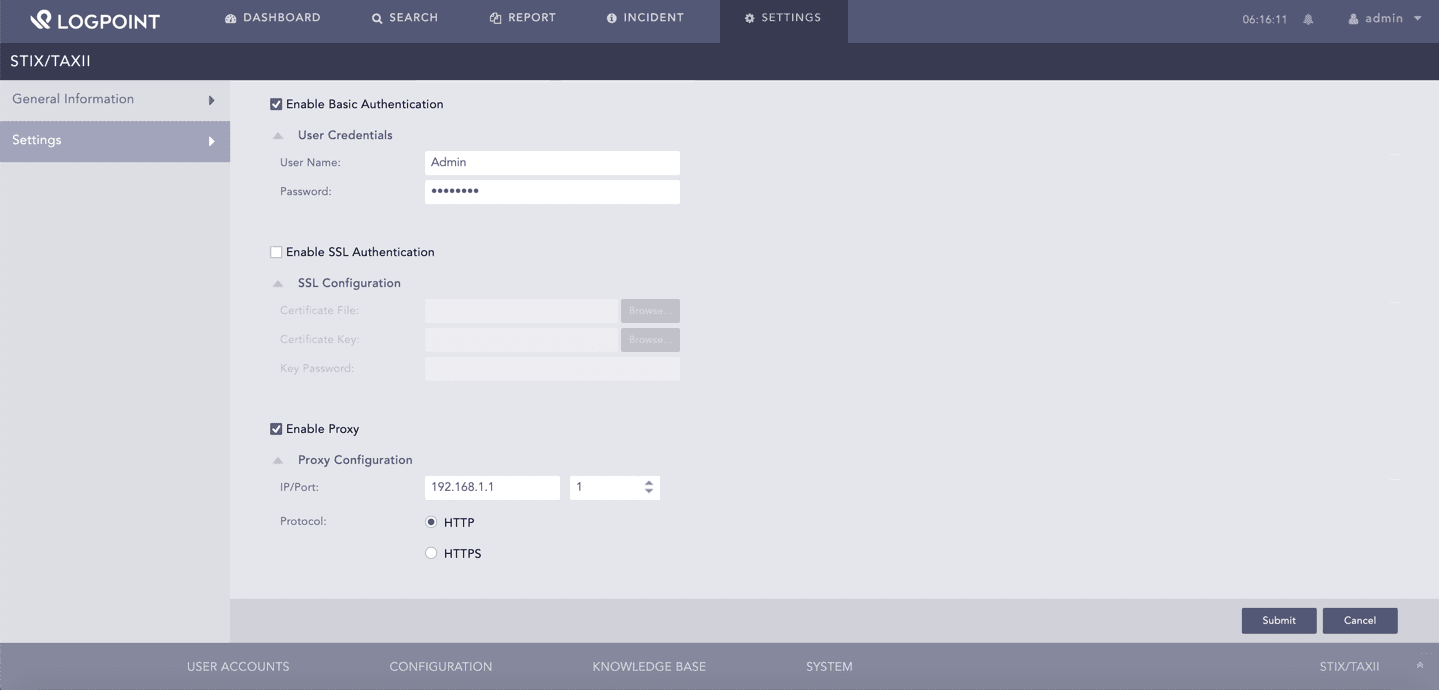
Select the Enable Basic Authentication option if your TAXII server uses basic authentication.
In the User Credentials section, enter your User Name and your Password of the TAXII server.
Select the Enable SSL Authentication option if your TAXII server uses SSL authentication.
In SSL Configuration:
9.1. Upload the SSL certificate file in the Certification File.
9.2. Upload the SSL key file in the Certificate Key.
9.3. If you configured a password for SSL key decryption, enter it in Key Password. If you didn’t configure a password, leave Key Password blank.
Select the Enable Proxy option to connect the TAXII server via a proxy server.
In the Proxy Configuration section:
11.1. Enter the IP address and the Port number of the proxy server.
11.2. Select HTTP or HTTPS protocol as required.
Click Submit.
Configuring STIX
The General Information page gives an overview of the fetched information from STIX/TAXII. It displays the status of fetched data along with the time for Last Fetch Attempt and the Last Successful Fetch.
Go to Settings >> Configuration >> STIX/TAXII.
Select the General Information tab.
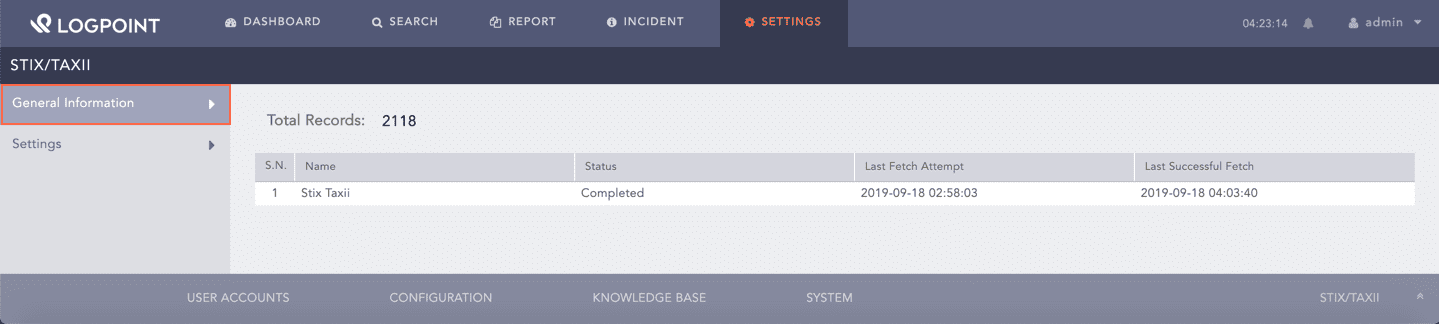
General Information