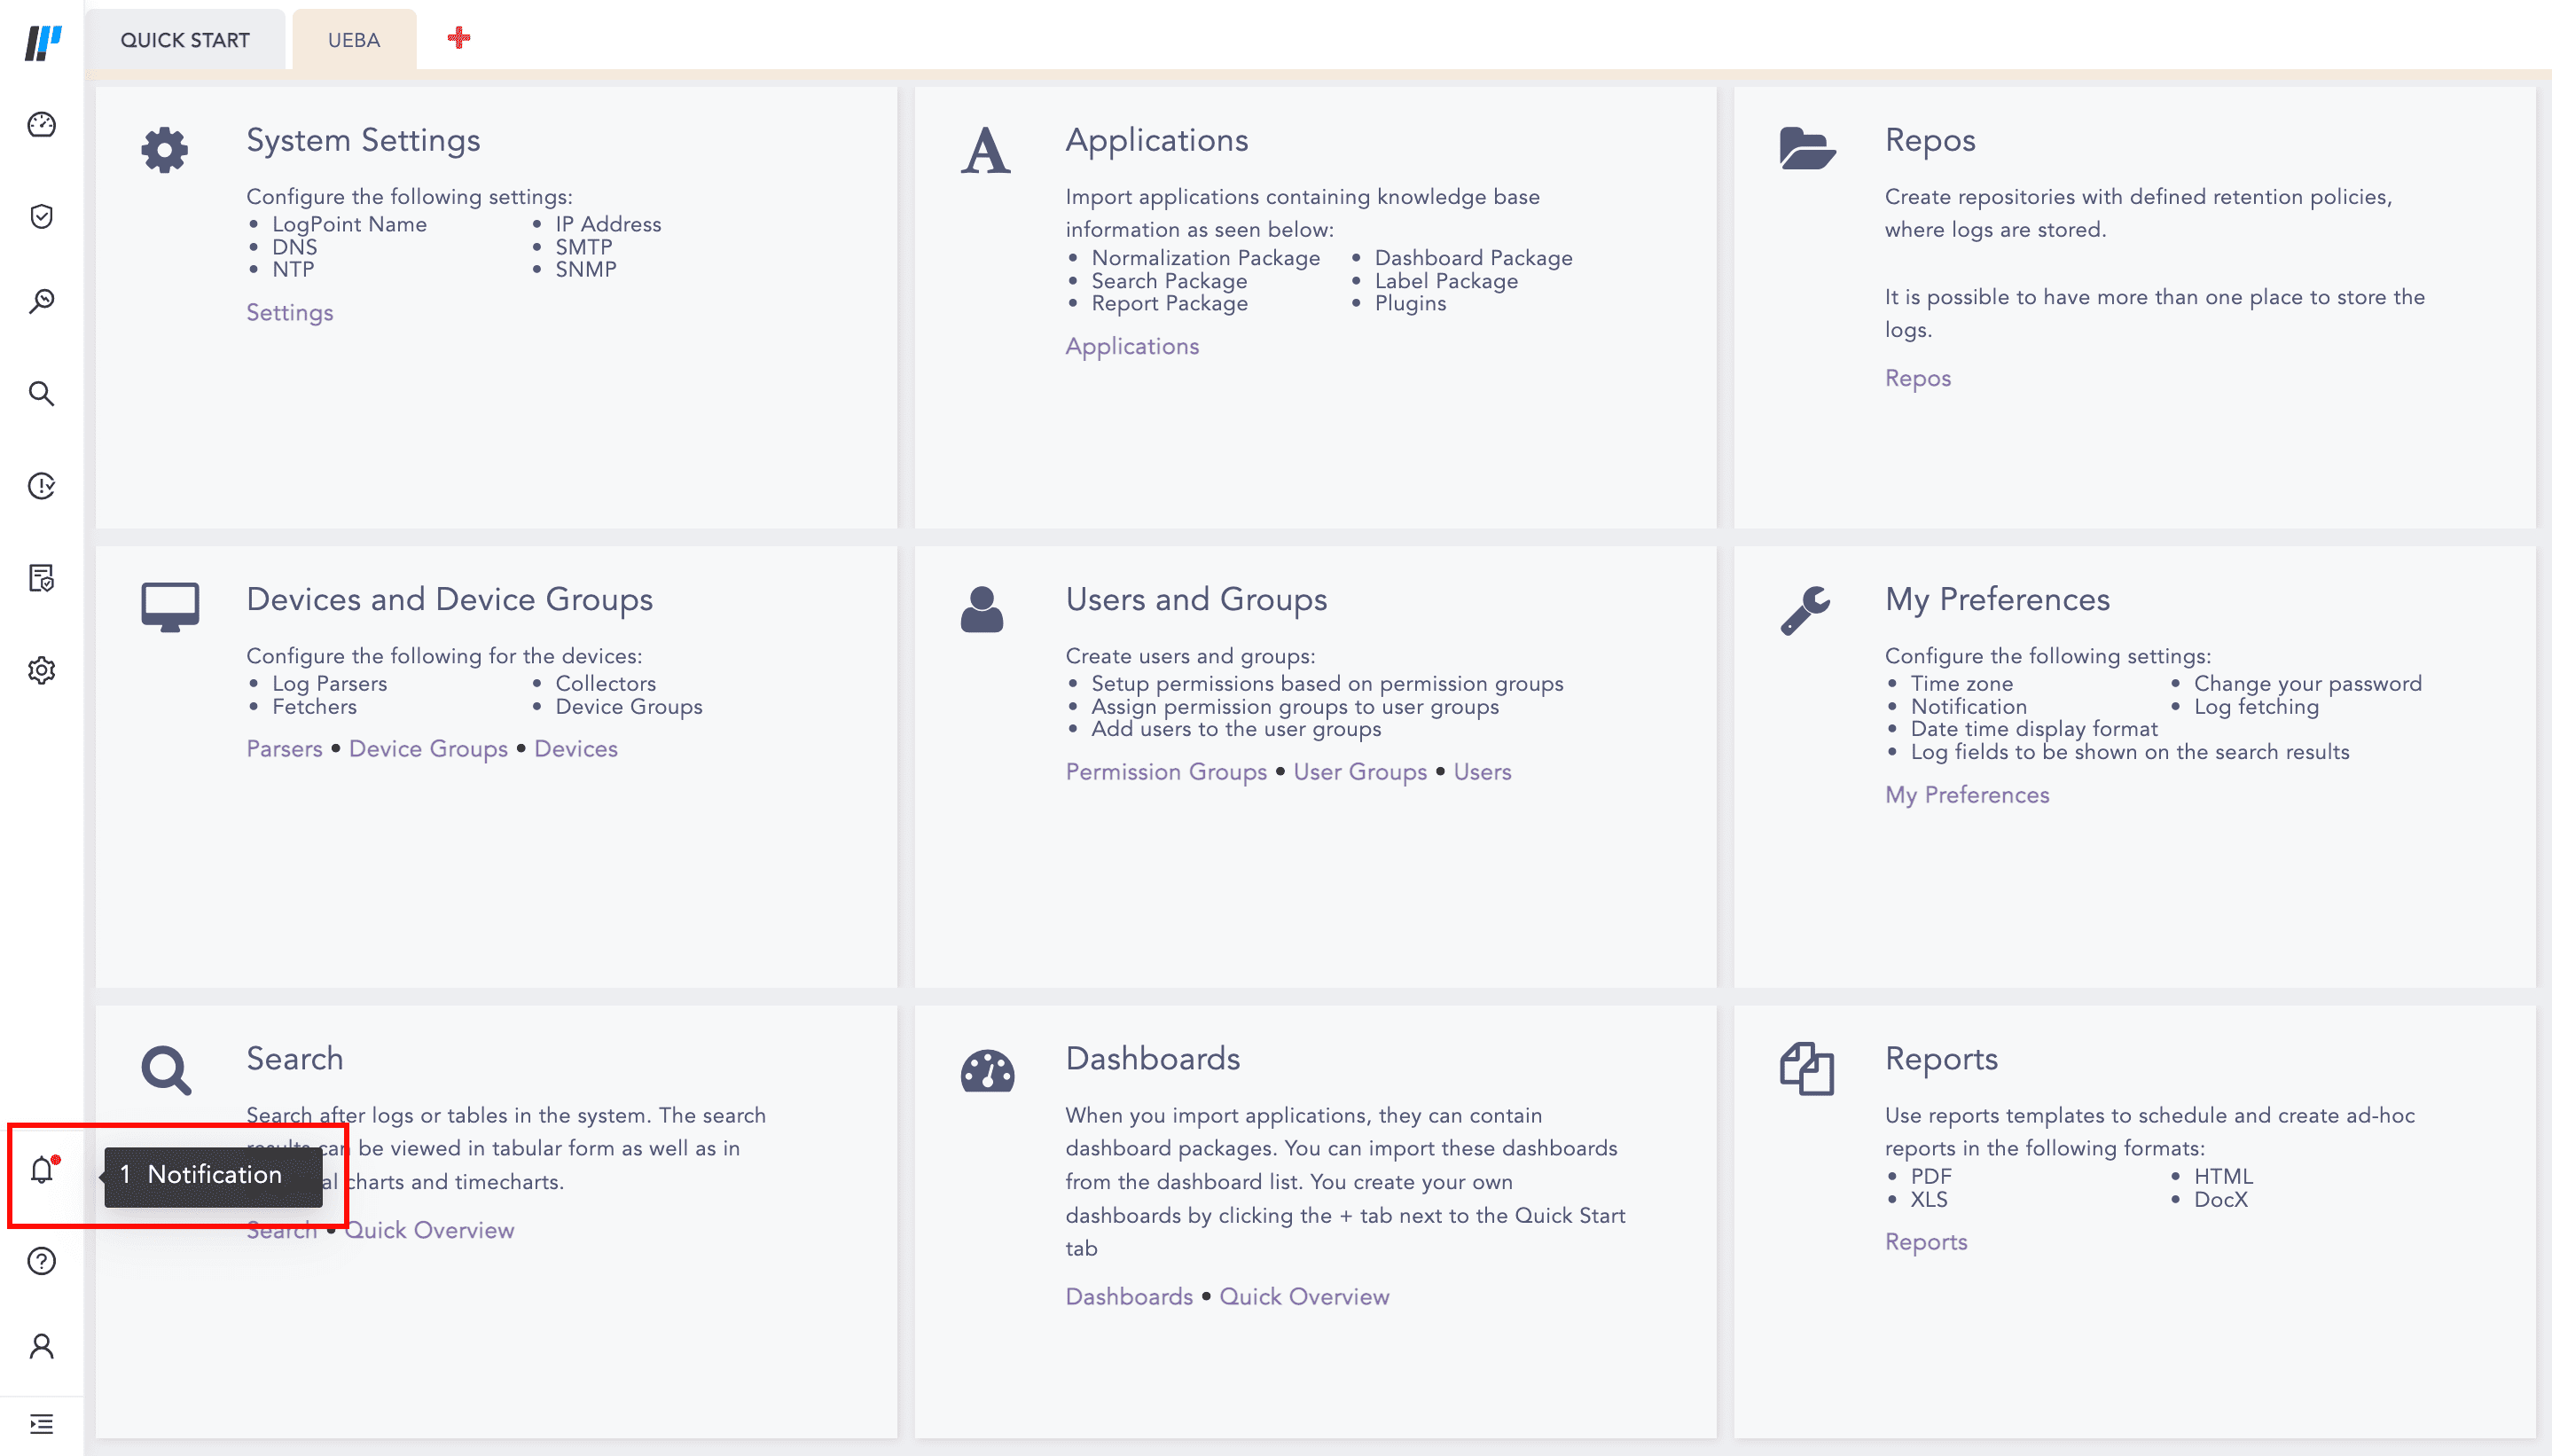
The Disk Notification notifies you of the total disk usage by Logpoint file systems. When there is a new notification, the navigation bar displays an alert. Click the Notification icon to open Notification Center.
Disk Notification
Notifications have one of two severity levels:
Notification with critical severity when the disk usage reaches 80% of its allocated space.
Notification with alert severity when the disk usage reaches 90% of its allocated space.
A Logpoint administrator can configure these values to generate notifications at any threshold. Similarly, manually configured notifications also do not include severity.
Note
If you configured disk notification before upgrading to Logpoint v6.8.0, Logpoint adds and generates the default two severity level notifications. Pre-existing notifications and notifications configured prior to Logpoint v6.8.0 do not include severity level.
The Disk, CPU, and Memory Notifications use a common SSH Certificate.
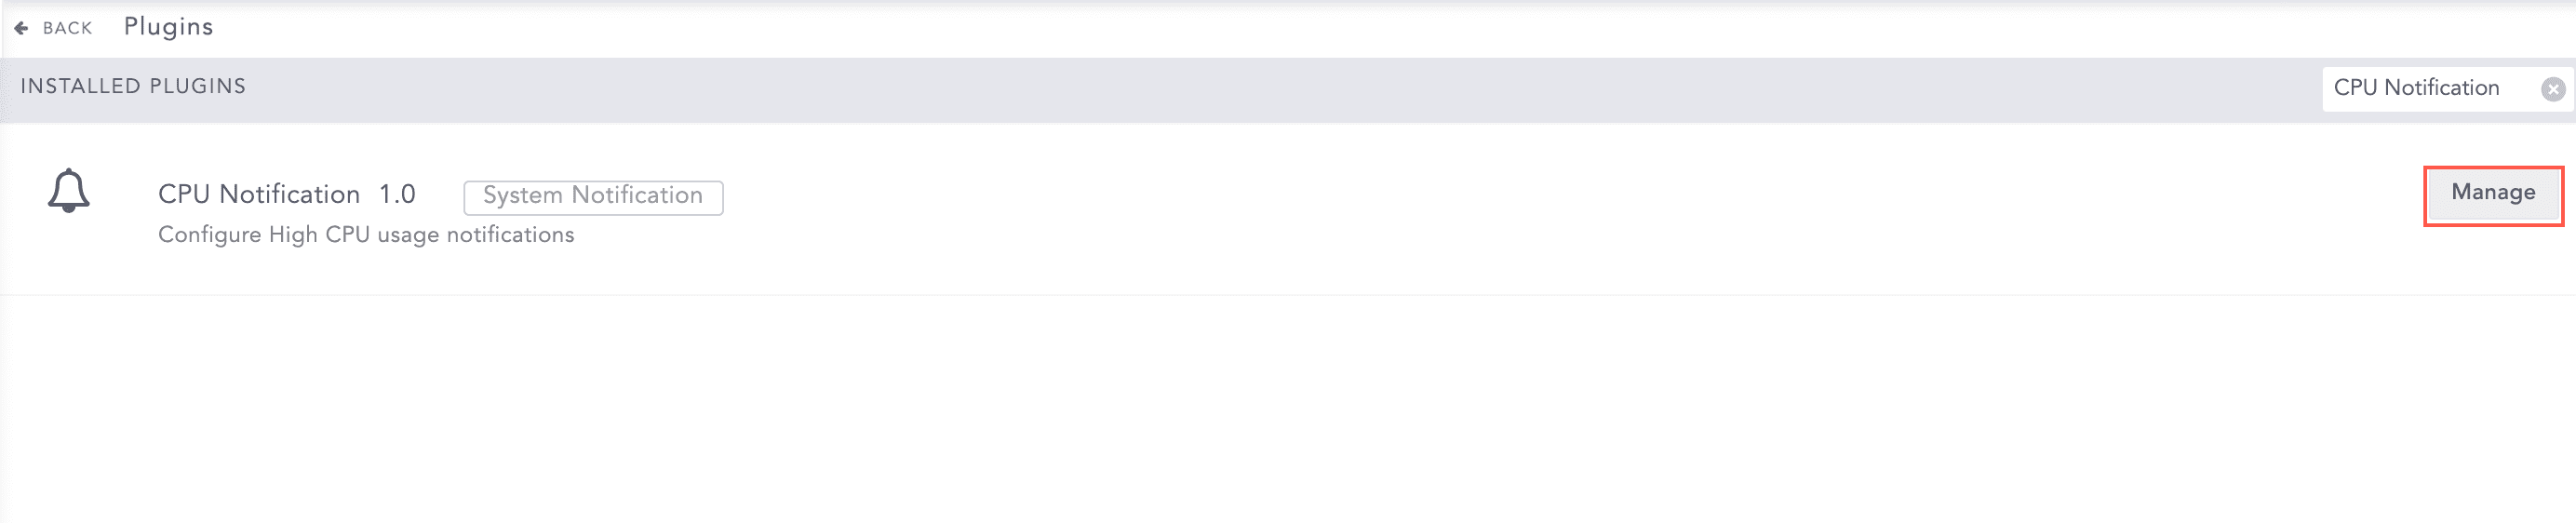
Go to Settings >> System Settings from the navigation bar and click Plugins.
Search for Disk Notification.

Disk Notification
Click Manage.
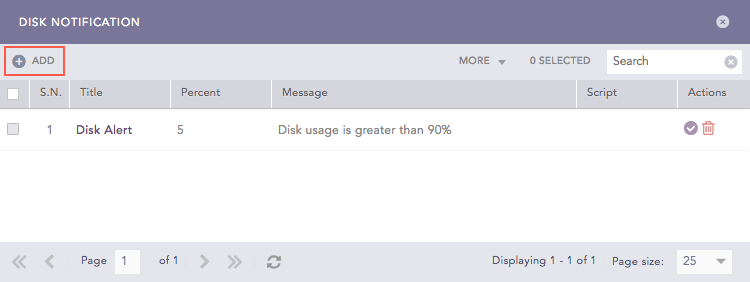
A Disk Alert notification is configured by default. This can be de-activated or deleted by an admin user.
Disk Notification Panel
Click Add.

Adding a Disk Notification
Provide the threshold Percent.
Once the threshold is reached, a notification is triggered.
Provide the Title and Message.
Optional: Specify a system Command that needs to be initiated when the threshold is reached. Make sure that the command is a valid bash command and is executable.
The following Bash command checks for free disk space at /dev/sda and also cleans up cached packages at that location:
df - Th/dev/sda

sudo apt-get clean
Provide the address of the remote Server and the Port number.
Select a mode of Authentication.
If you choose Password, provide a Password.
If you choose SSH Certificate, an SSH Certificate is automatically generated.
The password or the SSH certificate key are required for user validation while accessing the remote server. Make sure you note them.
Click Submit.
Go to Settings >> System Settings from the navigation bar and click Plugins.
Search for CPU Notification.
CPU Notification
Click Manage for the CPU Notification plugin.
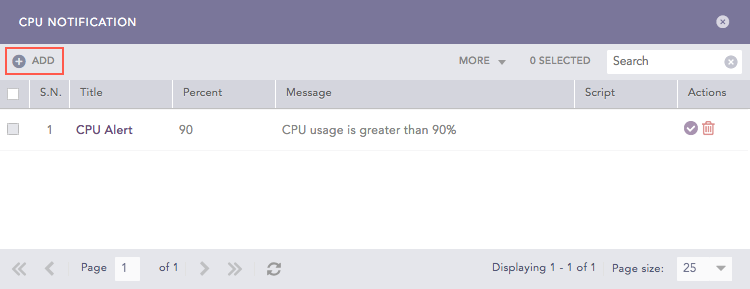
Click Add.
CPU Notification Panel
Provide the threshold Percent for the CPU usage. Once the threshold is reached, a notification is triggered.
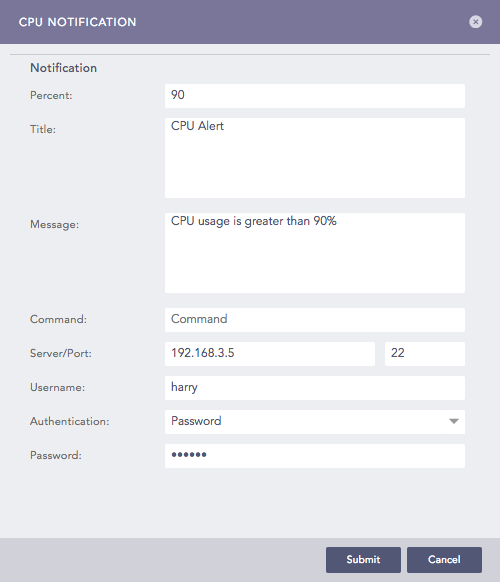
Adding a CPU Notification
Provide the Title and Message of the CPU notification.
Specify a system Command that needs to be initiated when the threshold is reached. Make sure that the command is a valid bash command and is executable. Providing a Command is optional.
The following command checks for any files greater than 50MB and lists them in the terminal:
sudo find / -type f -size +50M -exec ls -lh {} \;
Provide the address of the remote Server and the Port number.
Select a mode of Authentication.
If you choose Password, provide a Password.
If you choose SSH Certificate, an SSH Certificate is automatically generated.
Please note the password or the SSH certificate key as they are required for user validation while accessing the remote server.
Click Submit.
You can configure the Memory usage notification with this option.
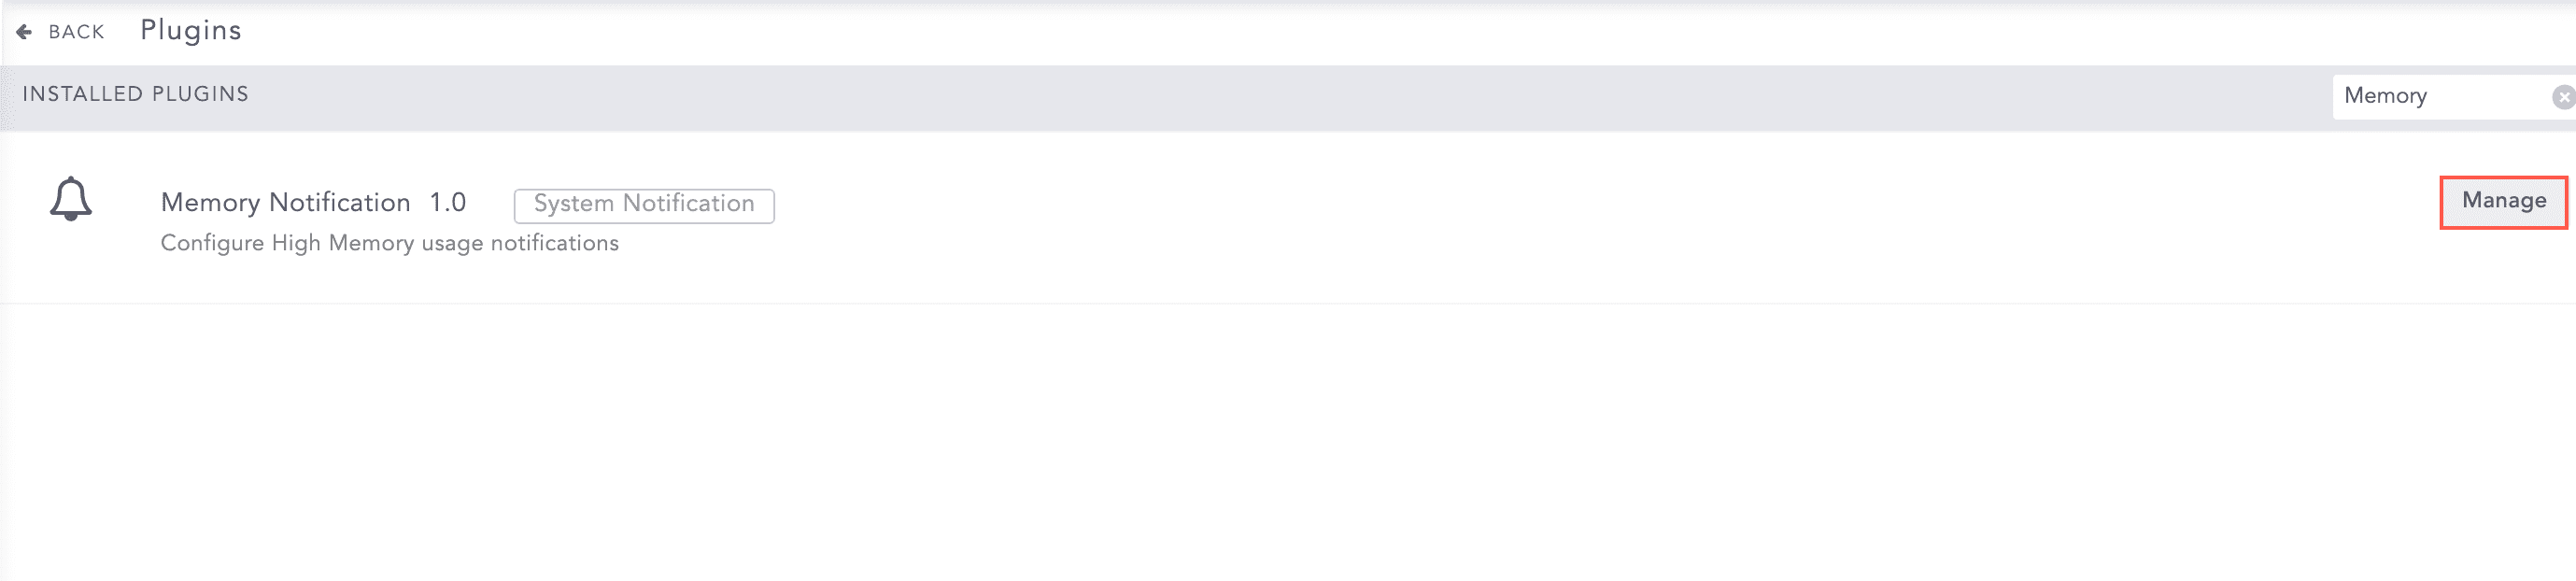
Go to Settings >> System Settings from the navigation bar and click Plugins.
Search for Memory Notification.
Memory Notification
Click Manage for the Memory Notification plugin.
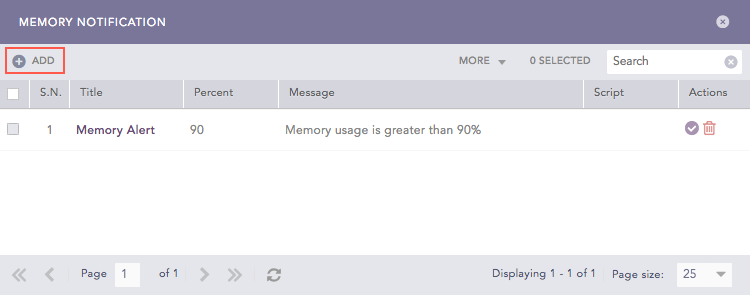
Click Add.
Memory Notification
Provide the threshold Percent for the memory usage. Once the threshold is reached, a notification is triggered.

Memory Notification
Provide the Title and Message of the Memory notification.
Specify a system Command that needs to be initiated when the threshold is reached. Make sure that the command is a valid bash command and is executable. Providing a Command is optional.
The following command clears all the PageCaches in the RAM:
# sync; echo 1 > /proc/sys/vm/drop_caches
Provide the address of the remote Server and the Port number.
Select a mode of Authentication.
If you choose Password, provide a Password.
If you choose SSH Certificate, an SSH Certificate is automatically generated.
Please note the password or the SSH certificate key as they are required for user validation while accessing the remote server.
Click Submit.
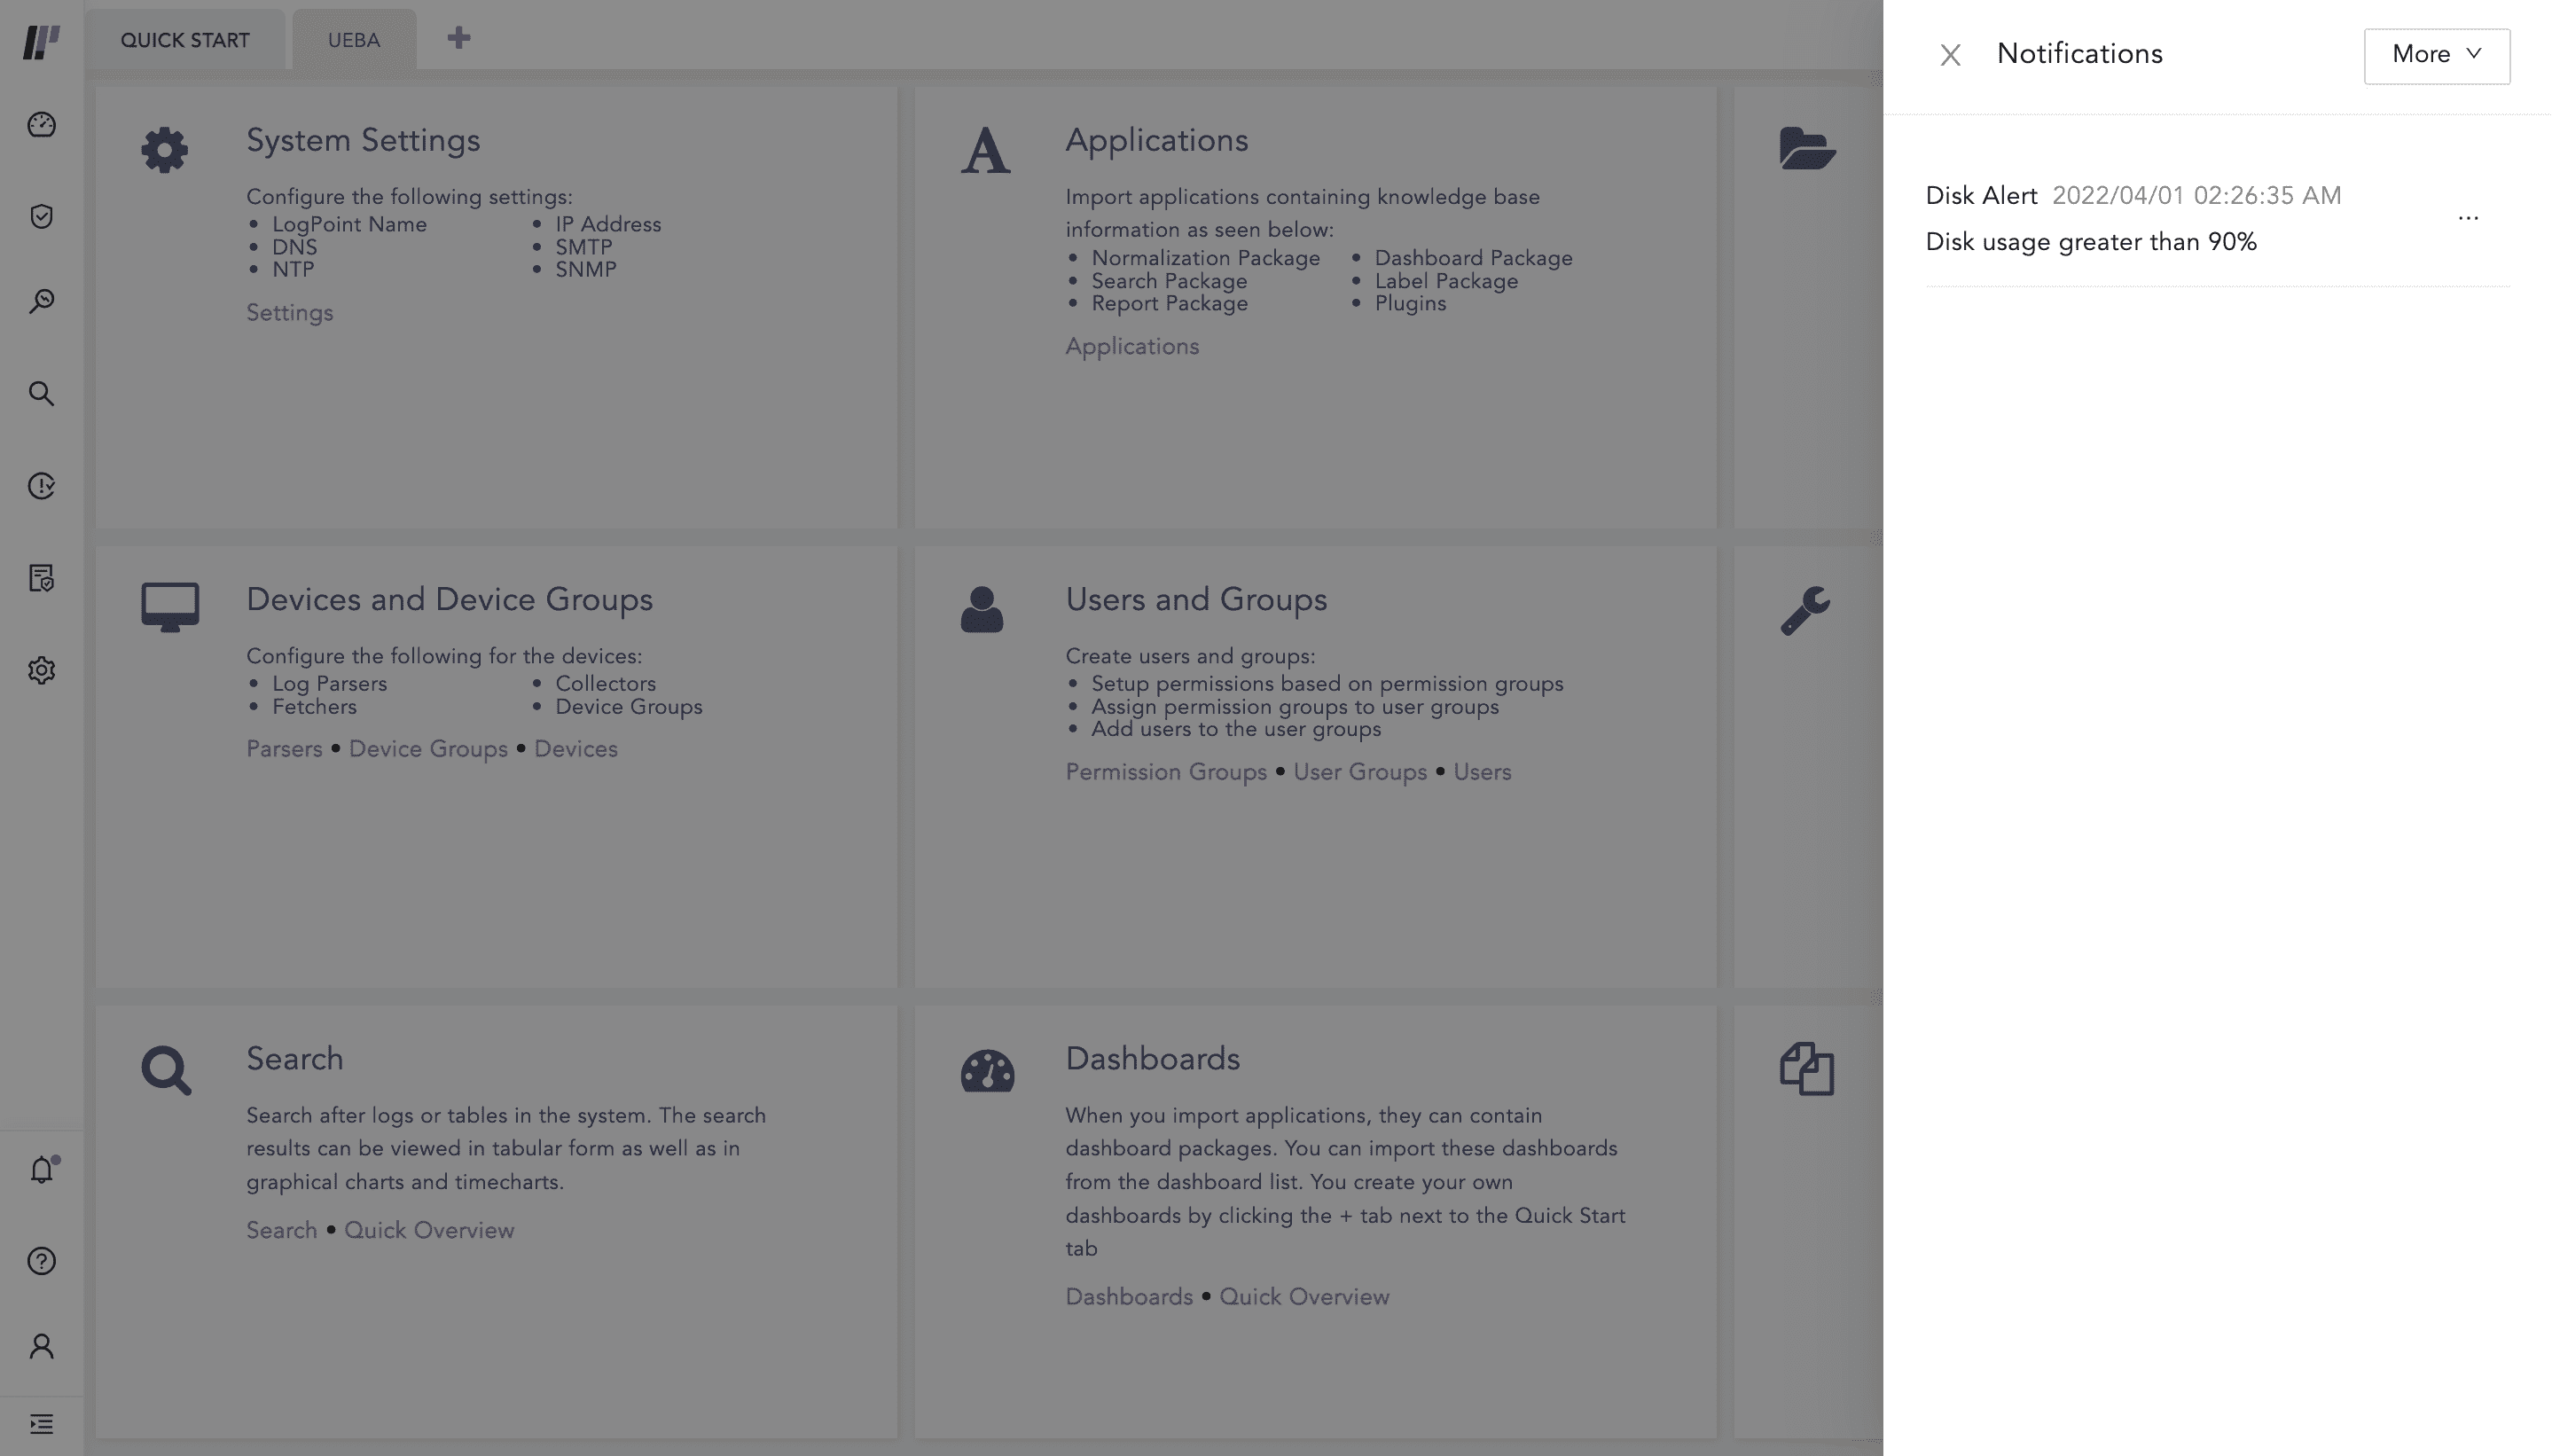
Notification Center