The Manage LDAP Strategy page allows you to edit, delete, and de-activate an LDAP Strategy and map LDAP groups to LogPoint user groups.
Note
Refer to the Create LDAP Strategy section for details on how to create an LDAP Strategy.
Go to Configure >> Settings >> Operations >> Manage LDAP Strategy.
Select the LogPoint instances where you want to manage the LDAP Strategy.
Click Next.
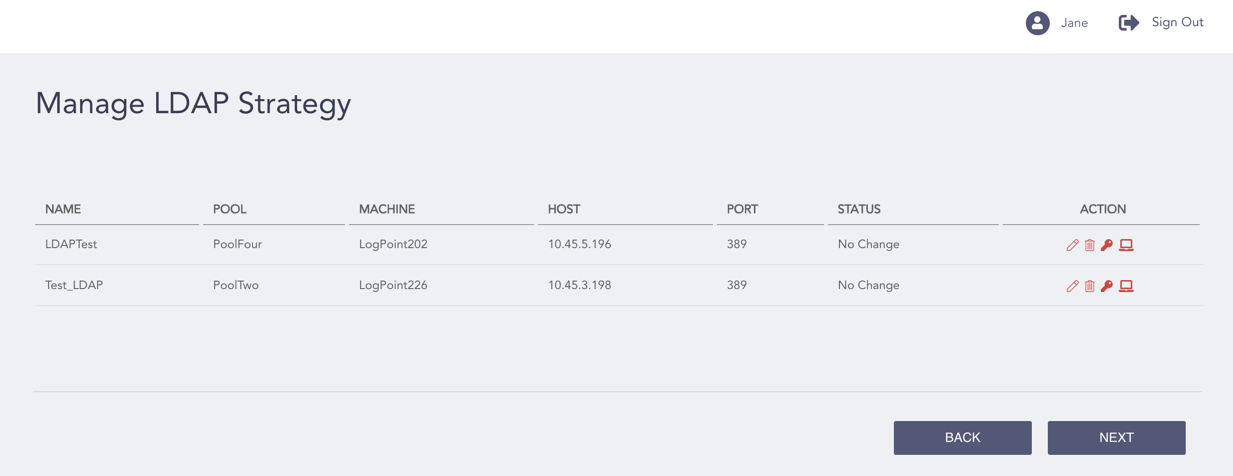
Manage LDAP Strategy Page
In the Action column, click the Edit ( ) icon to edit an LDAP strategy, click the Delete (
 ) icon to delete an LDAP strategy, or click the De-activate (
 ) icon to de-activate an LDAP strategy.
Click the Map LDAP Groups to LogPoint User Groups ( ) icon to map LDAP groups to LogPoint user groups for an LDAP strategy. This action redirects you to the Manage LDAP Groups page.
Note
You must refresh LDAP User Groups and LogPoint User Groups from the Refresh List APIs section before mapping LDAP groups to LogPoint user groups.
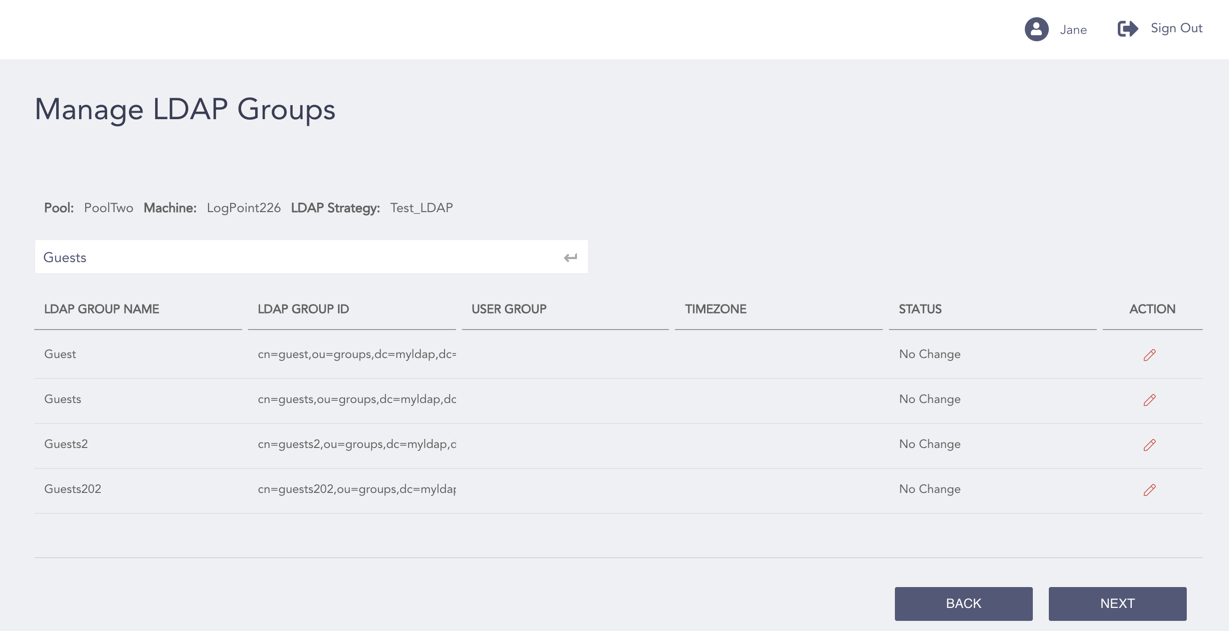
Manage LDAP Groups Page
Enter the LDAP group name in the search bar and press Enter.
Click the Edit () icon from the Action column of the Manage LDAP Groups page.

Edit LDAP Group
In the Edit LDAP Group pop-up, select a Timezone and a LogPoint User Group.
Click Save.
Click Next.
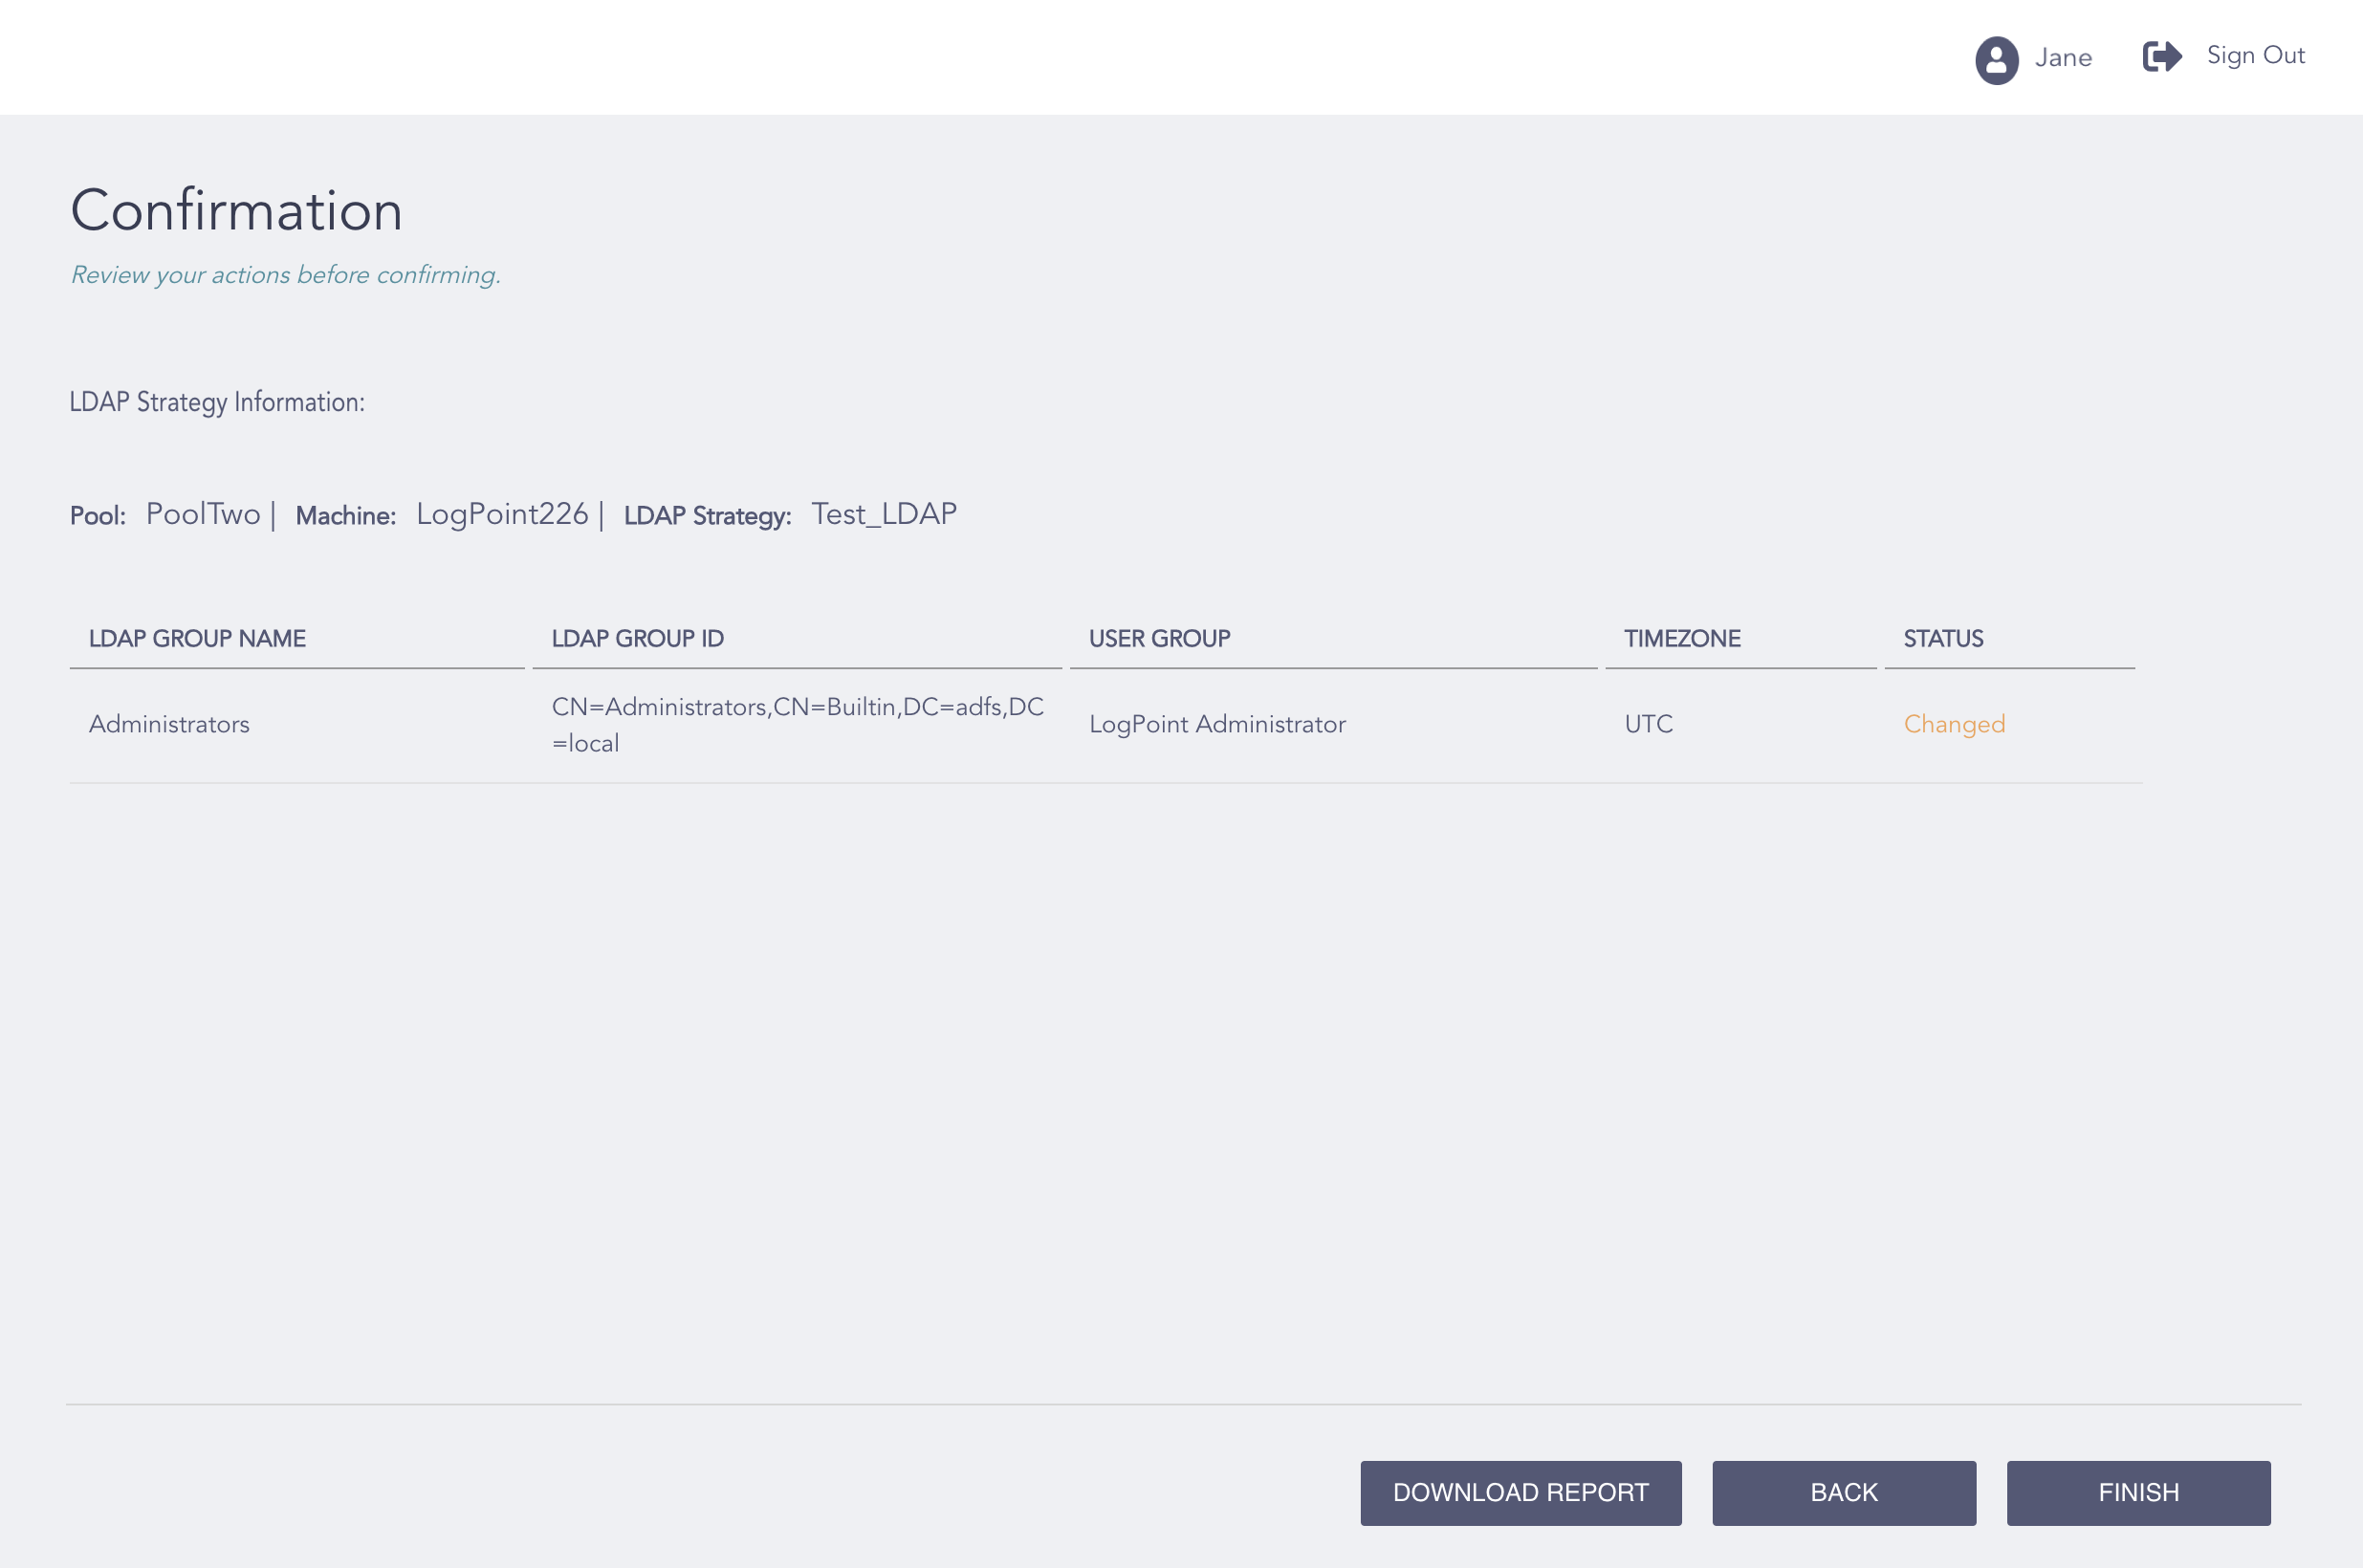
Manage LDAP - Confirmation Page
Review your changes. You can go Back to make any changes if necessary.
Note
Click Download Report to save the summary of the task in PDF.
Click Finish.
Click OK.