Click Configure in the navigation bar.
Under Settings, click Plugins.
Select the STIX/TAXII Enrichment Source from the Select Plugin Type drop-down.
Select Logpoint to configure the STIX/TAXII enrichment source. You can select multiple Logpoints of different pools.
Note
You cannot select a subscriber Logpoint to configure the STIX/TAXII enrichment source. The subscriber Logpoint receives these configurations from its provider Logpoint.
You can use Refresh List to sync the data between Logpoint and Director Fabric.
Click Next.
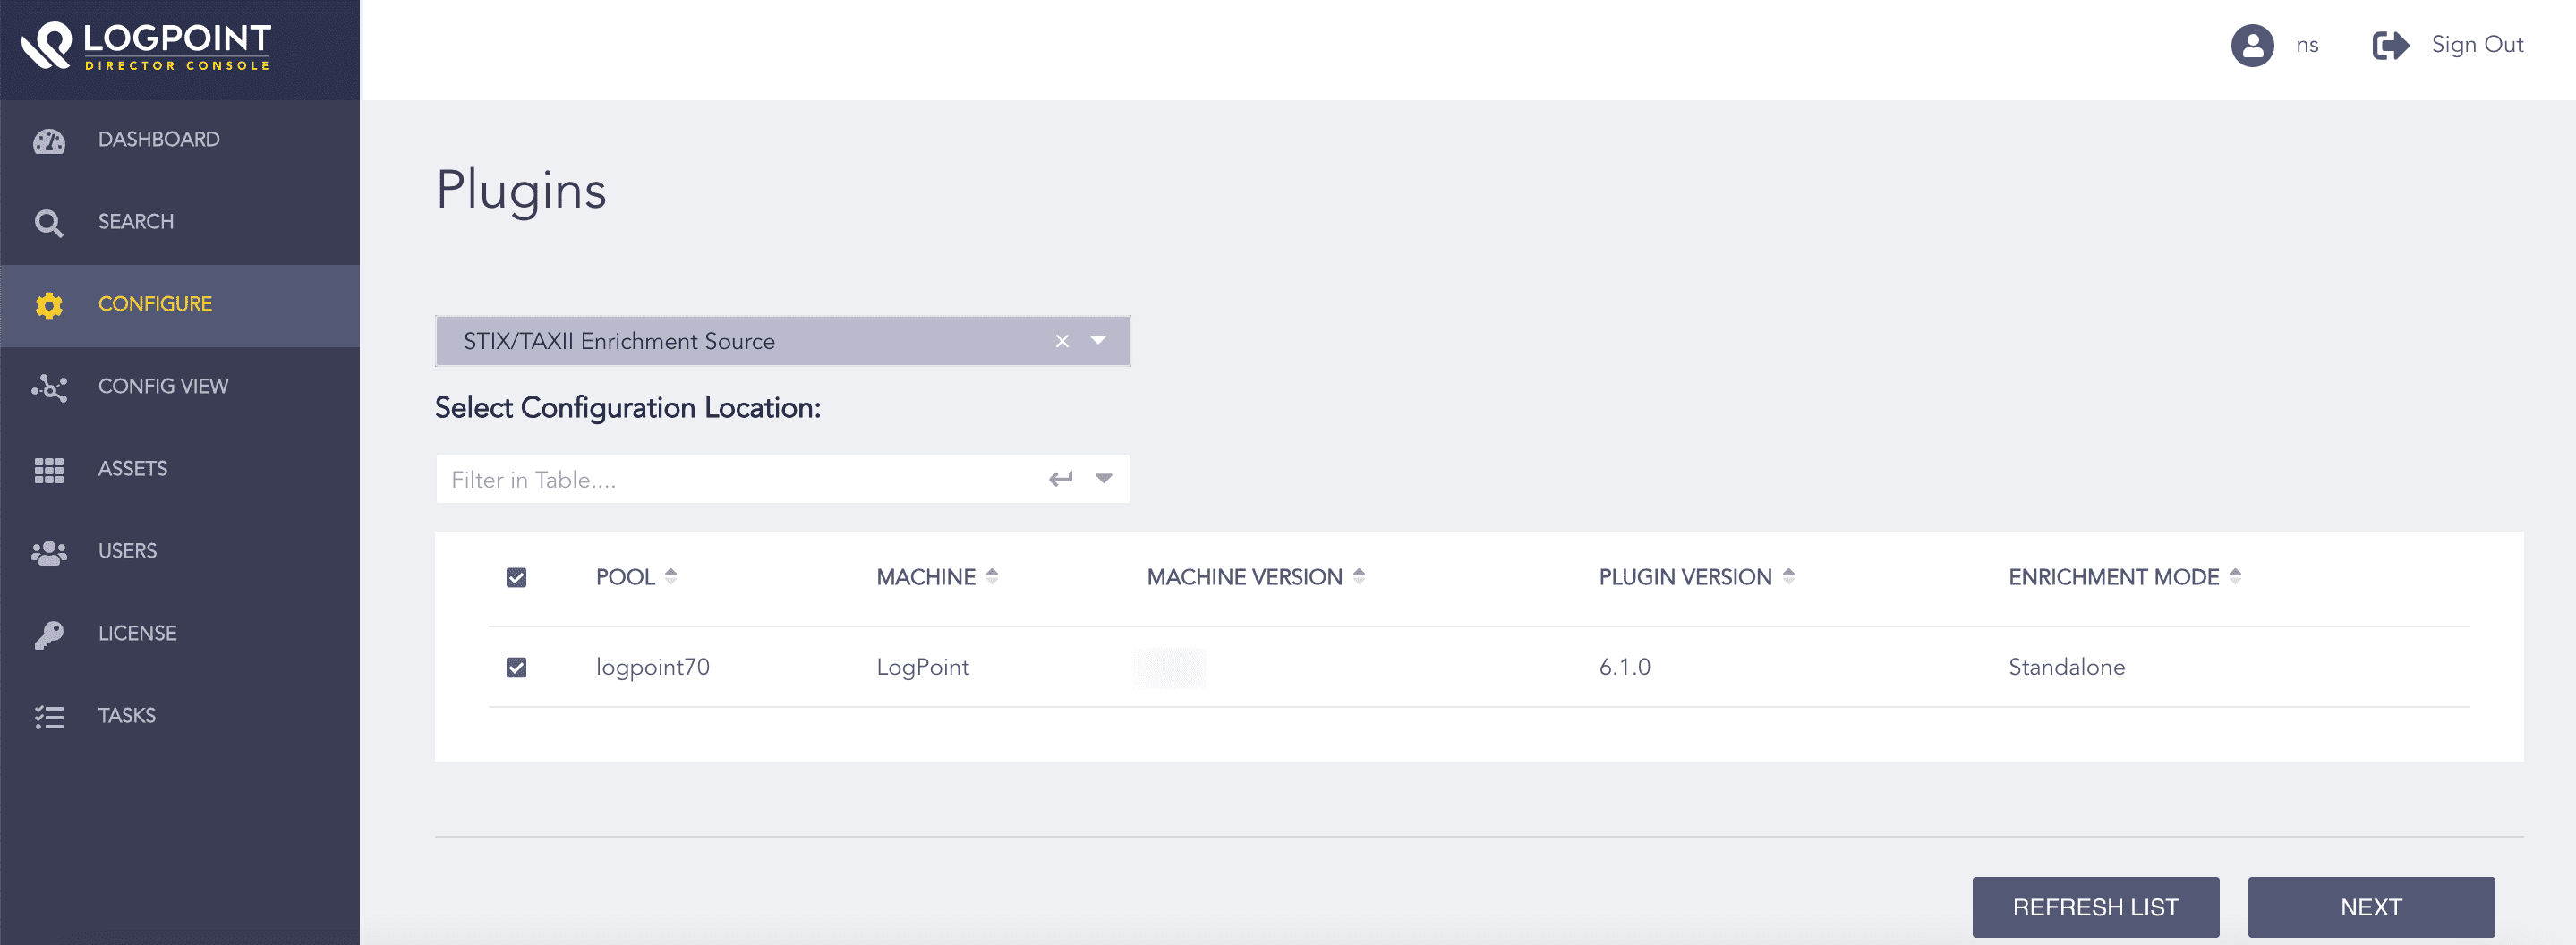
Selecting Logpoint
Select Enable Source to fetch STIX data from a TAXII server.
Enter the Discovery URL, which is the location of the discovery service in the TAXII server.
Select a STIX Version.
8.1. If you select version 1.X, select Fetch From date and Fetch From Unit. StixTaxii fetches logs from the specified date.
Enter the Fetch Interval.
Select Fetch Interval Unit in either hours or days.
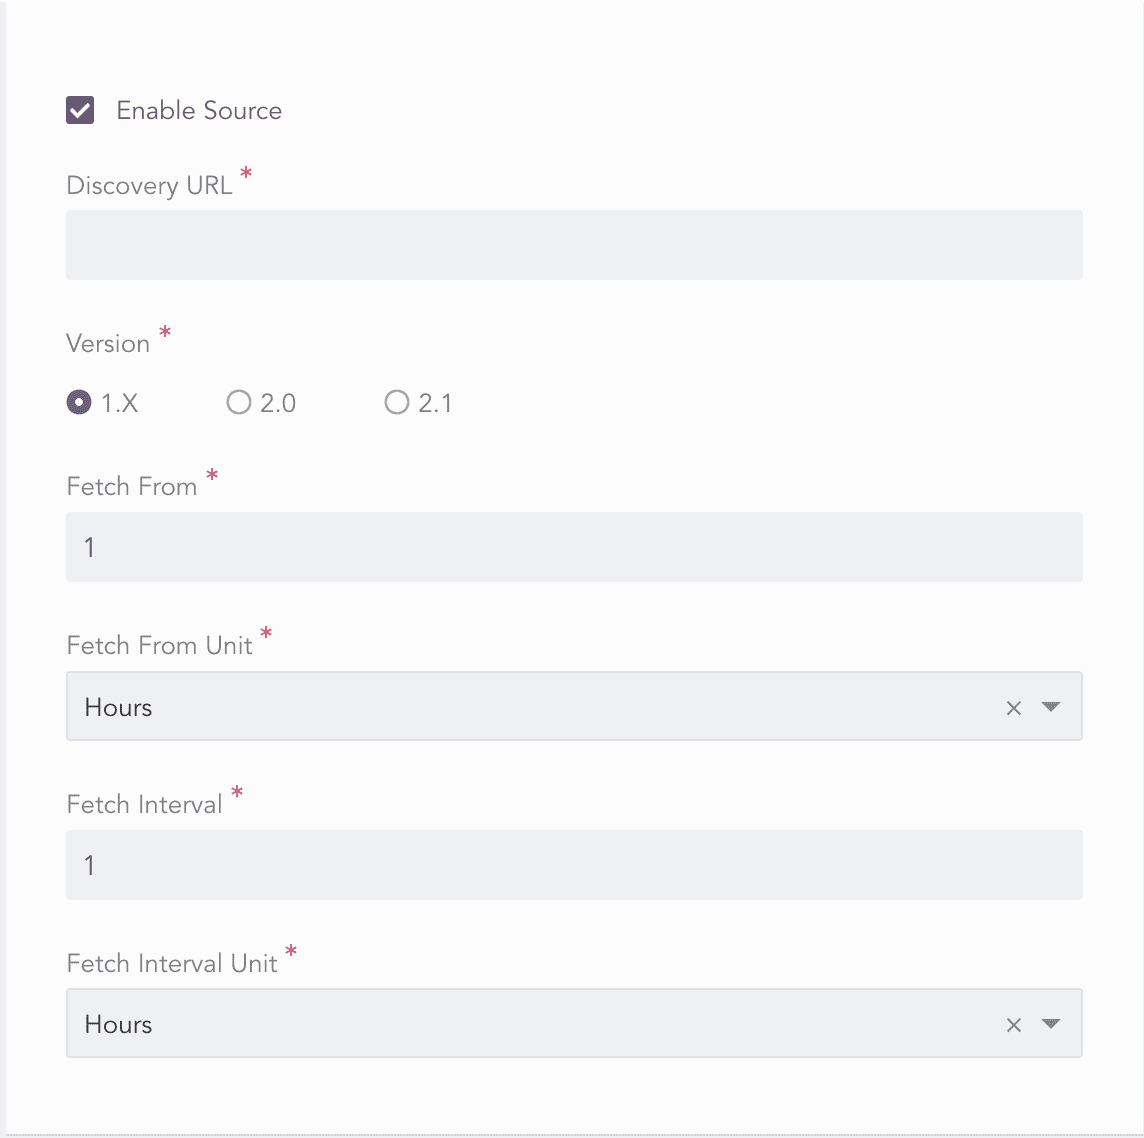
Configuring STIX/TAXII Enrichment Source
Select Enable Basic Authentication if the TAXII server uses basic authentication.
In User Credentials, enter the TAXII server Username and Password.
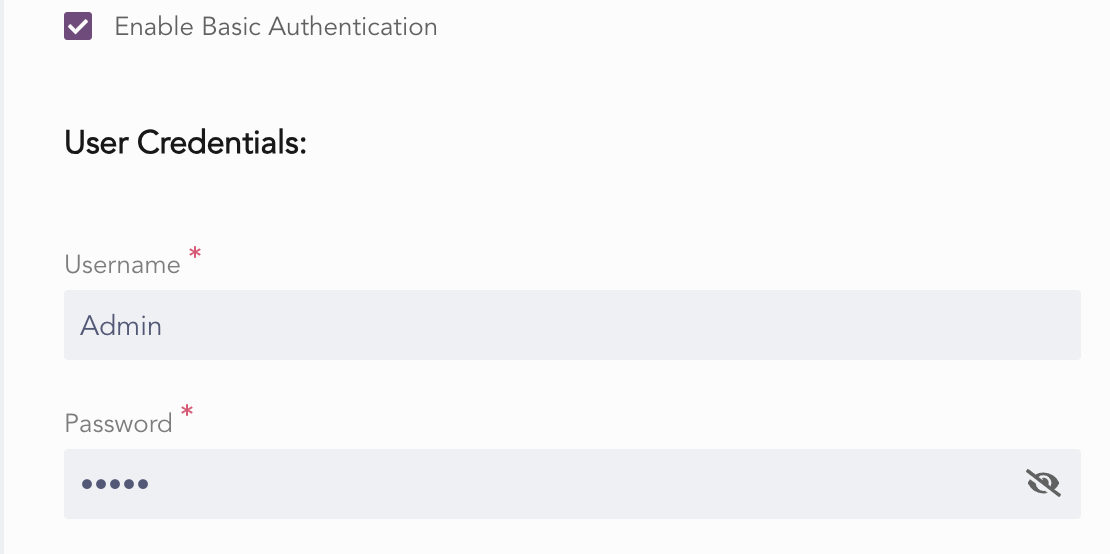
Enabling Basic Authentication
Select Enable SSL Authentication if the TAXII server uses SSL authentication.
In SSL Configuration:
13.1. Enter the Key Password, which is the password used to decrypt the SSL key.
13.2. Upload the SSL certificate in the Certification File.
13.3. Upload the SSL key in the Certificate Key.
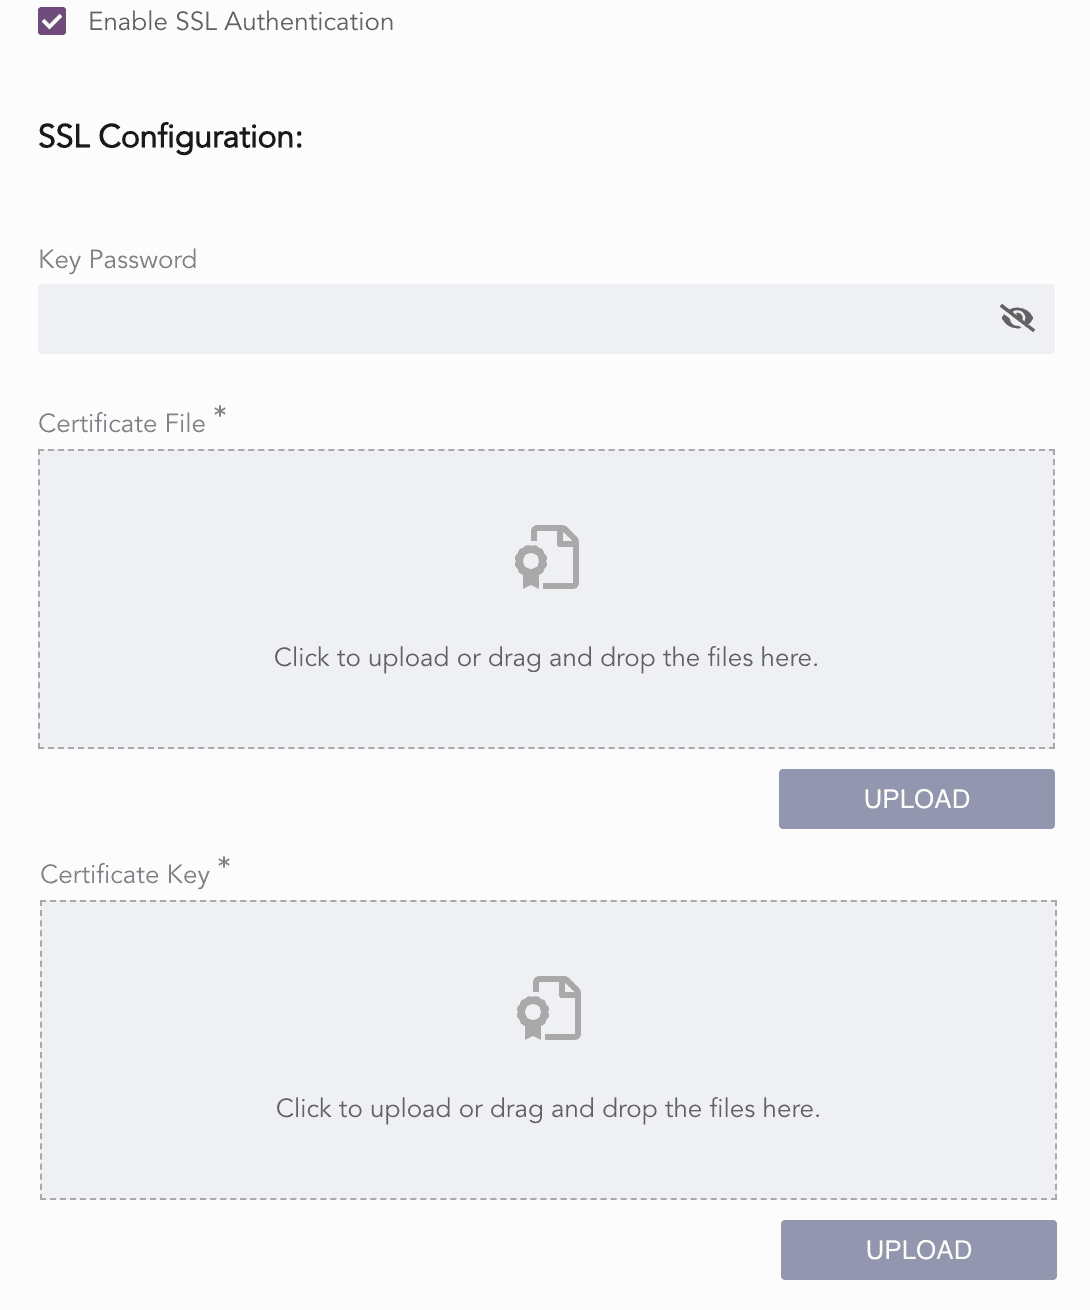
Enabling SSL Authentication
Select Enable Proxy to use a proxy server.
In Proxy Configuration:
15.1. Enter the proxy server IP address and the Port number.
15.2. Select Http or Https protocol as required.
Click Next.
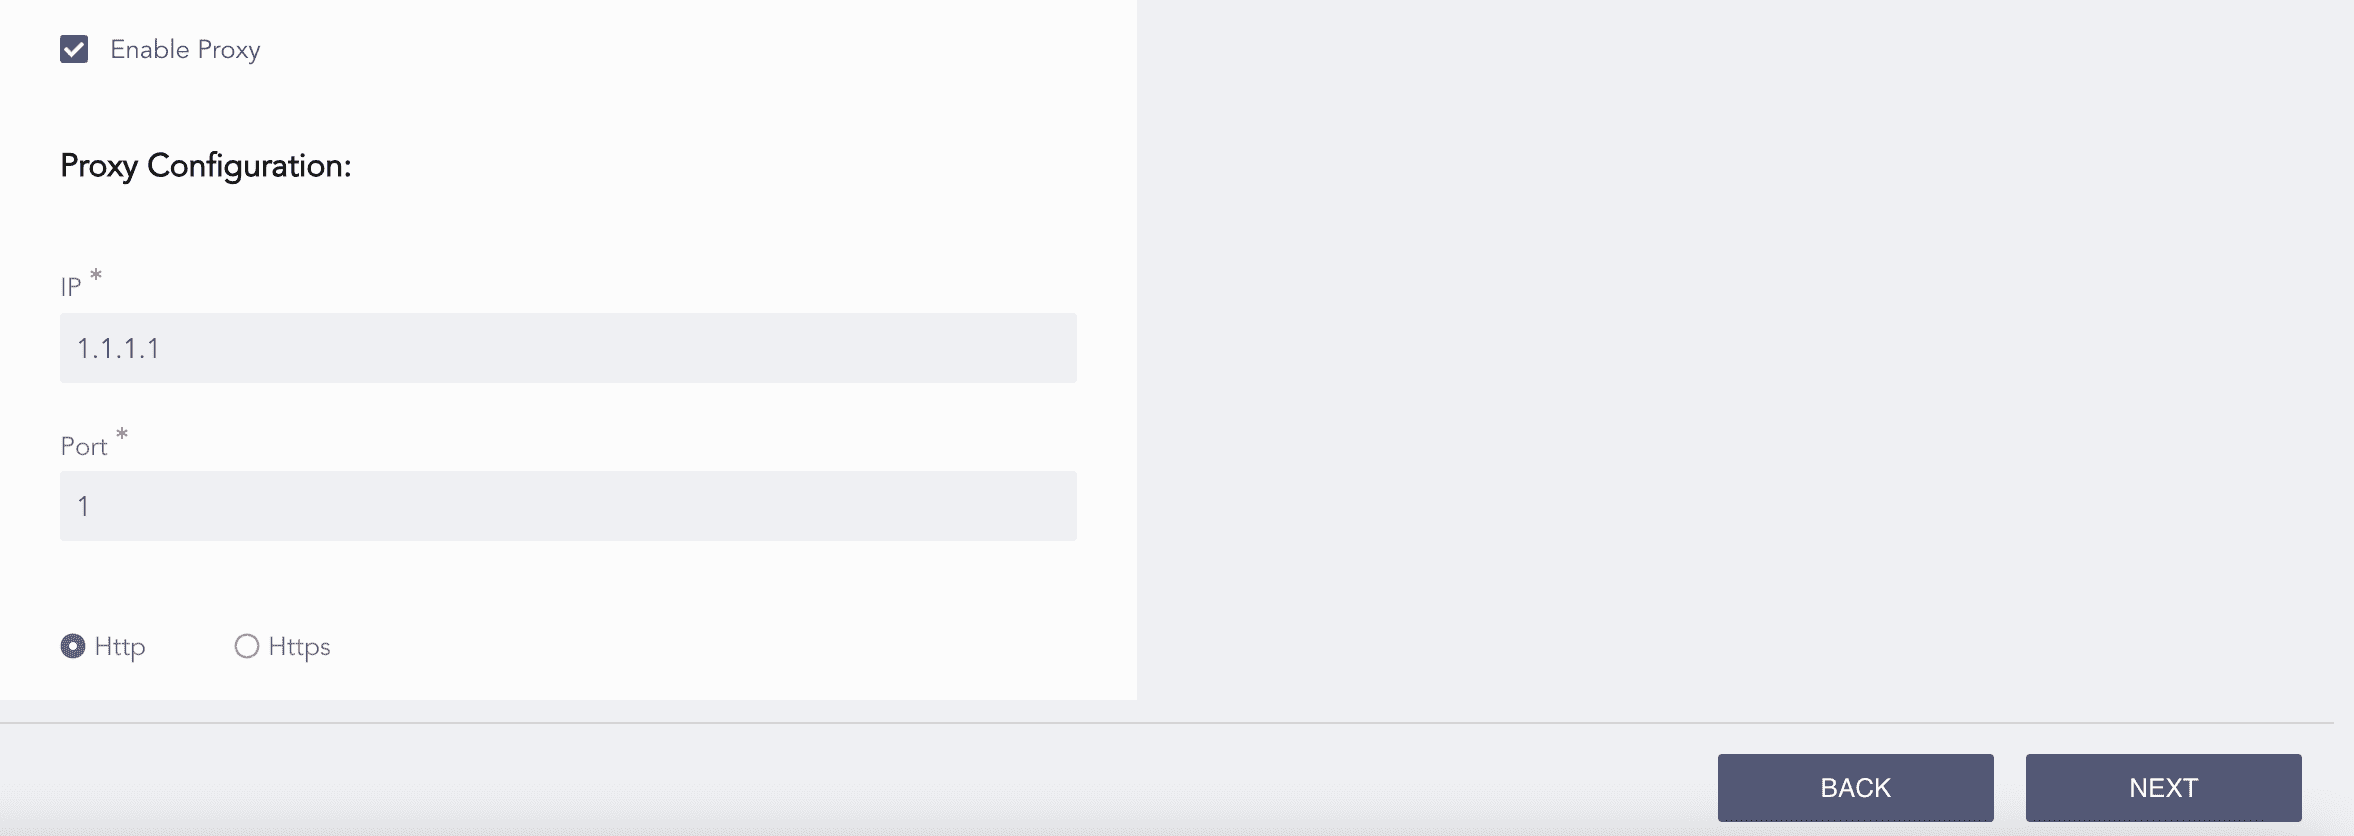
Enabling Proxy Server
Review your changes. You can go Back to make any changes if necessary.
Click Finish.
Click OK.
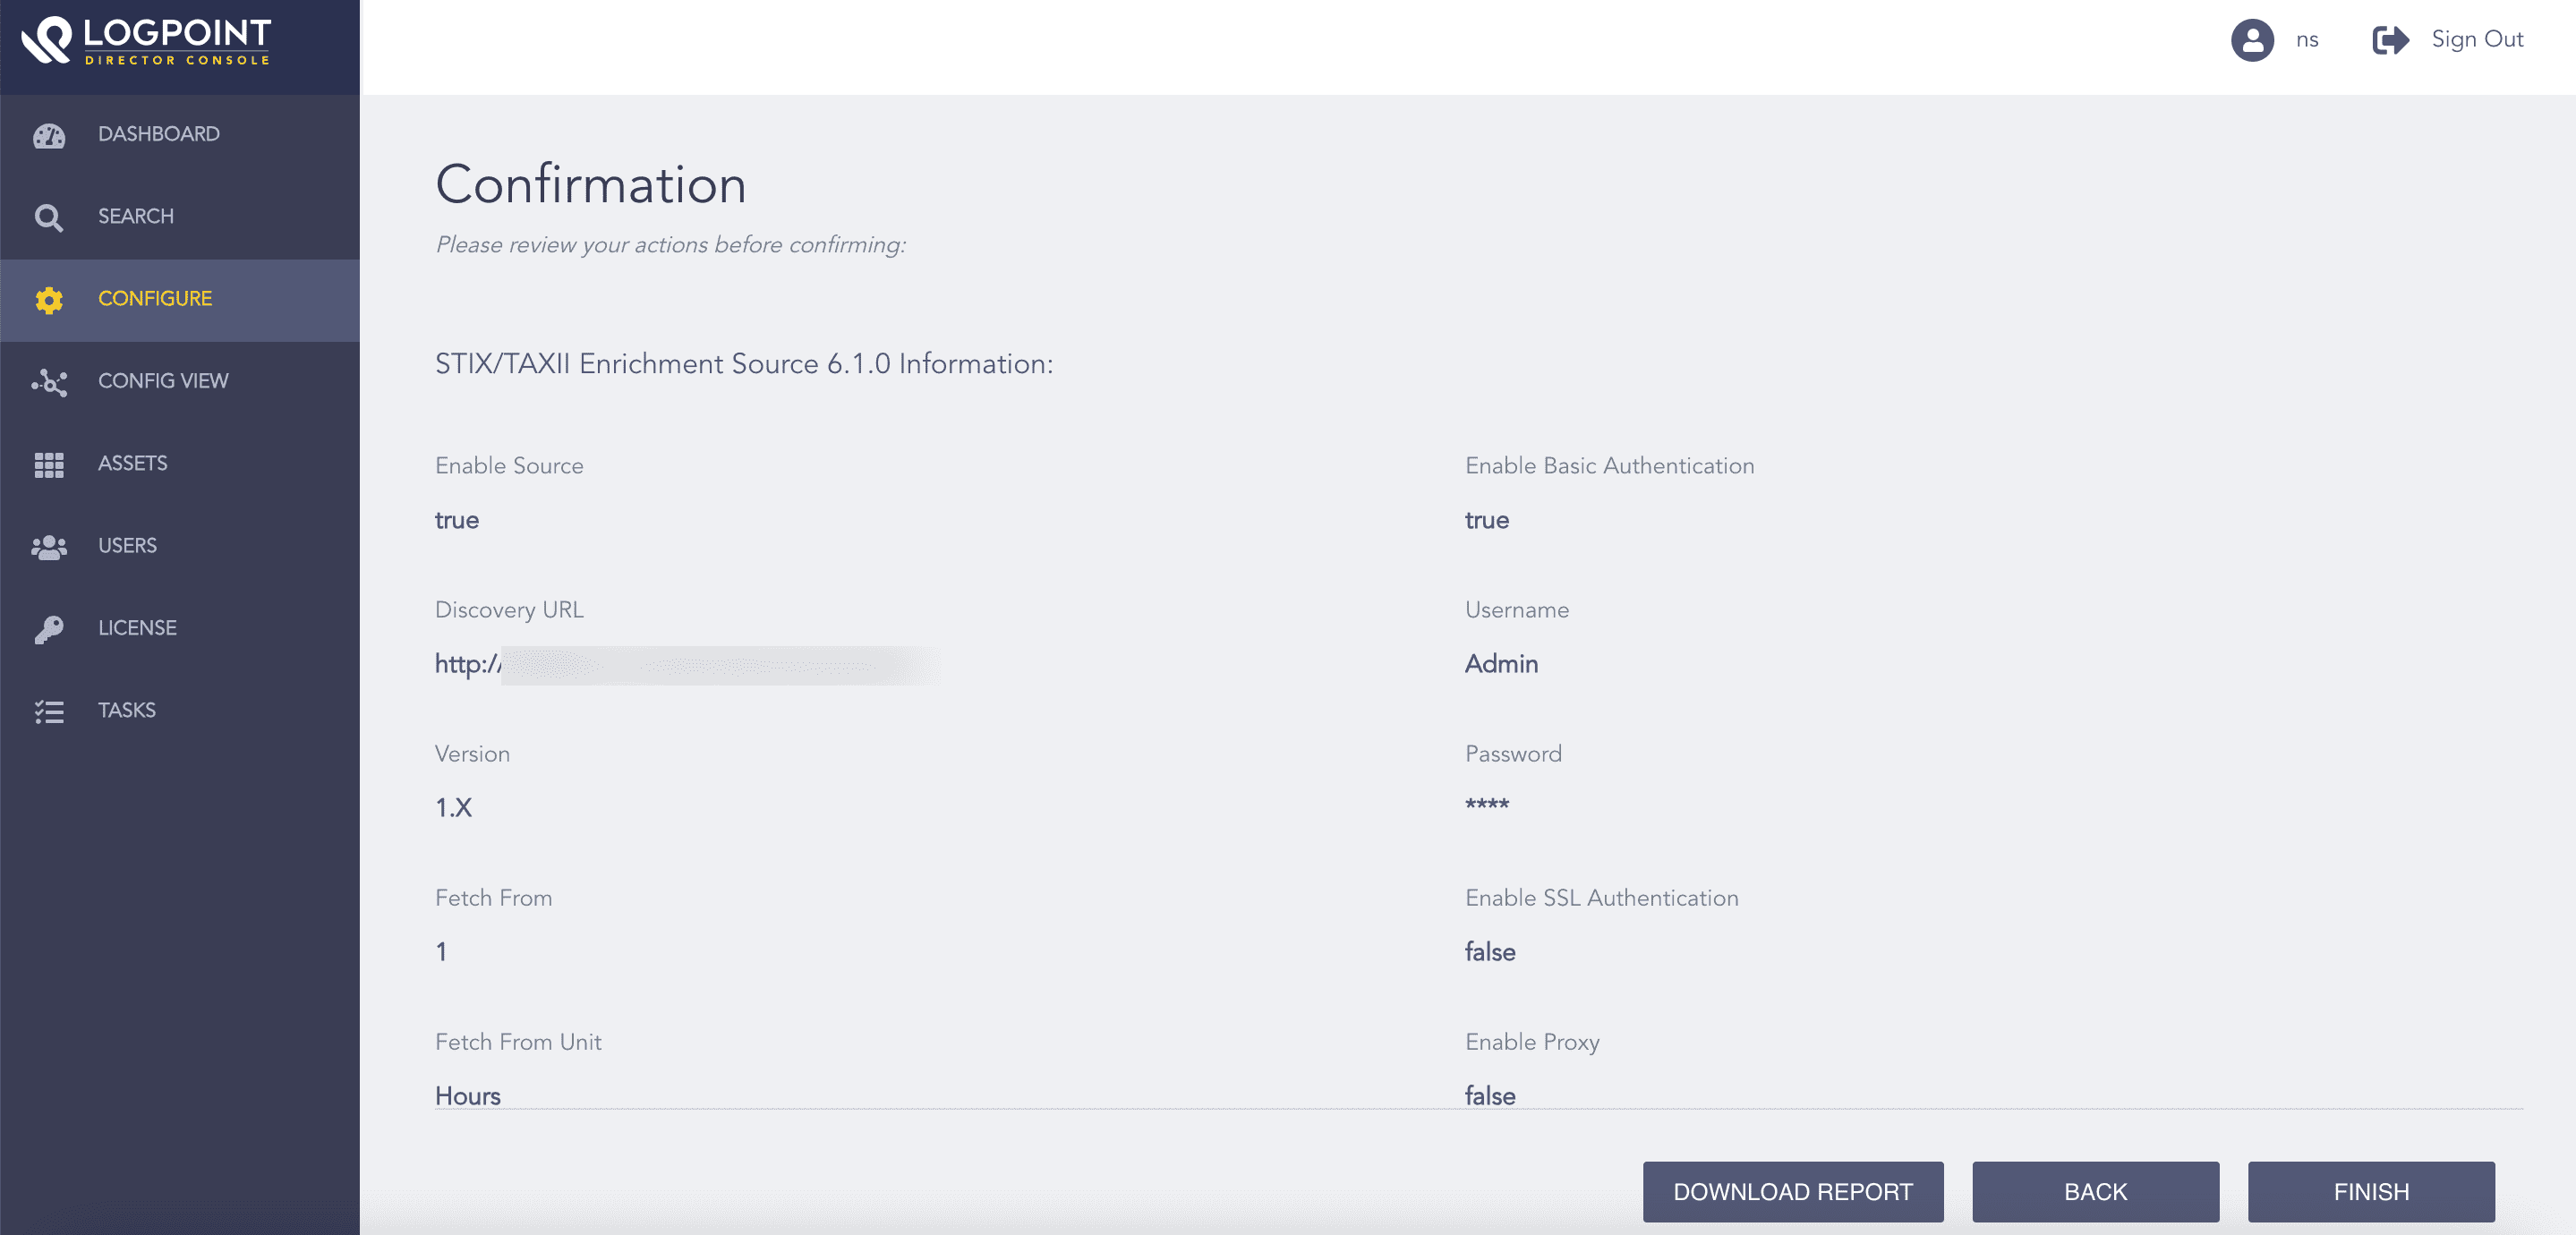
Confirming the Changes