Page Contents
- Configuring Trend Micro
- Using Log Source Template
- Using Devices
Log sources for Trend Micro can be configured using Log Source Template or Devices. Log Source Template is recommended to minimize setup requirements and eliminate normalization issues.
You must create a log source using the log source template to receive the normalized Trend Micro logs. Go to Creating Log Source via a Template to learn more.
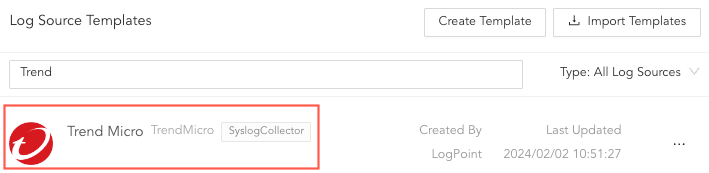
Selecting Trend Micro Log Source Template
Go to Settings >> Configuration from the navigation bar and click Repos.
Click Add.
Enter a Repo Name. It must not contain spaces or special characters.
Select a Repo Path and set a Retention Day. You can add or remove multiple Repo Path and Retention Day.
Select a Remote LogPoint
Set a Available for (day). To reset, click Remove.
Click Submit.
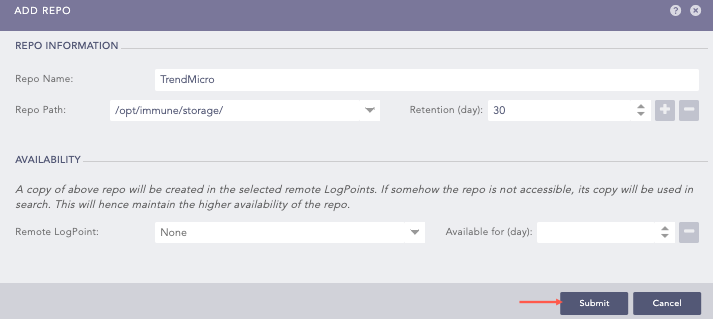
Adding a Repo
Go to Settings >> Configuration from the navigation bar and click Normalization Policies.
Click Add .
Enter a Policy Name.
Select the Compiled Normalizer and Normalization Packages for Trend Micro.
Click Submit.
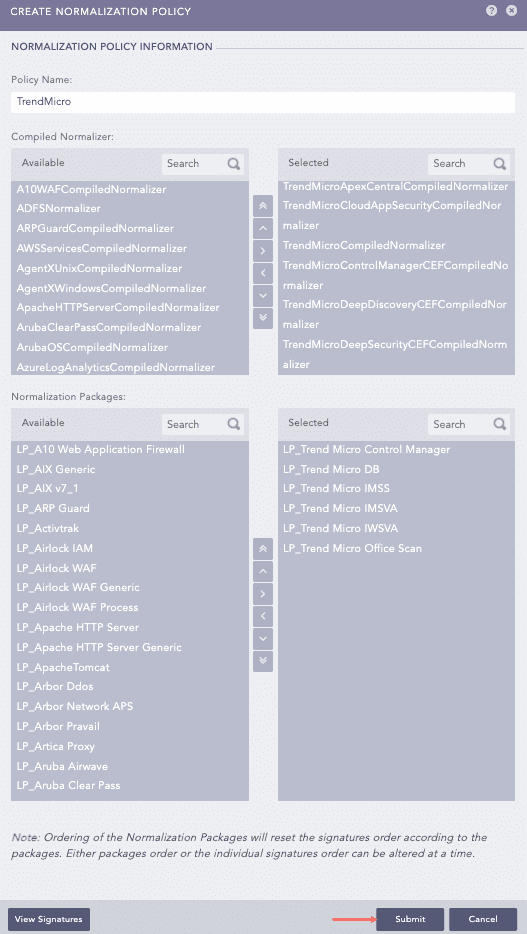
Adding a Normalization Policy
Go to Settings >> Configuration from the navigation bar and click Processing Policies.
Click Add .
Enter a Policy Name.
Select the previously created Normalization Policy.
Select the Enrichment Policy and Routing Policy.
Click Submit.
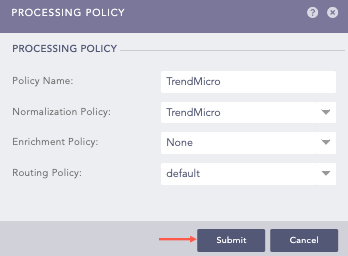
Adding a Processing Policy
Go to Settings >> Configuration from the navigation bar and click Devices.
Click Add.
Enter a device Name.
Enter the Trend Micro server IP address(es).
Select the Device Groups.
Select an appropriate Log Collection Policy for the logs.
Select a collector or a forwarder from the Distributed Collector drop-down.
Note
It is optional to select the Device Groups, the Log Collection Policy and the Distributed Collector.
Select a Time Zone. The timezone of the device must be same as its log source.
Configure the Risk Values for Confidentiality, Integrity and Availability used to calculate the risk levels of the alerts generated from the device.
Click Submit.
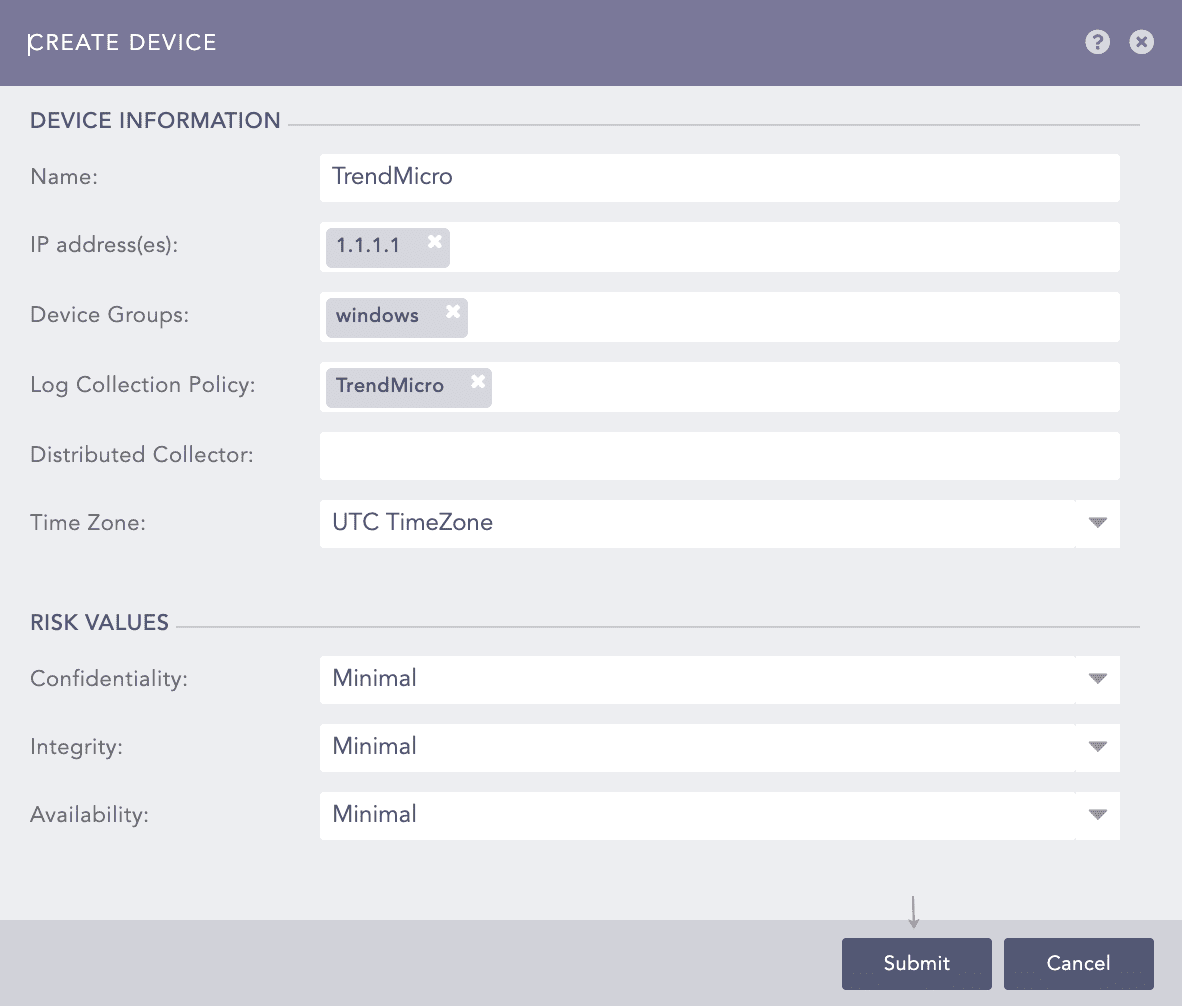
Create Device Panel
Go to Settings >> Configuration from the navigation bar and click Devices.
Click the Add icon from Actions of the previously added device.
Click Syslog Collector.
Note
You can select a different collector depending on your requirements and added device. To learn more about available collectors go to collectors. If you require assistance, contact our support team.
Select Syslog Parser as Parser.
Select the previously created Processing Policy.
Select the Charset. The default value is utf_8.
In Proxy Server, select None
Click Submit.
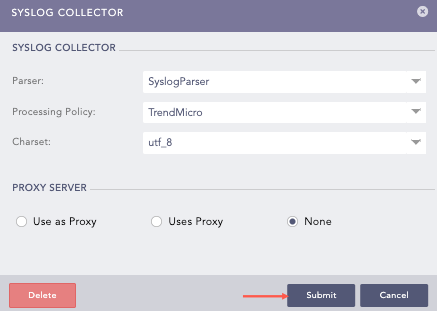
Configuring the Syslog Collector
Go to Settings >> Configuration from the navigation bar and click Devices.
Click the Add Collectors/Fetchers icon from Actions of the previously added device.
Click ODBC Fetcher.
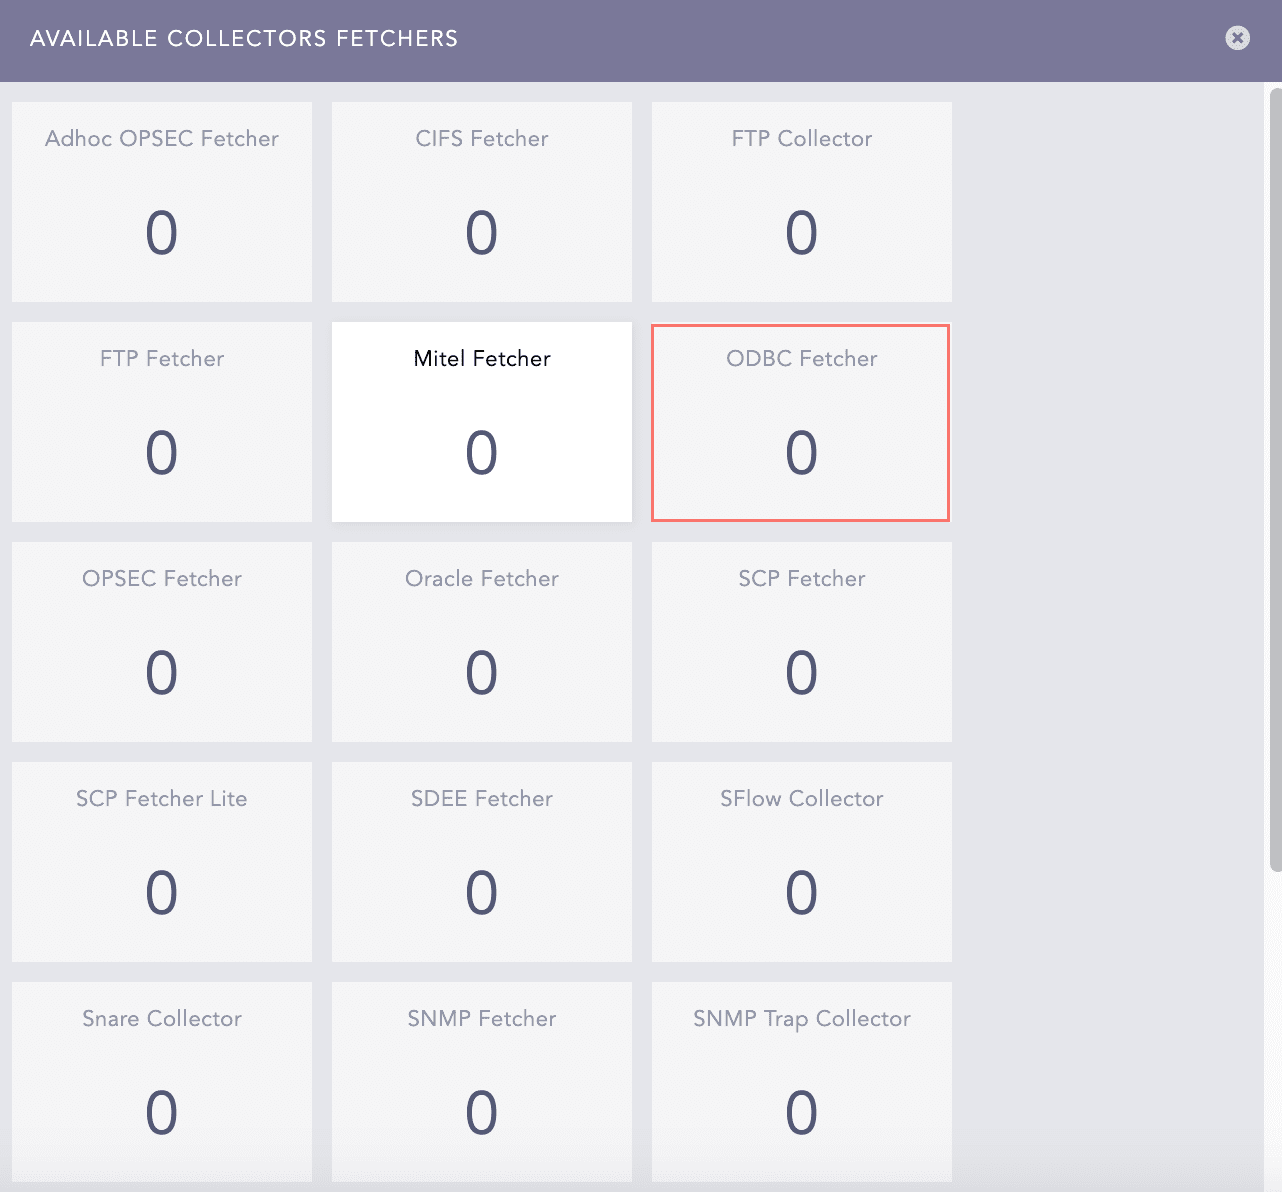
AVAILABLE COLLECTORS FETCHERS Panel
Click ADD.
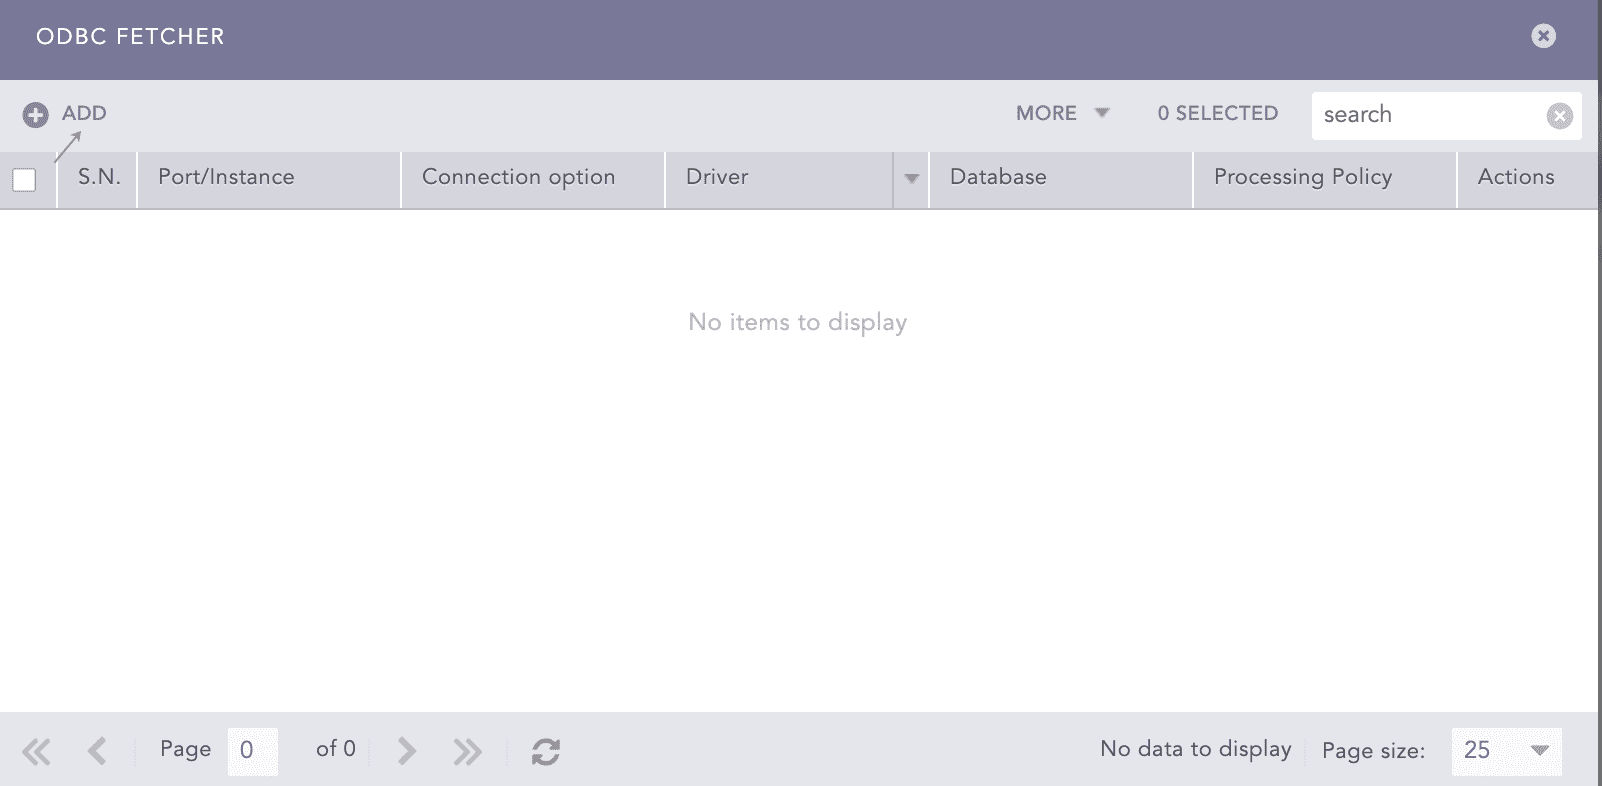
ODBC Fetcher Panel
Select a Mode. The ODBC Fetcher has General and Advanced modes of configuration. The Advanced mode allows you to define the incremental key value. But, in the General mode, the incremental key value is 0.
In General mode, you can select the Trend Micro Office Scan v11.0 or None template. The Trend Micro Office Scan v11.0 template has predefined configurations. But you must perform some configurations manually.
In Driver, enter MSSQL.
Select the Port option and enter 1433.
In Database, enter db_ControlManager.
Enter the Username and Password.
Enter the Fetch Interval.
Enter the following Query to retrieve the logs:
For  TrendMicro DB v11:
SELECT * FROM v_Virus_HostDetail
For TrendMicro DB v12: SELECT * FROM tb_AVVirusLog
In Incremental Key, enter the following:
Note
If you are using the Advanced mode, provide the initial Incremental Key Value. The default value is 0.
If you are using the General mode, you cannot set the value of the Incremental Key Value. The application sets the value to 0 automatically.
In Incremental Key Table, enter the given key table:
For  TrendMicro DB v11:
v_Virus_HostDetail
For  TrendMicro DB v12:
tb_AVVirusLog
Note
If you are using the Advanced Mode, you do not have to provide the Incremental Key Table.
Enter a New Line Separator to replace the newline characters in the ODBC data. For example, if you provide the New Line Separator as “_”, the application displays the ODBC data as “data1_data2_data3”.
Select the previously created Processing Policy.
Enter the Charset. The default value is utf_8.
Click Test to validate the configuration.
Click Submit.
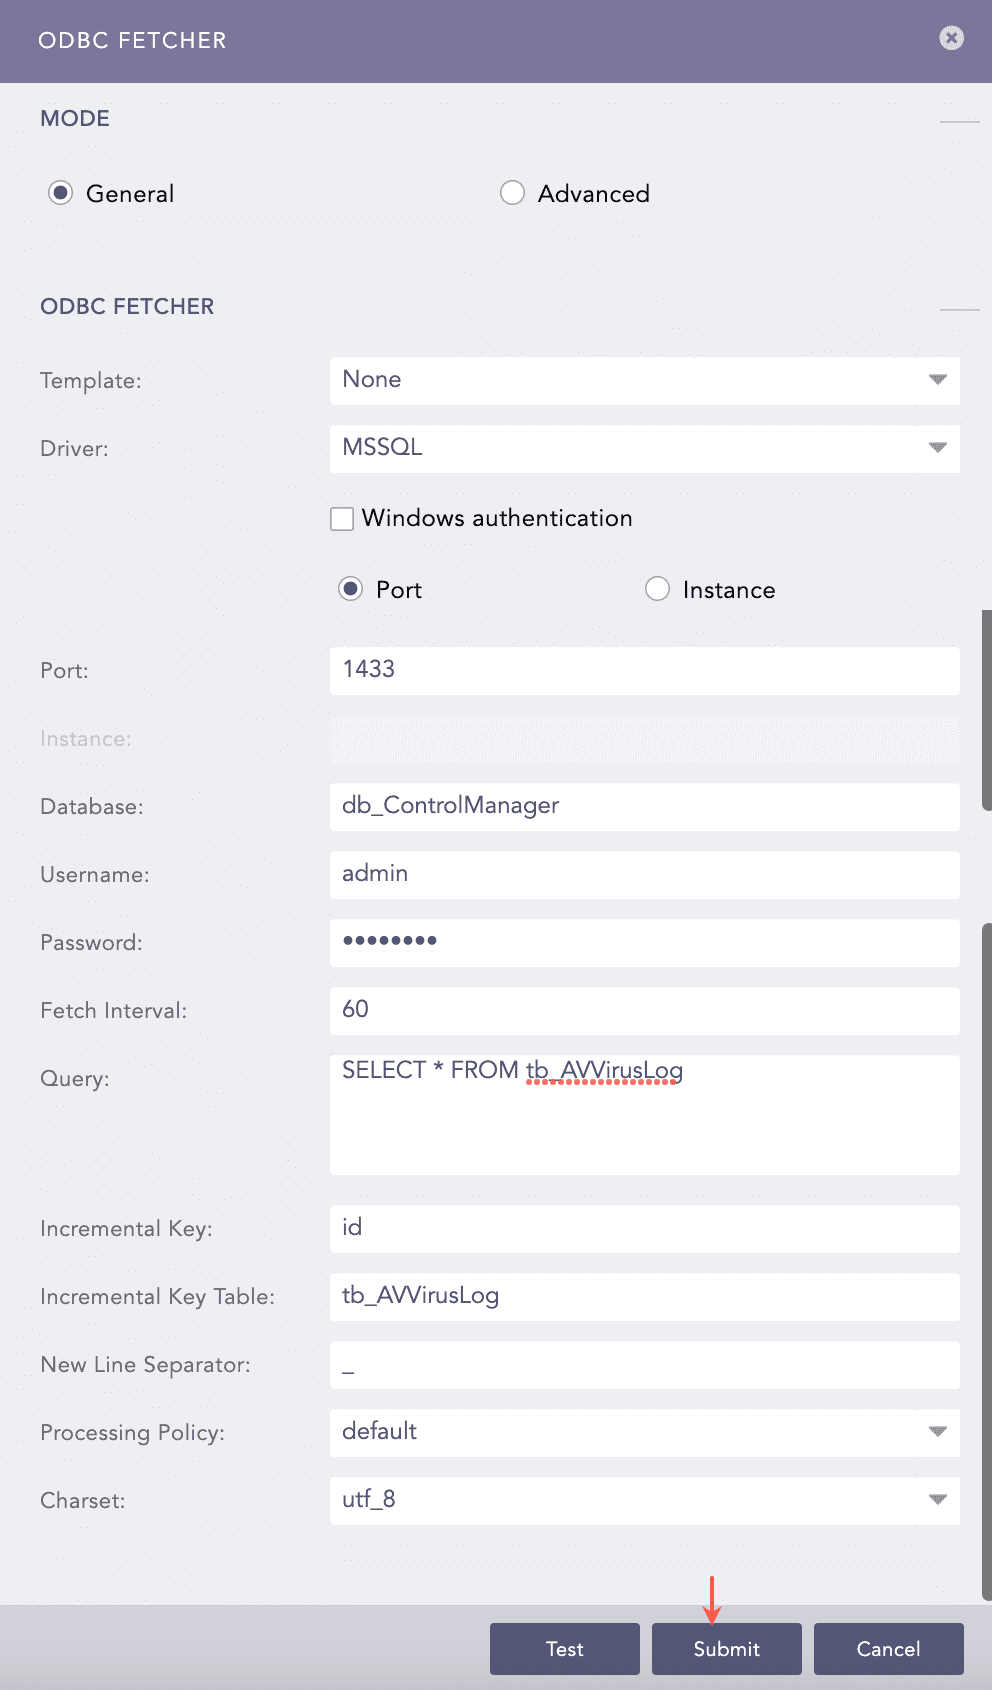
Configuring in General Mode with None Template
The template has predefined values for Driver, Database, Query, Incremental Key, Incremental Key Table and New Line Separator.
Select the Port option and enter 1433.
Enter the Username and Password.
Enter the Fetch Interval.
Select the previously created Processing Policy.
Click Test to validate the configuration.
Click Submit.
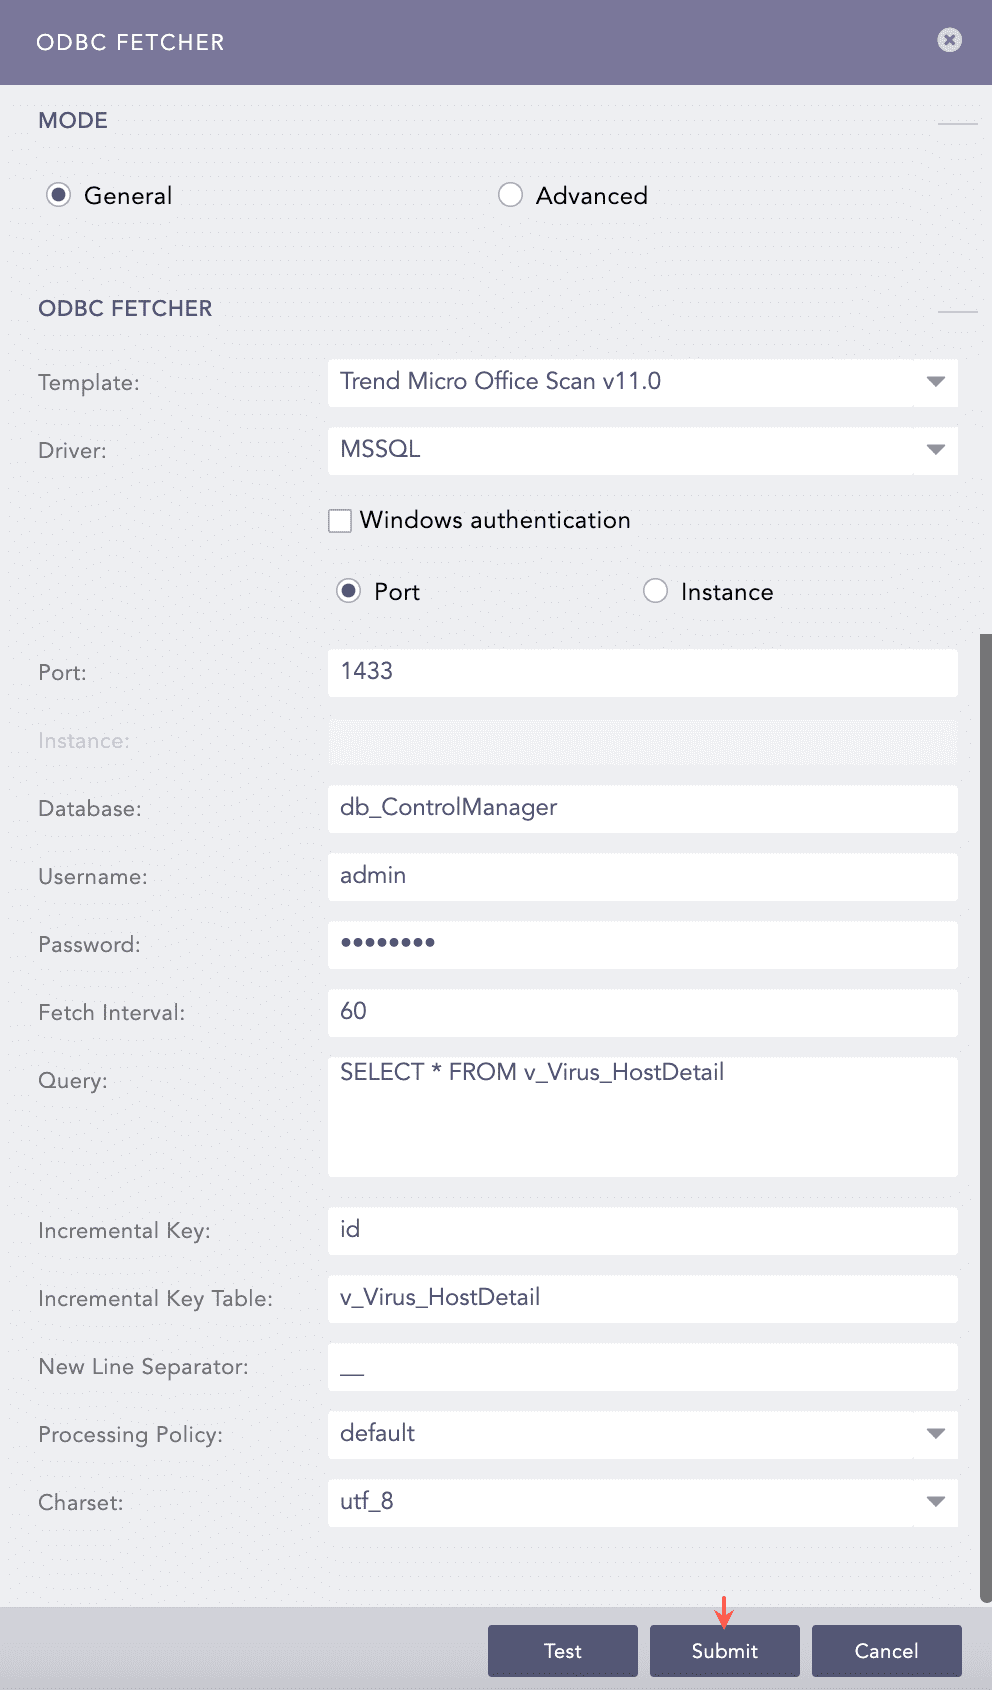
Configuring in General Mode with a Template
Note
The configuration for Advanced mode is similar to above.
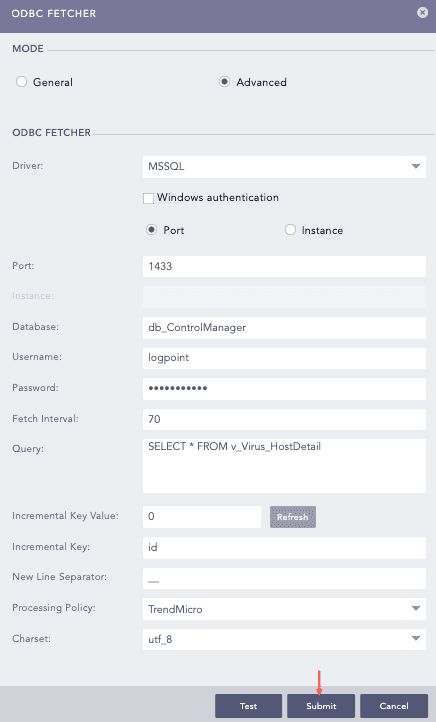
Configuring in Advanced Mode