You must configure product and product instances before adding an action to it. You need to configure the actions to make the changes in the product in response to the incidents generated. These actions can be added in the playbook to automate the incident investigation and response.
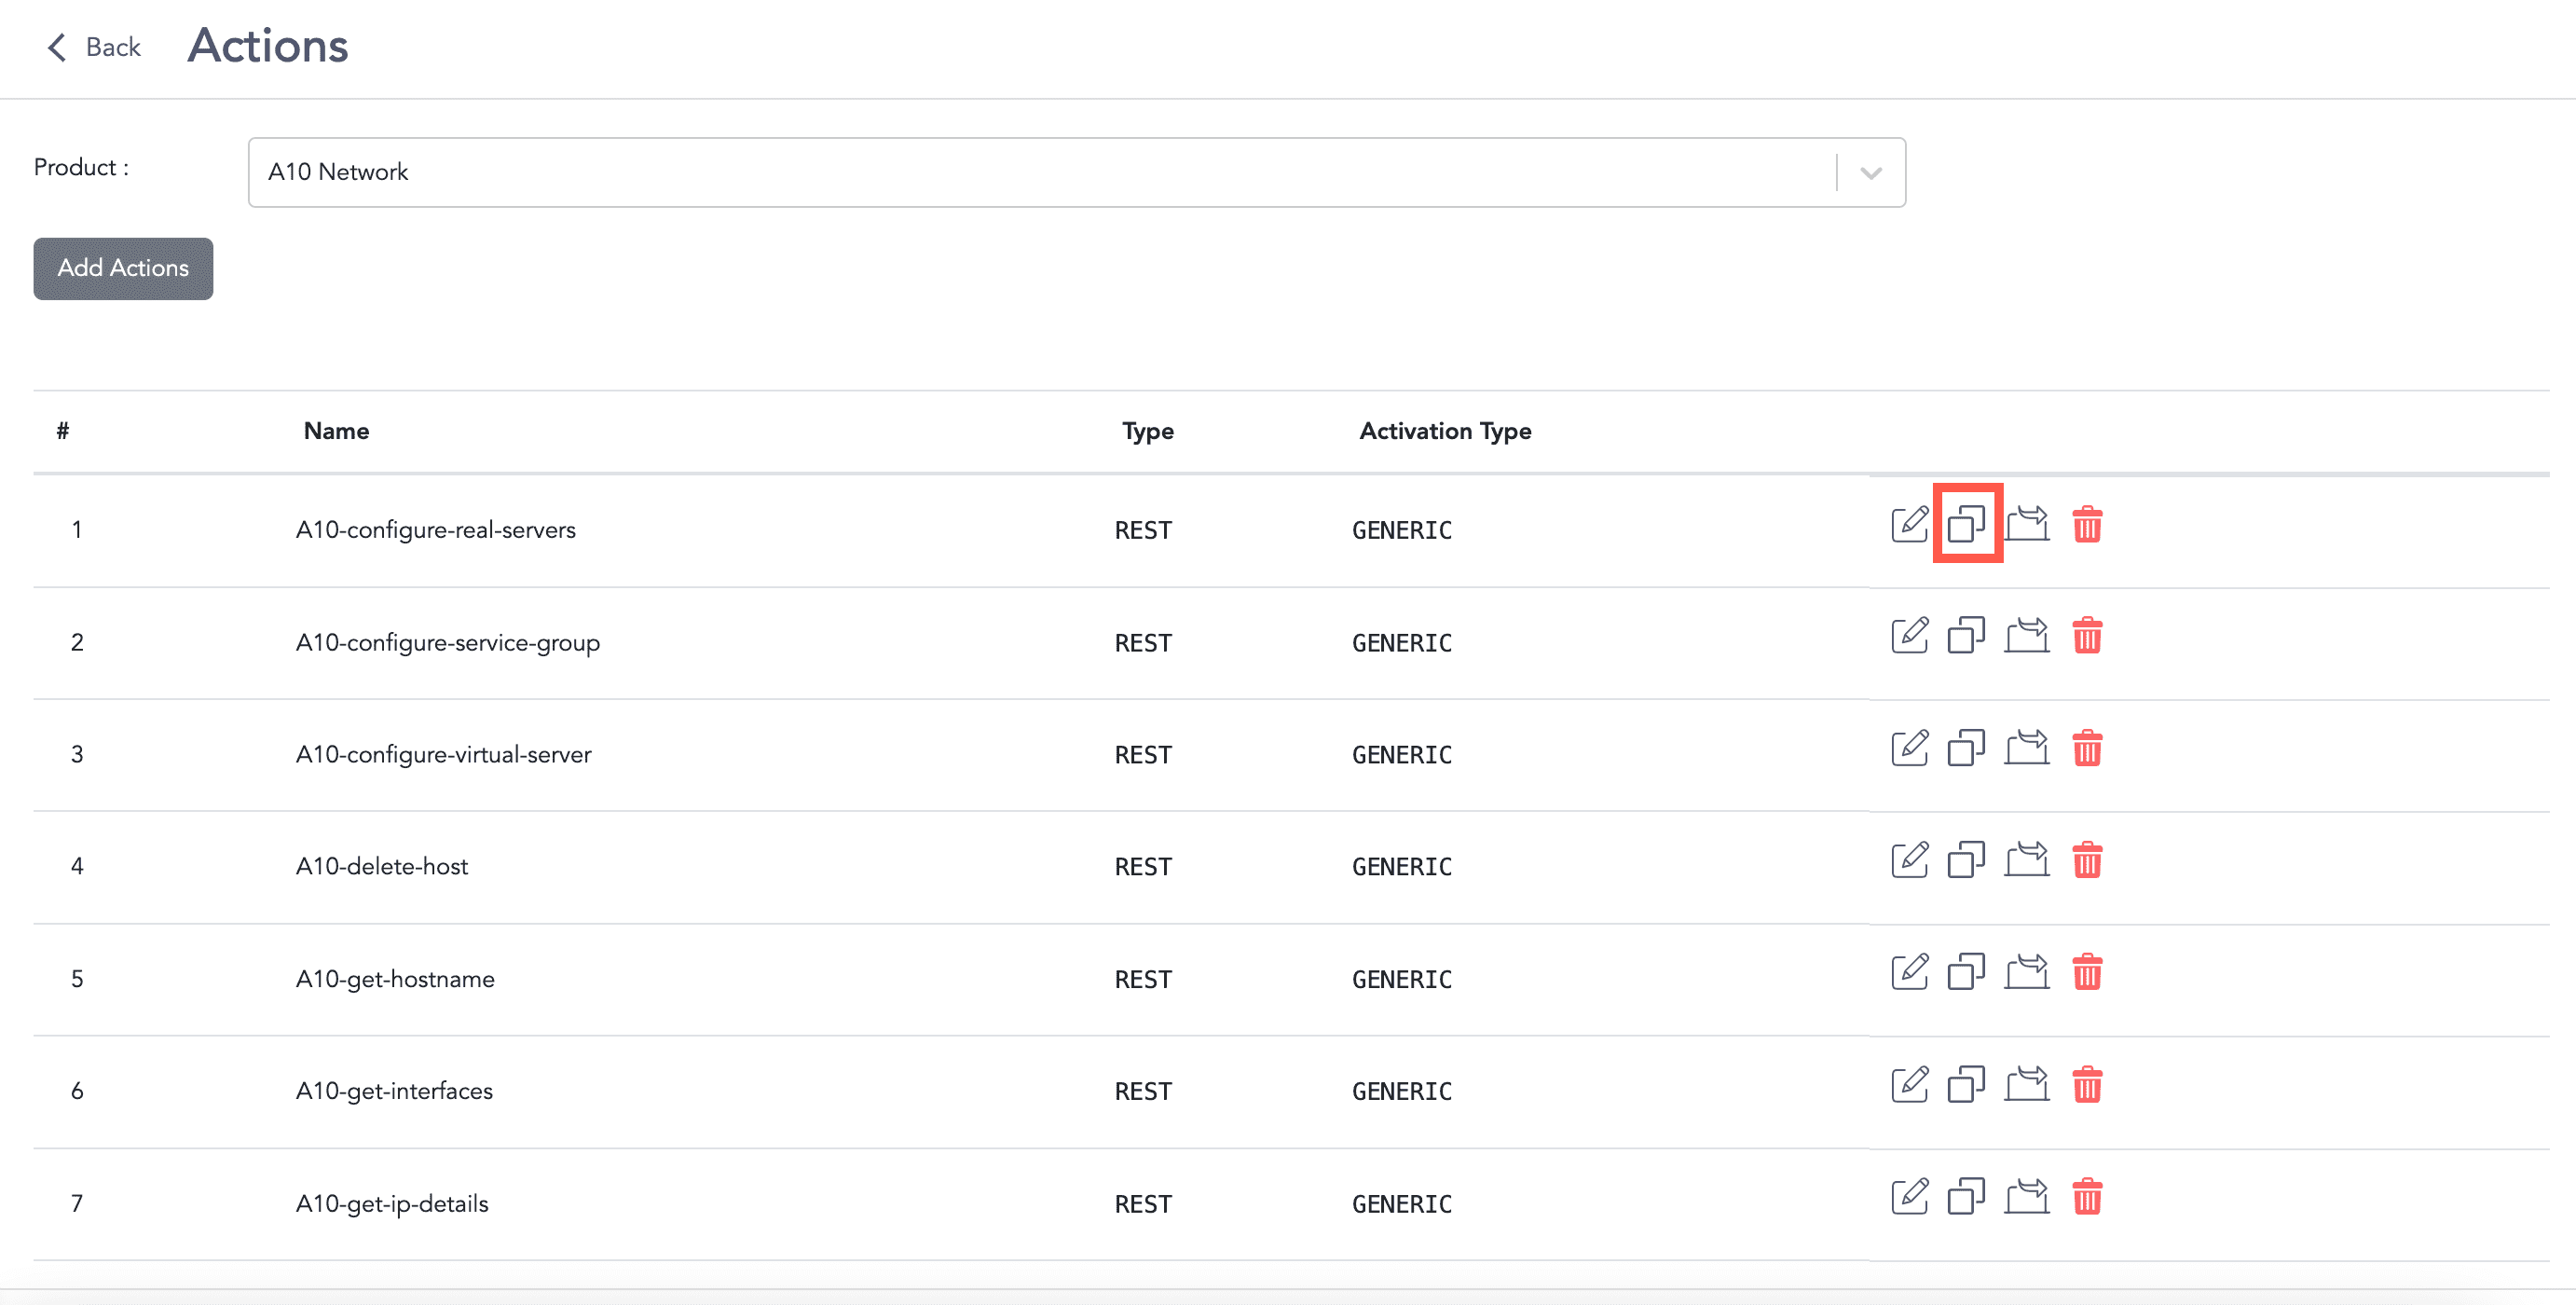
Go to Settings >> SOAR Settings from the navigation bar and click Actions to view all the actions configured for a product in LogPoint SOAR. From the Actions page, you can add, configure, delete, clone, and export actions. You can select the products from the drop-down and view the associated actions.
Actions Page
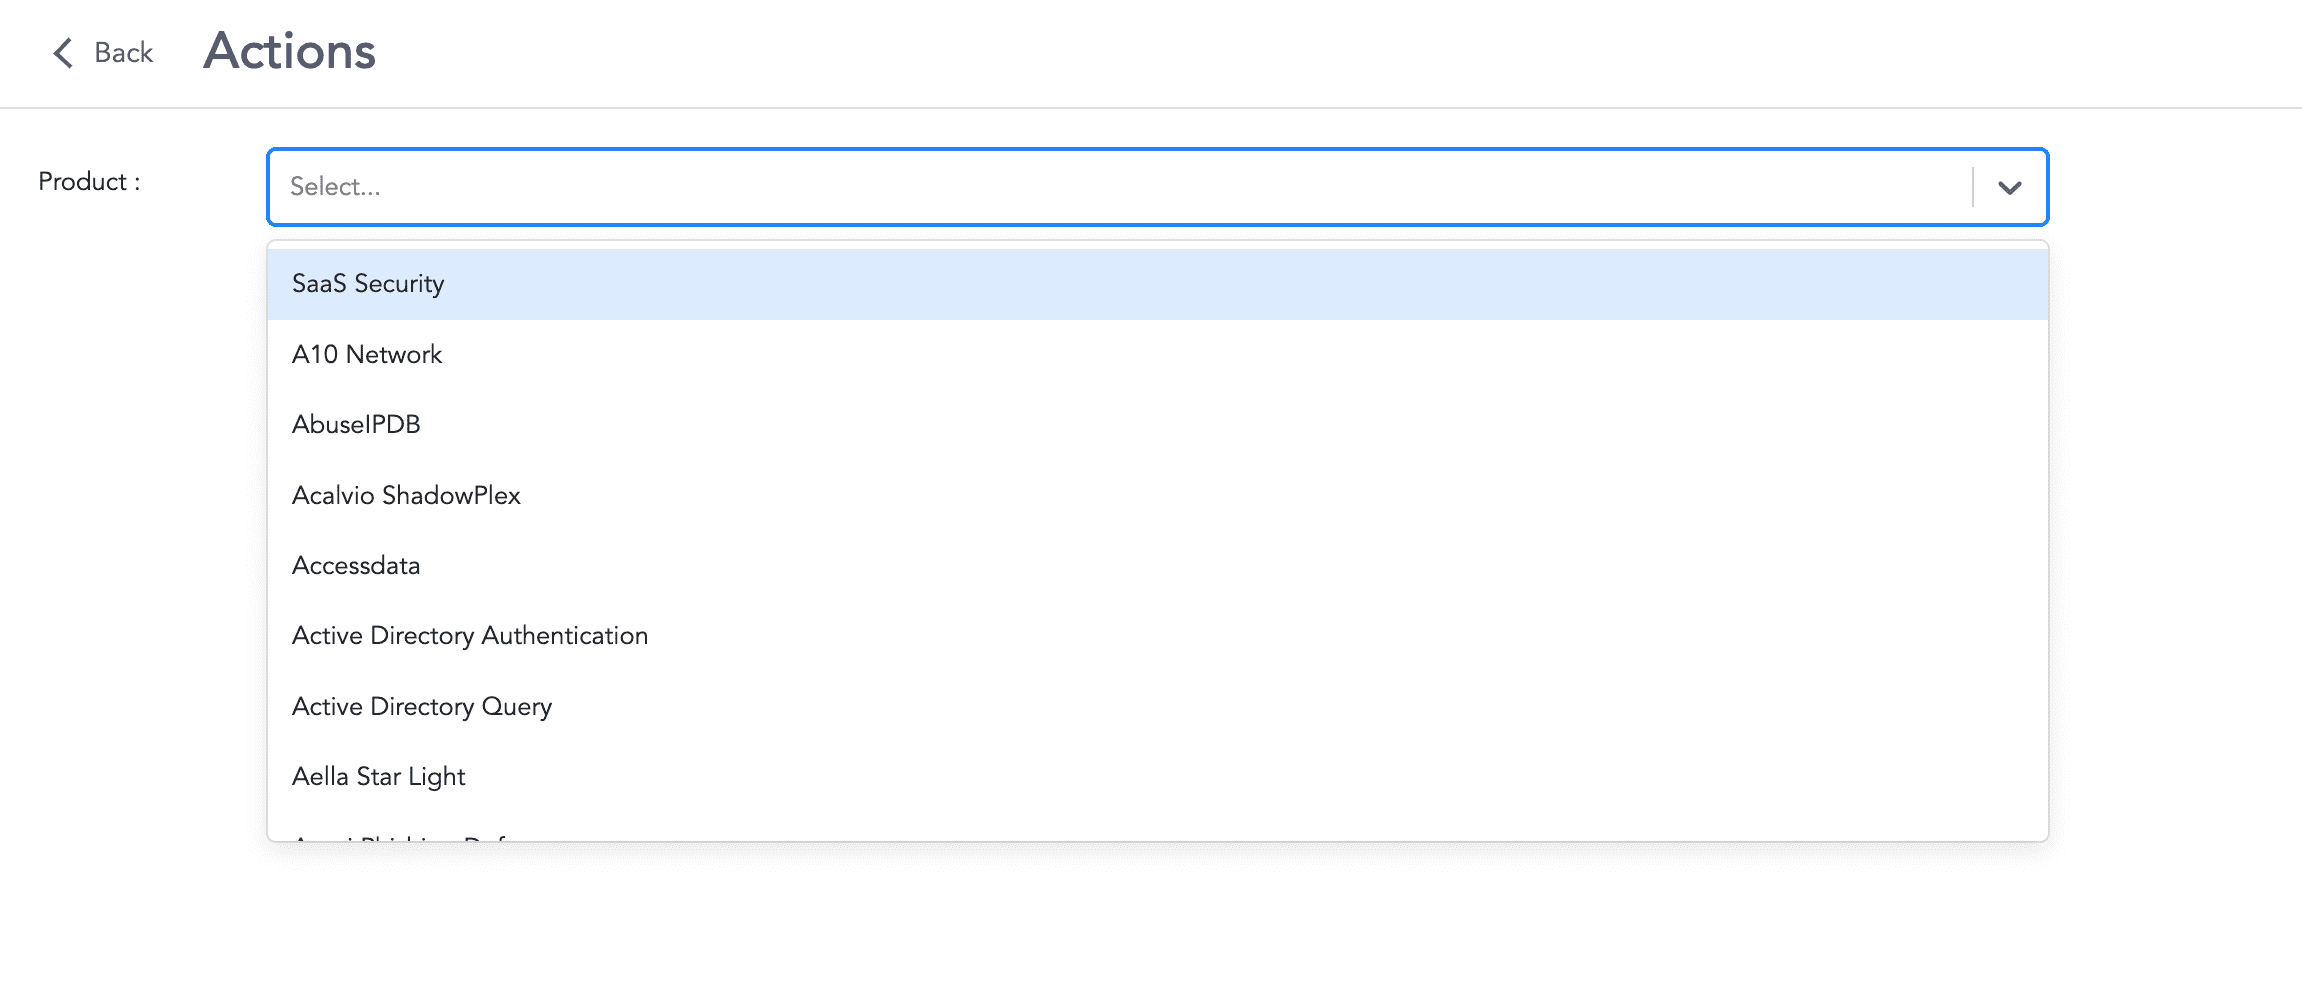
Go to Settings >> SOAR Settings from the navigation bar and click Actions.
Select Product.
Click Add Actions.
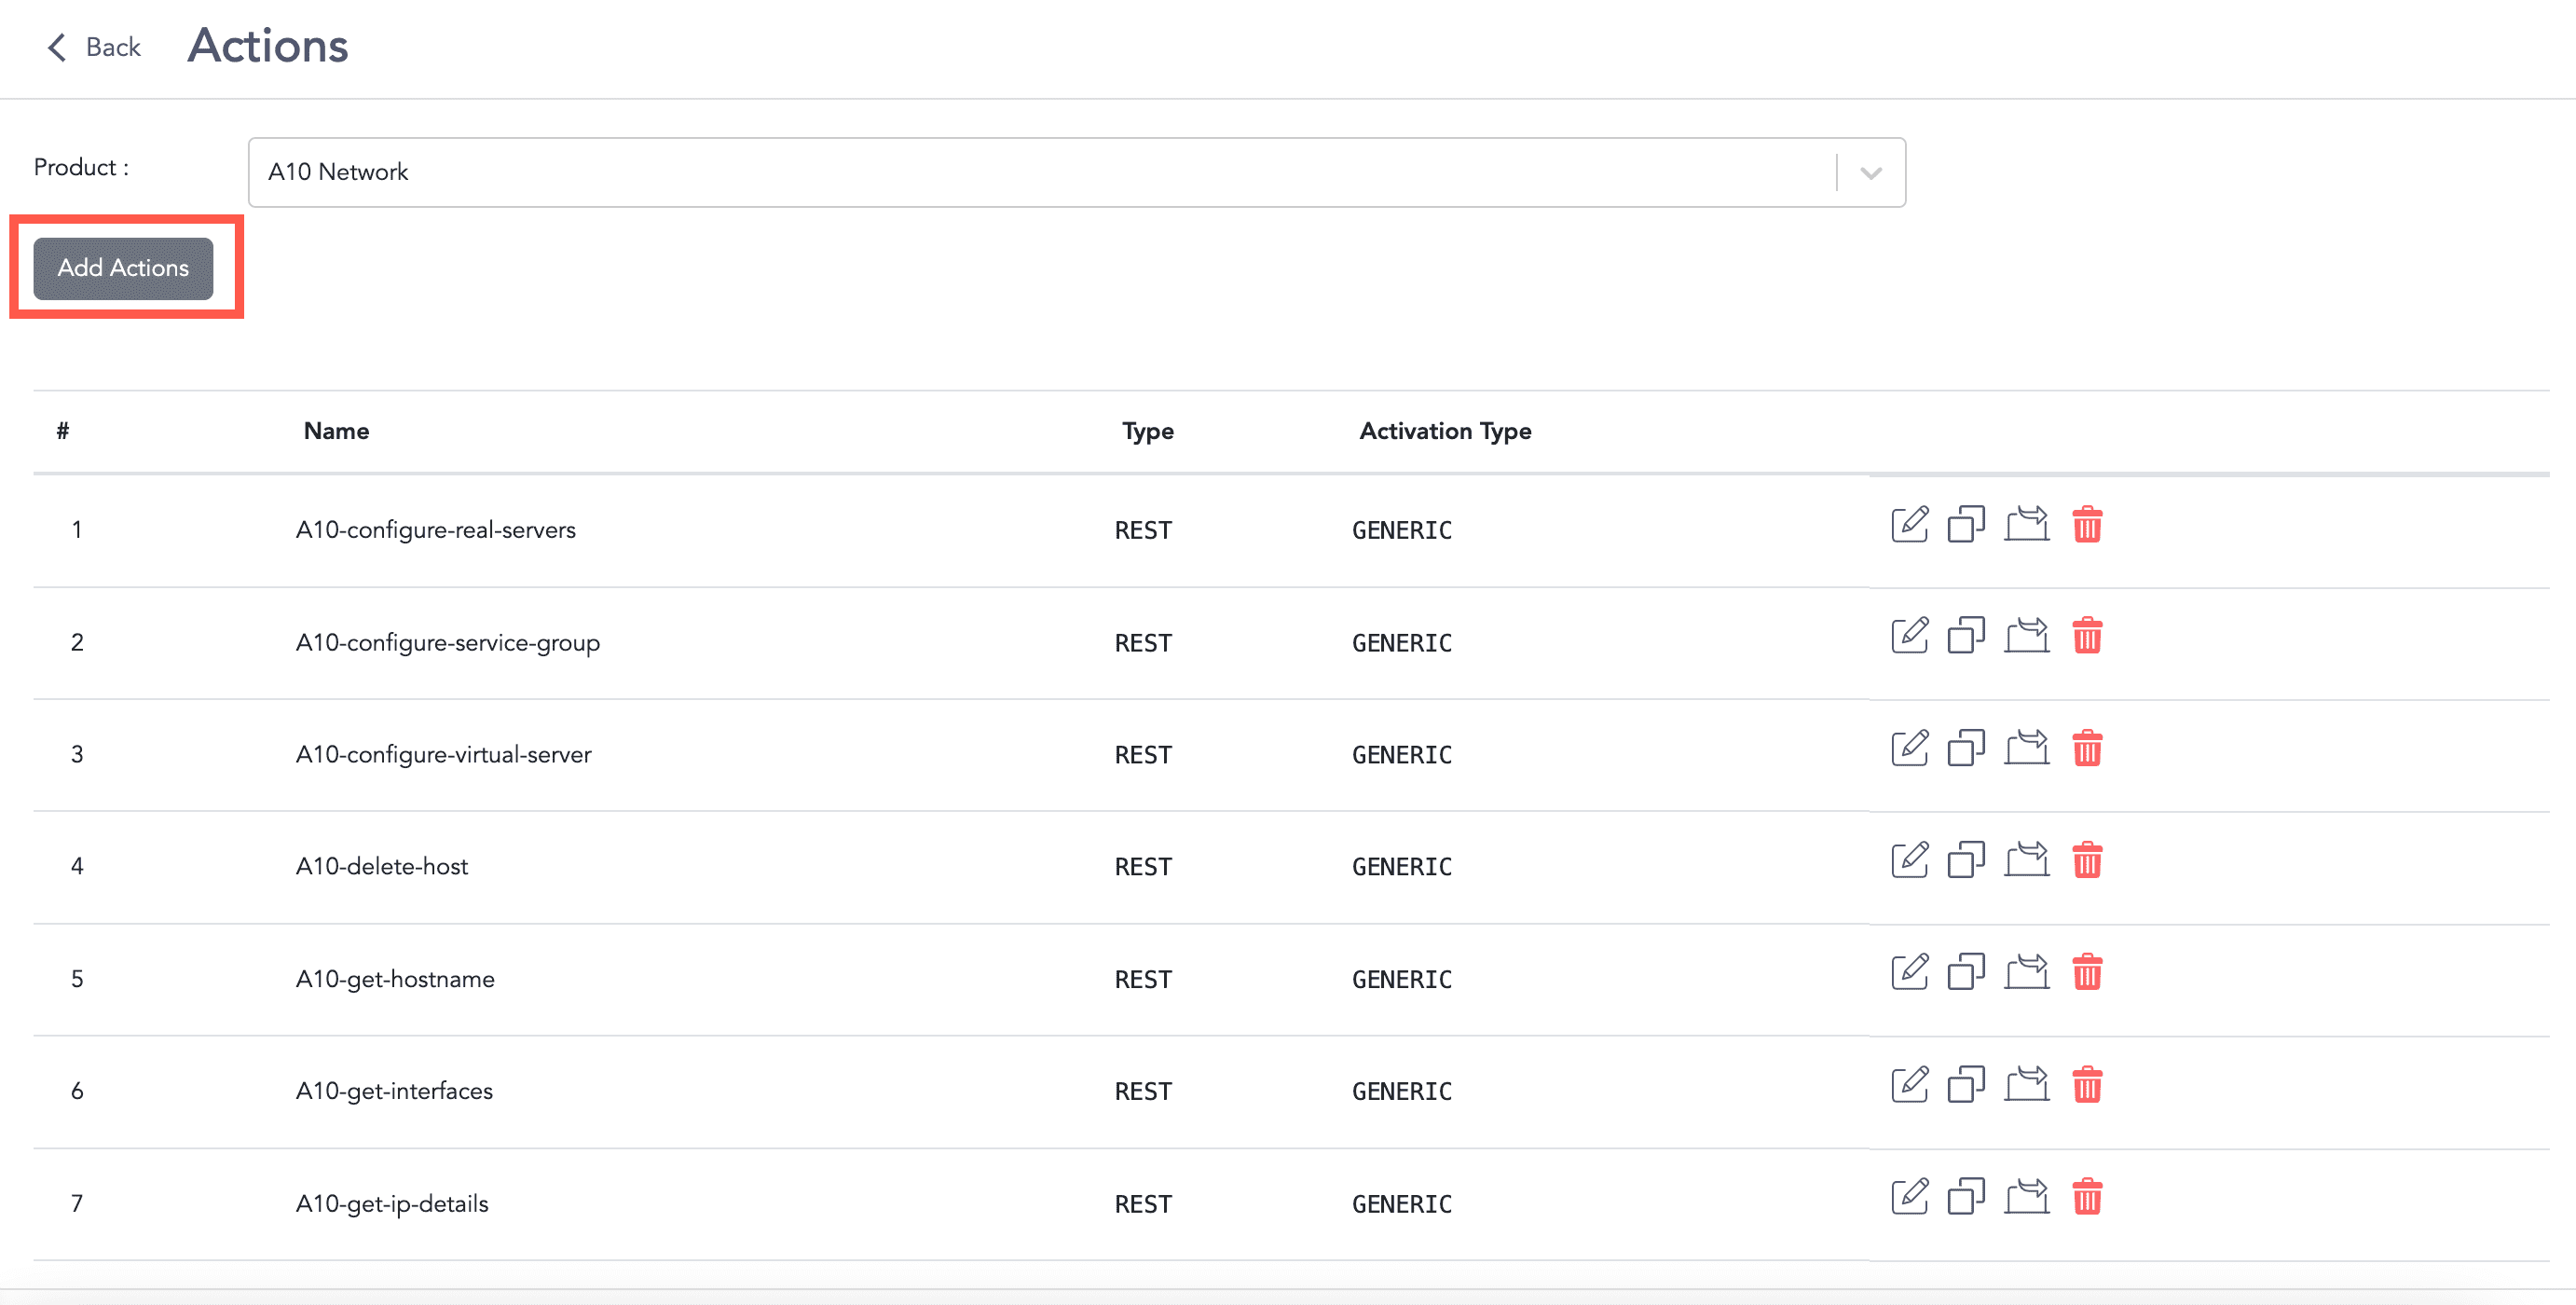
Adding an Action
In the General section:
4.1. Enter the Name and Description.
4.2. Select the action Type and Activation Type from the drop-down.
4.3. Click Add to add Request Params.
4.3.1. Enter the parameter’s Name and Description.
4.3.2. Select the action Type.
4.3.3. Click Required if the parameter is required.
4.3.4. Enter the Default Value
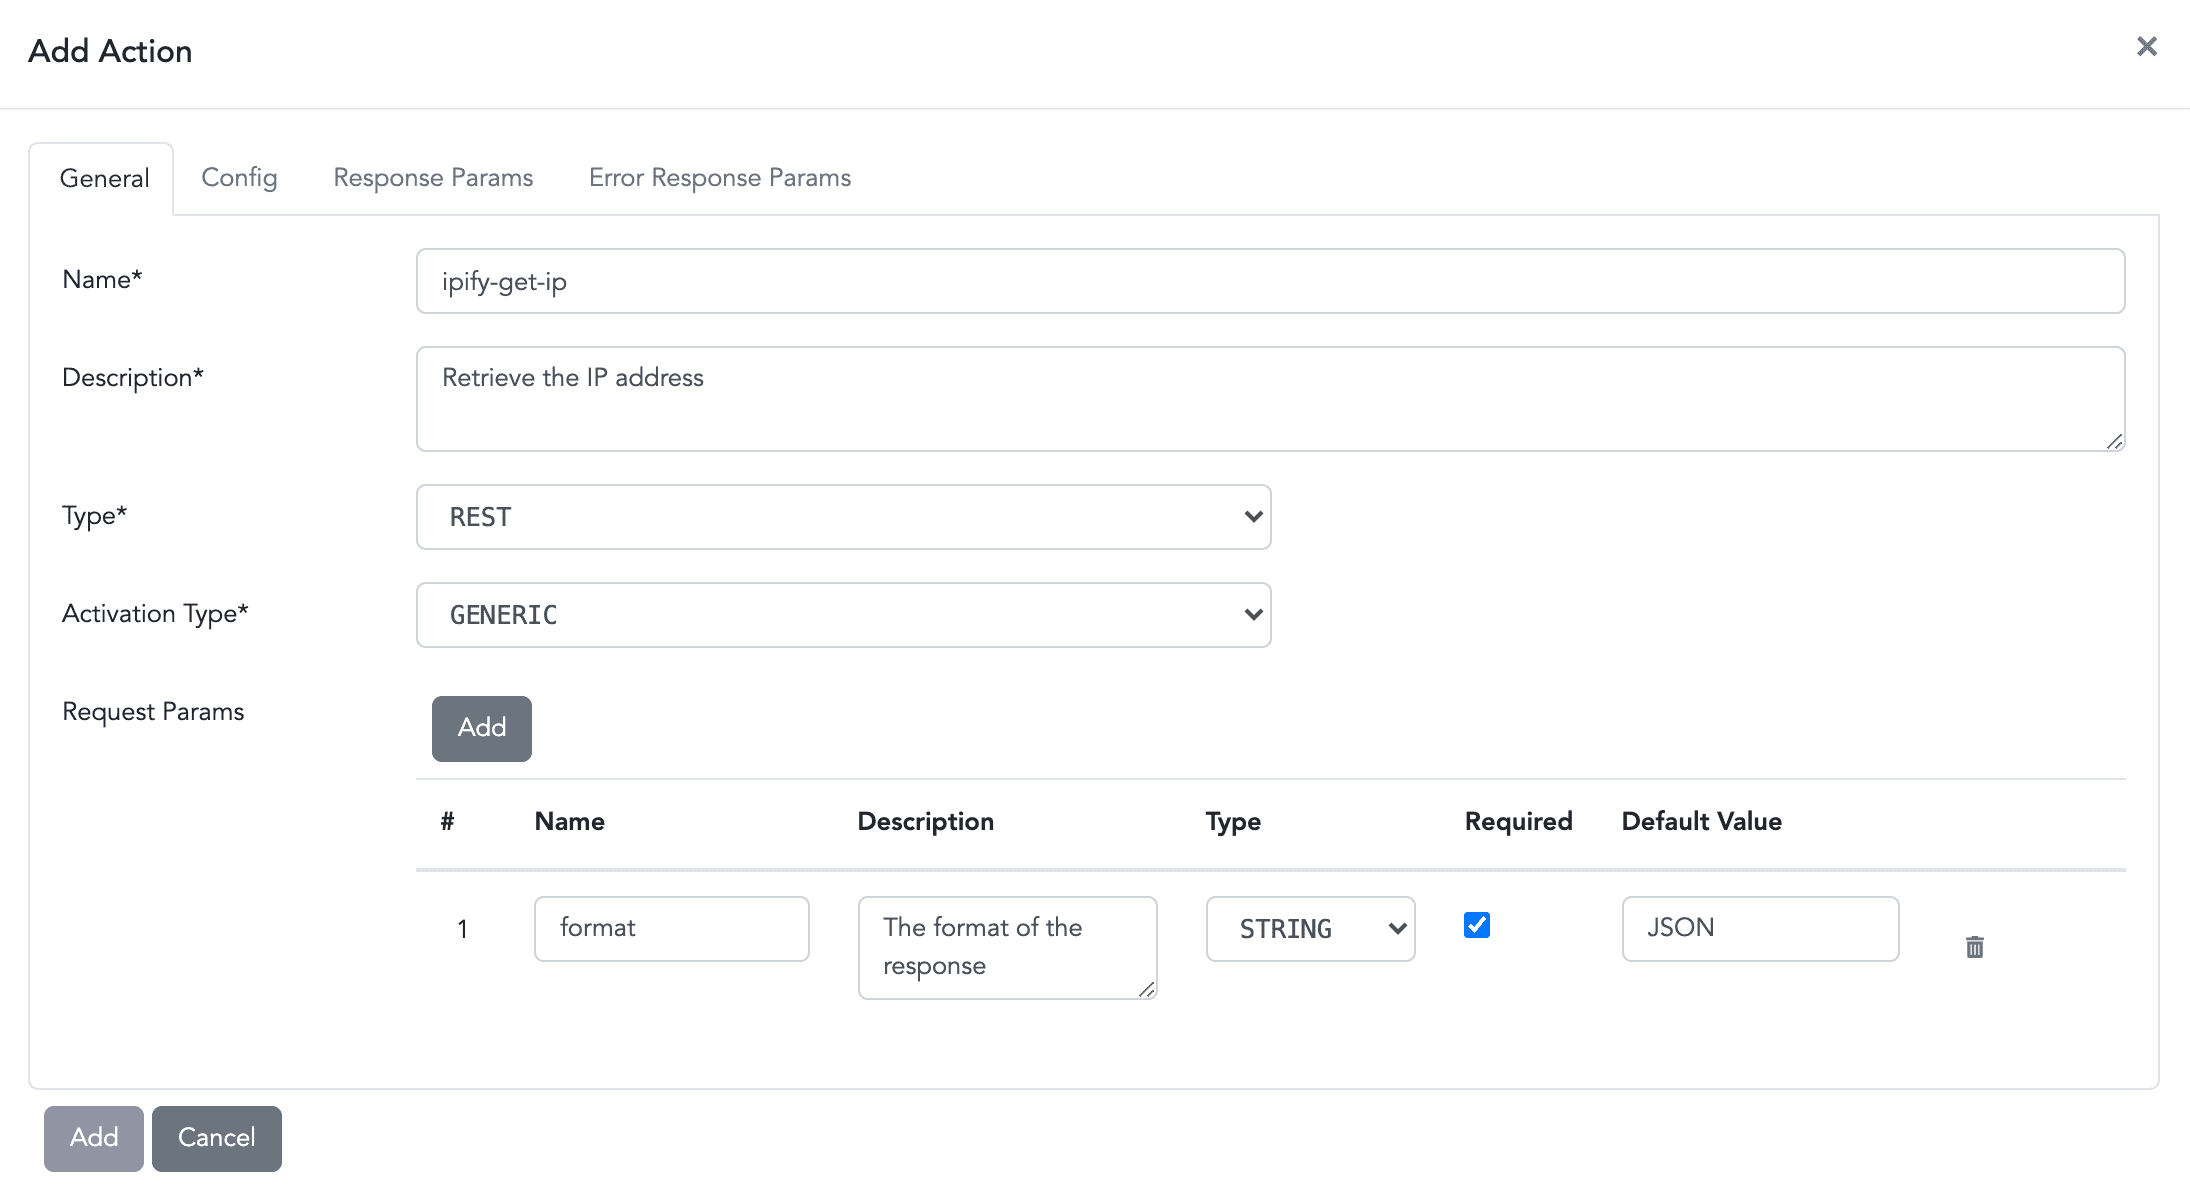
Adding a New Action-General
In the Config section:
5.1. Enter the exact URL of the action.
5.2. Select the request Method from the drop-down.
5.3. Enter the Request data.
5.4. Select the Request Content Type from the drop-down.
5.5. Select the Response Content Type from the drop-down.
5.6. Click Add to add Headers
5.6.1. Enter the header’s Name and Value.
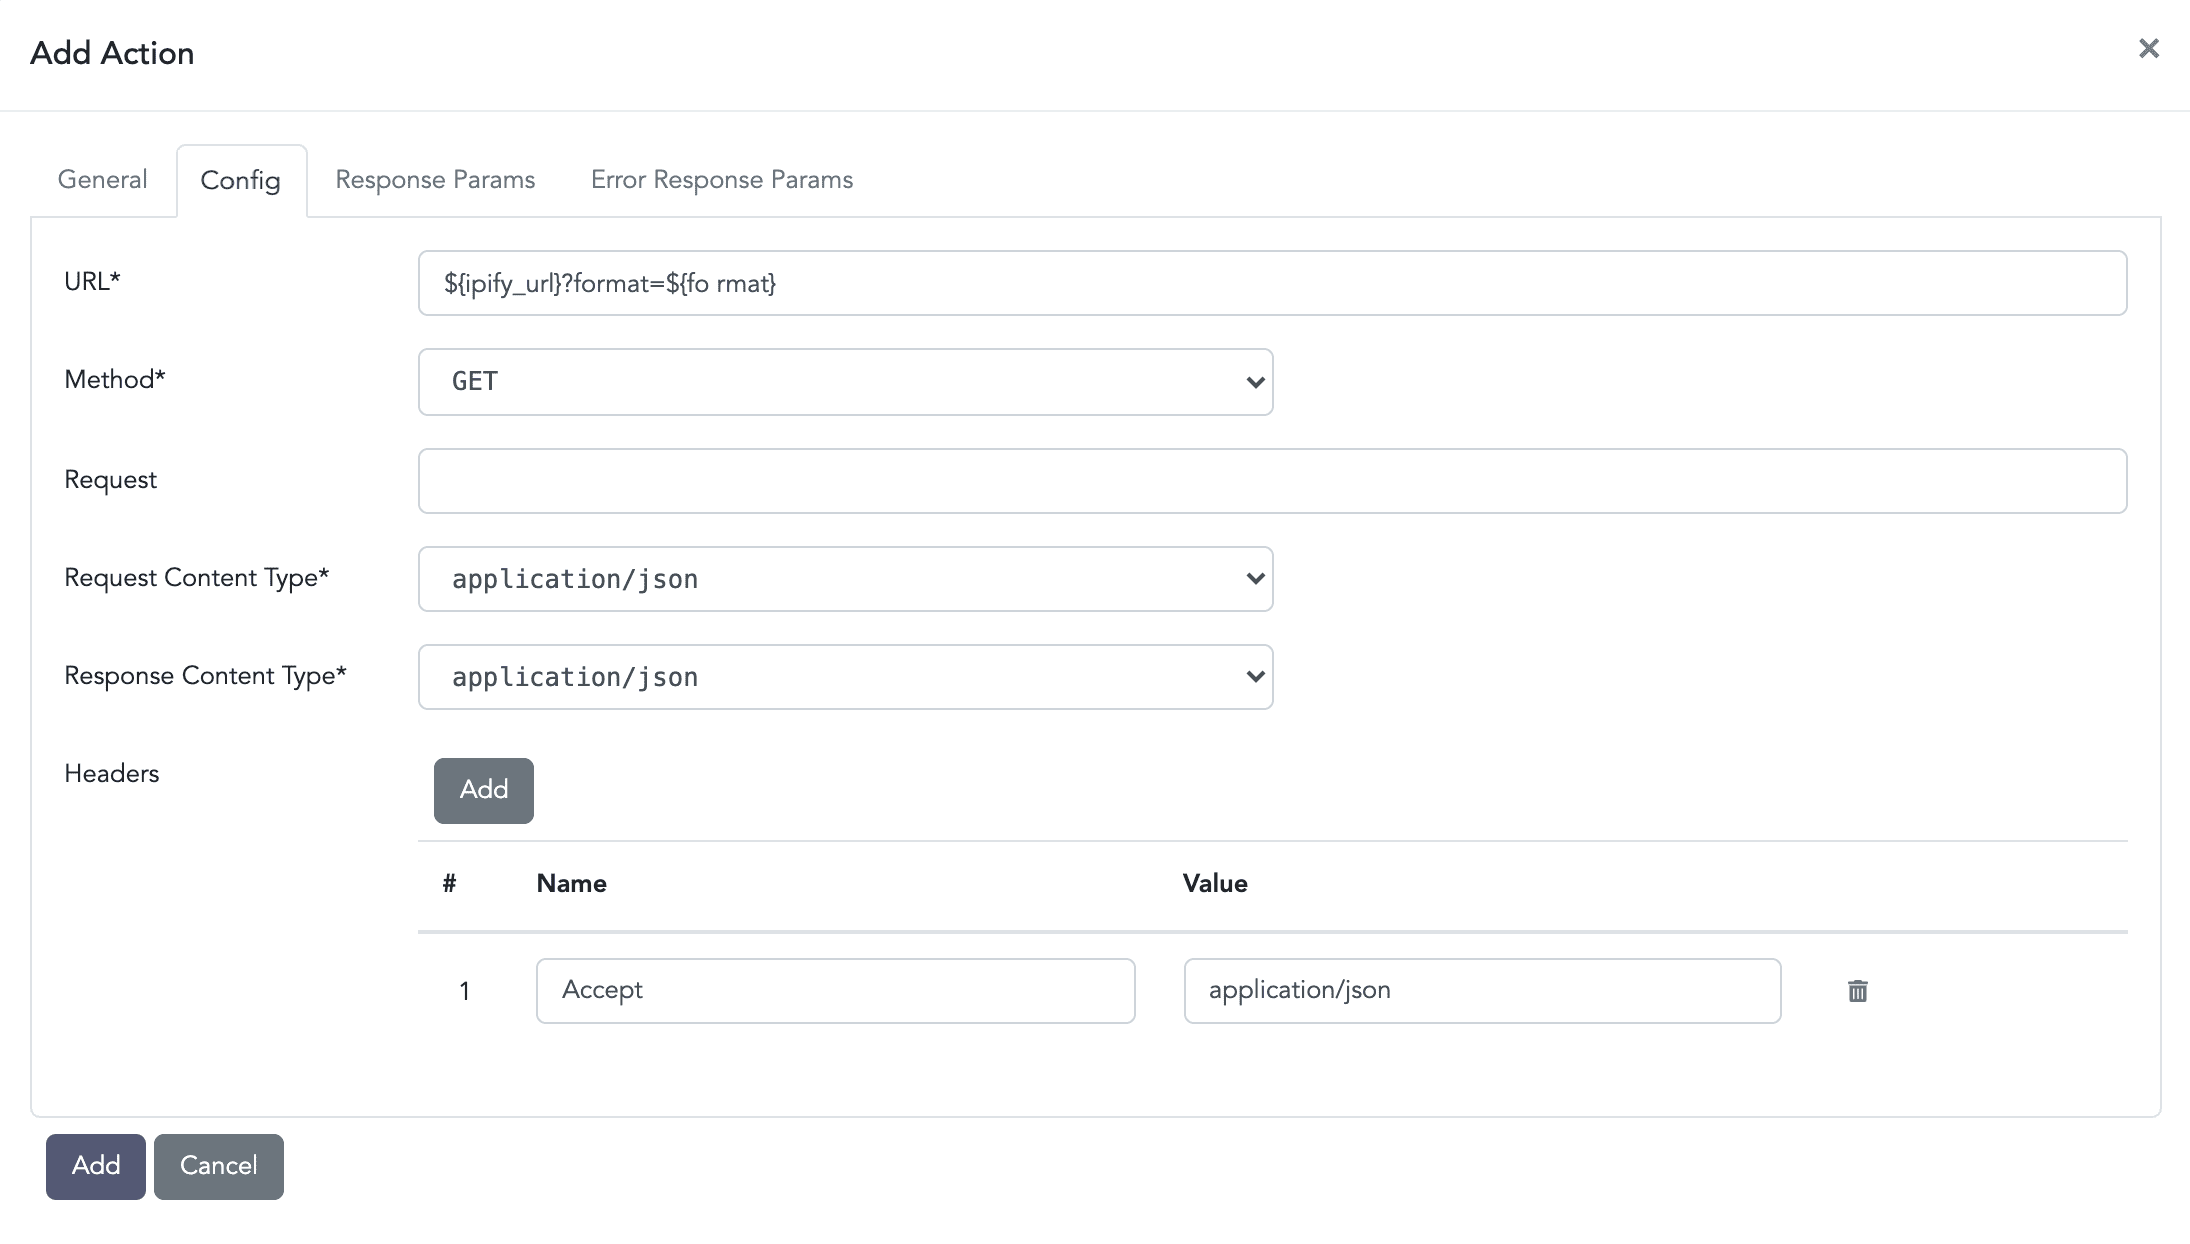
Adding a New Action-Config
In the Response Params section:
6.1. Click Add to add Params.
6.1.1. Enter the response parameter’s Name and Description.
6.1.2. Select a Type of the response parameter from the drop-down.
6.1.3. Select Required if the parameter is required.

Adding a New Action-Response Params
In the Error Response Params section:
7.1. Click Add to add Params
7.1.1. Enter the error response parameter’s Name and Description.
7.1.2. Select a Type of the response parameter from the drop-down.
7.1.3. Select Required if the parameter is required.
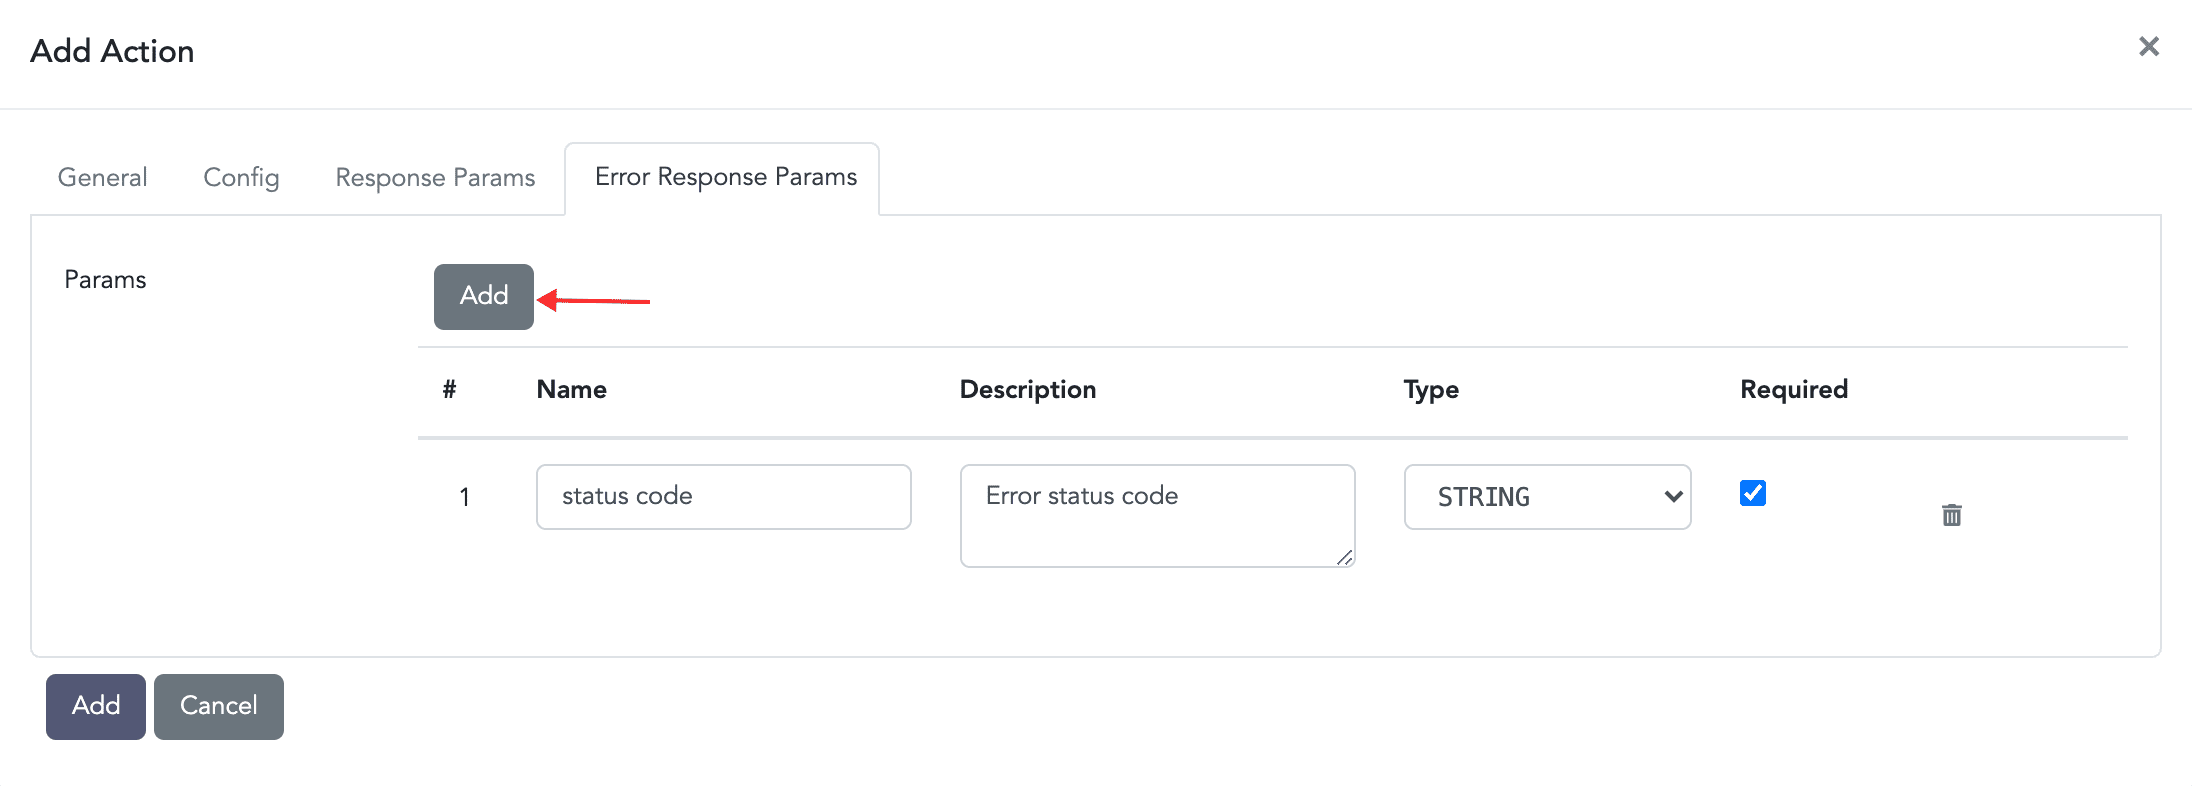
Adding a New Action-Error Response Params
Click Add.
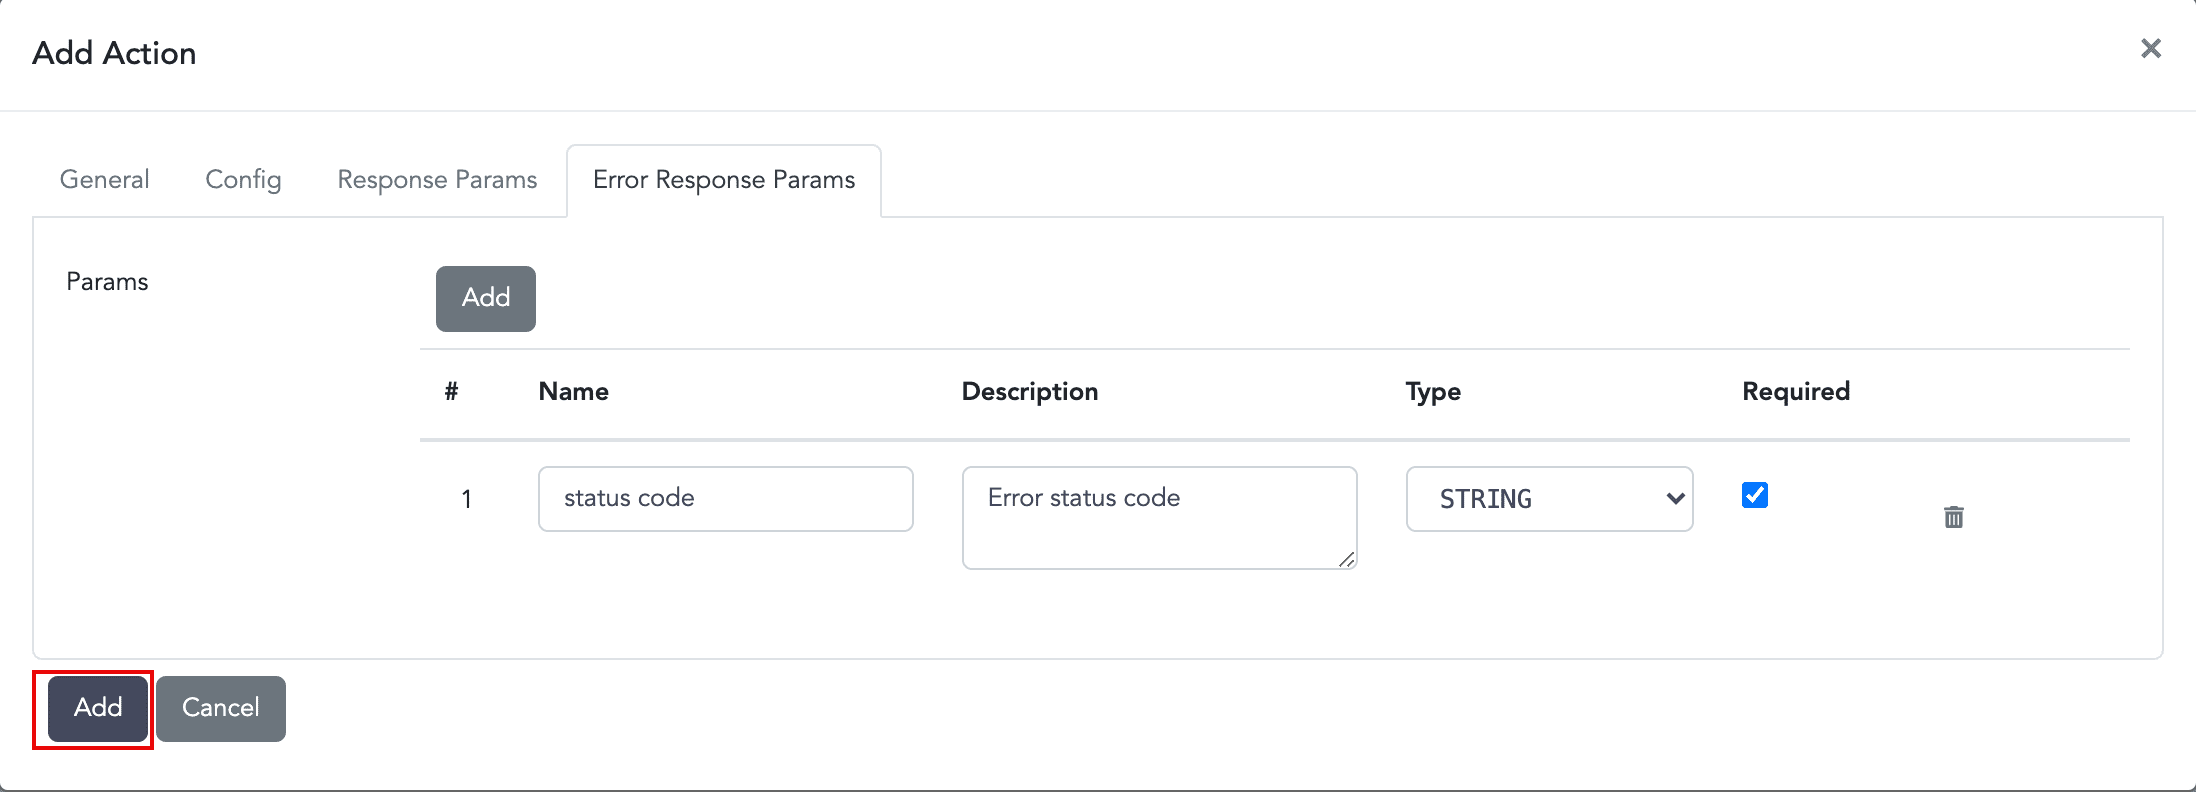
Adding a New Action
You can also Add the action by only adding the details under General and Config section.
Go to Settings >> SOAR Settings from the navigation bar and click Actions.
Select a Product.
Click the Edit icon.
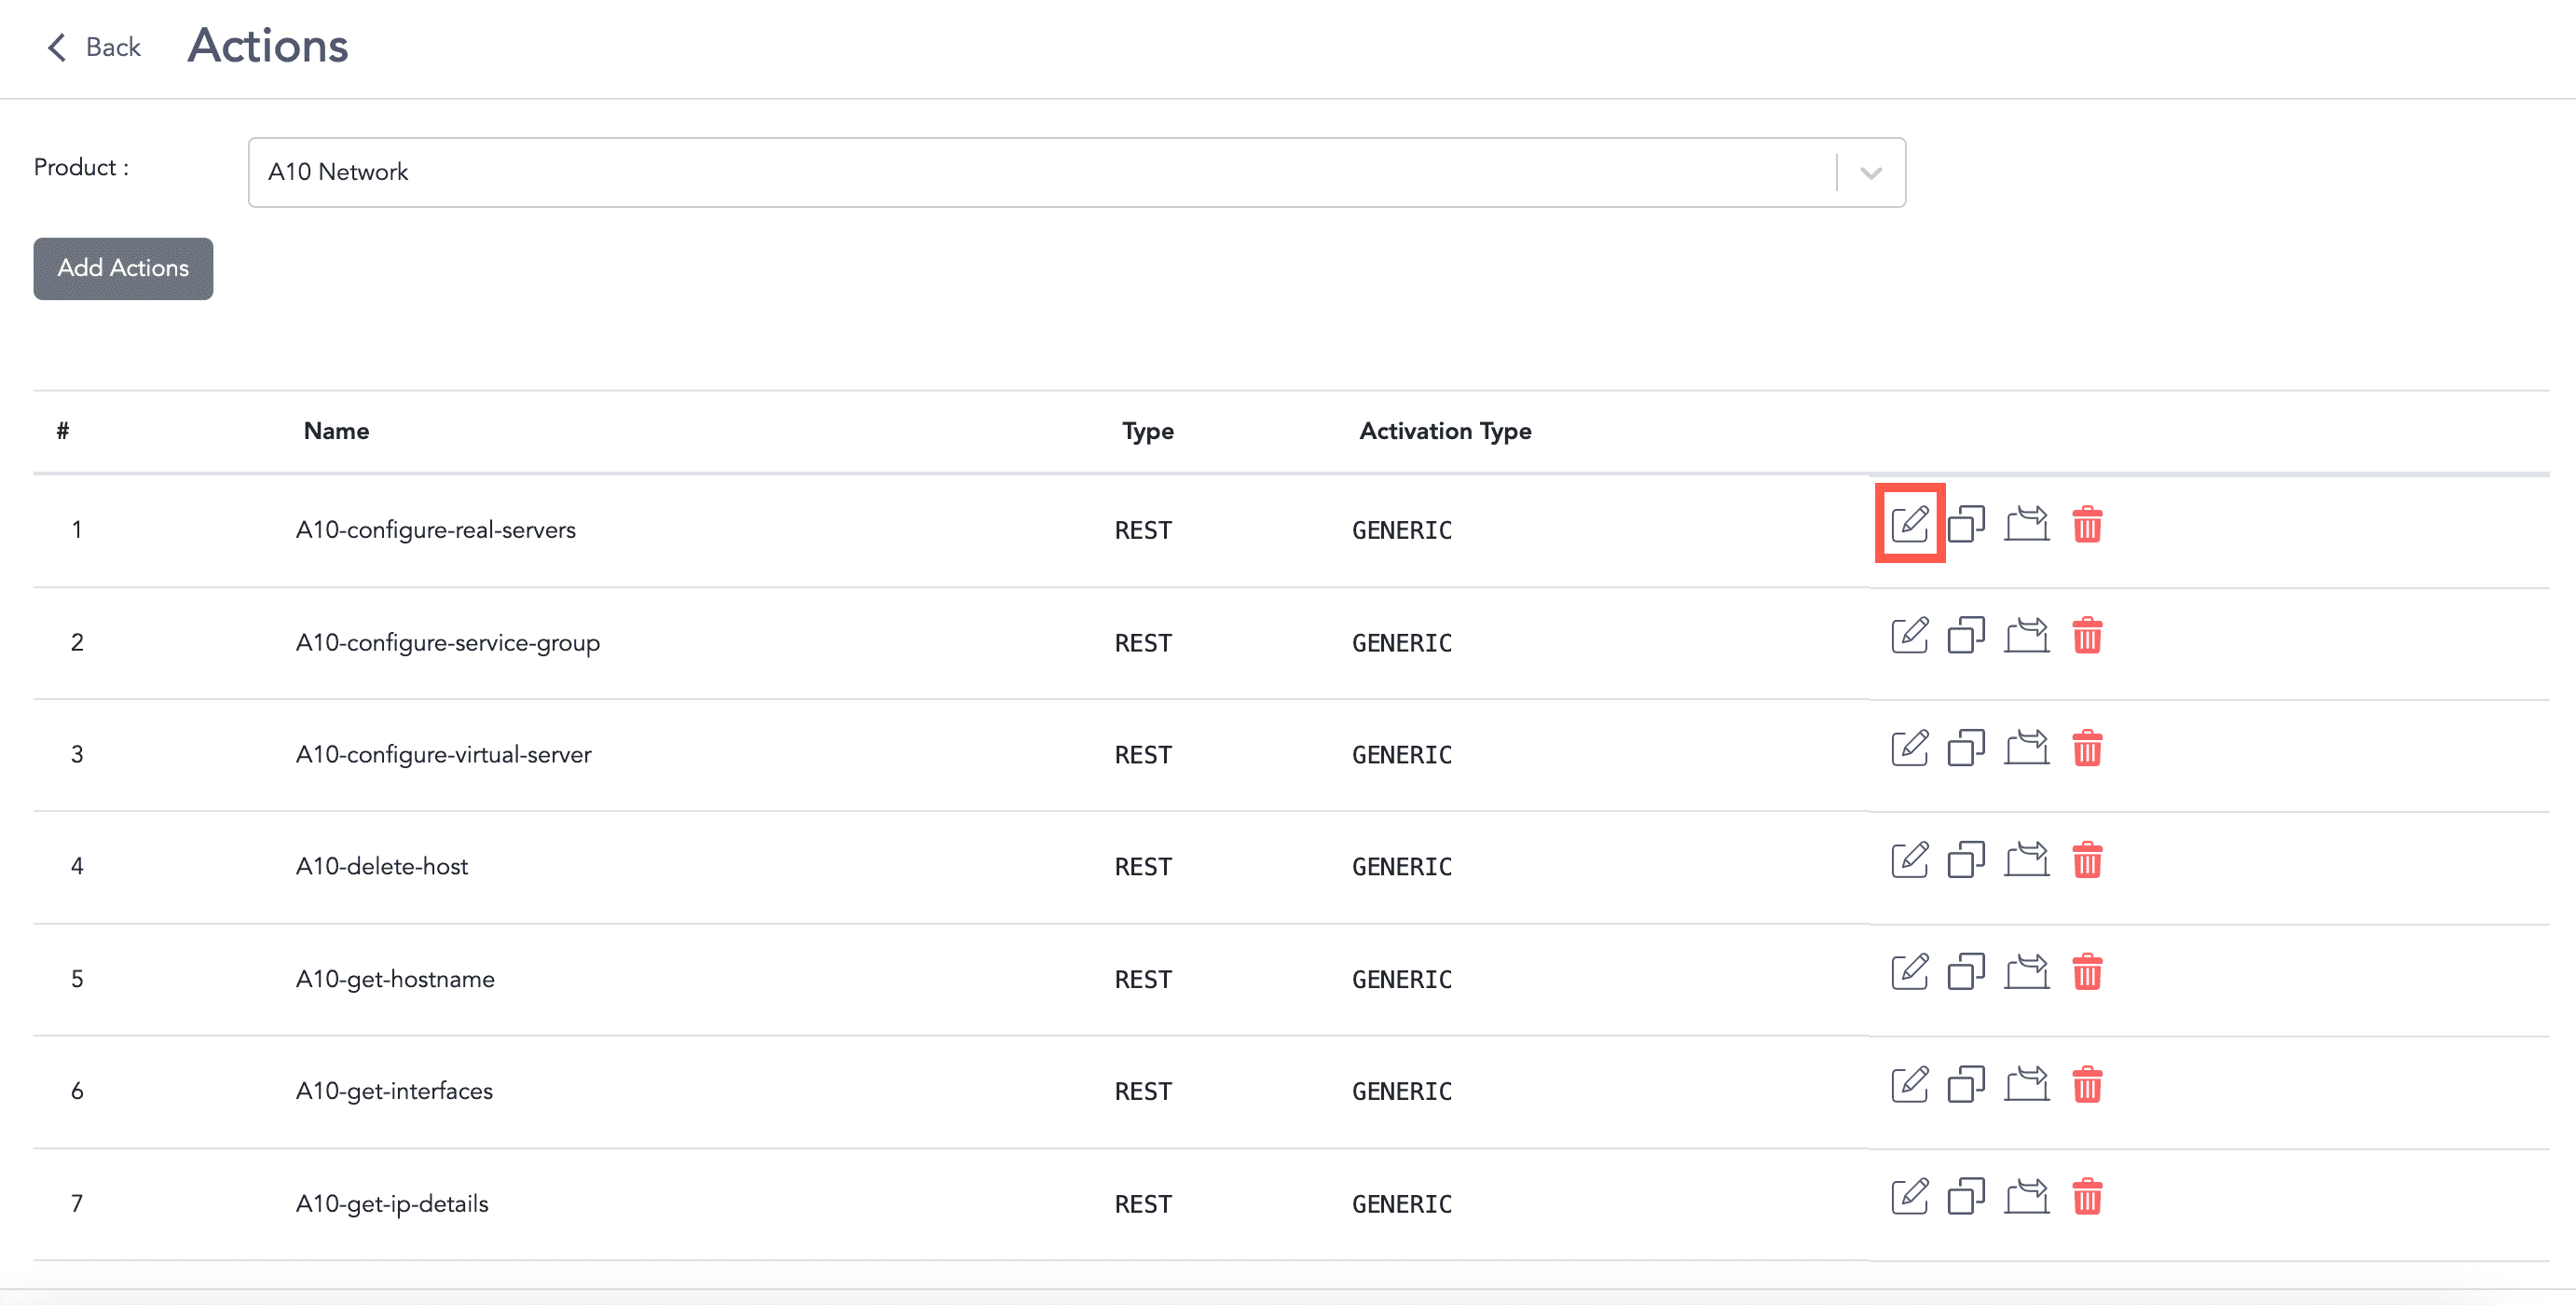
Editing an Action
Edit the information.
Click Update.
Go to Settings >> SOAR Settings from the navigation bar and click Actions.
Select a Product.
Click the Delete icon.
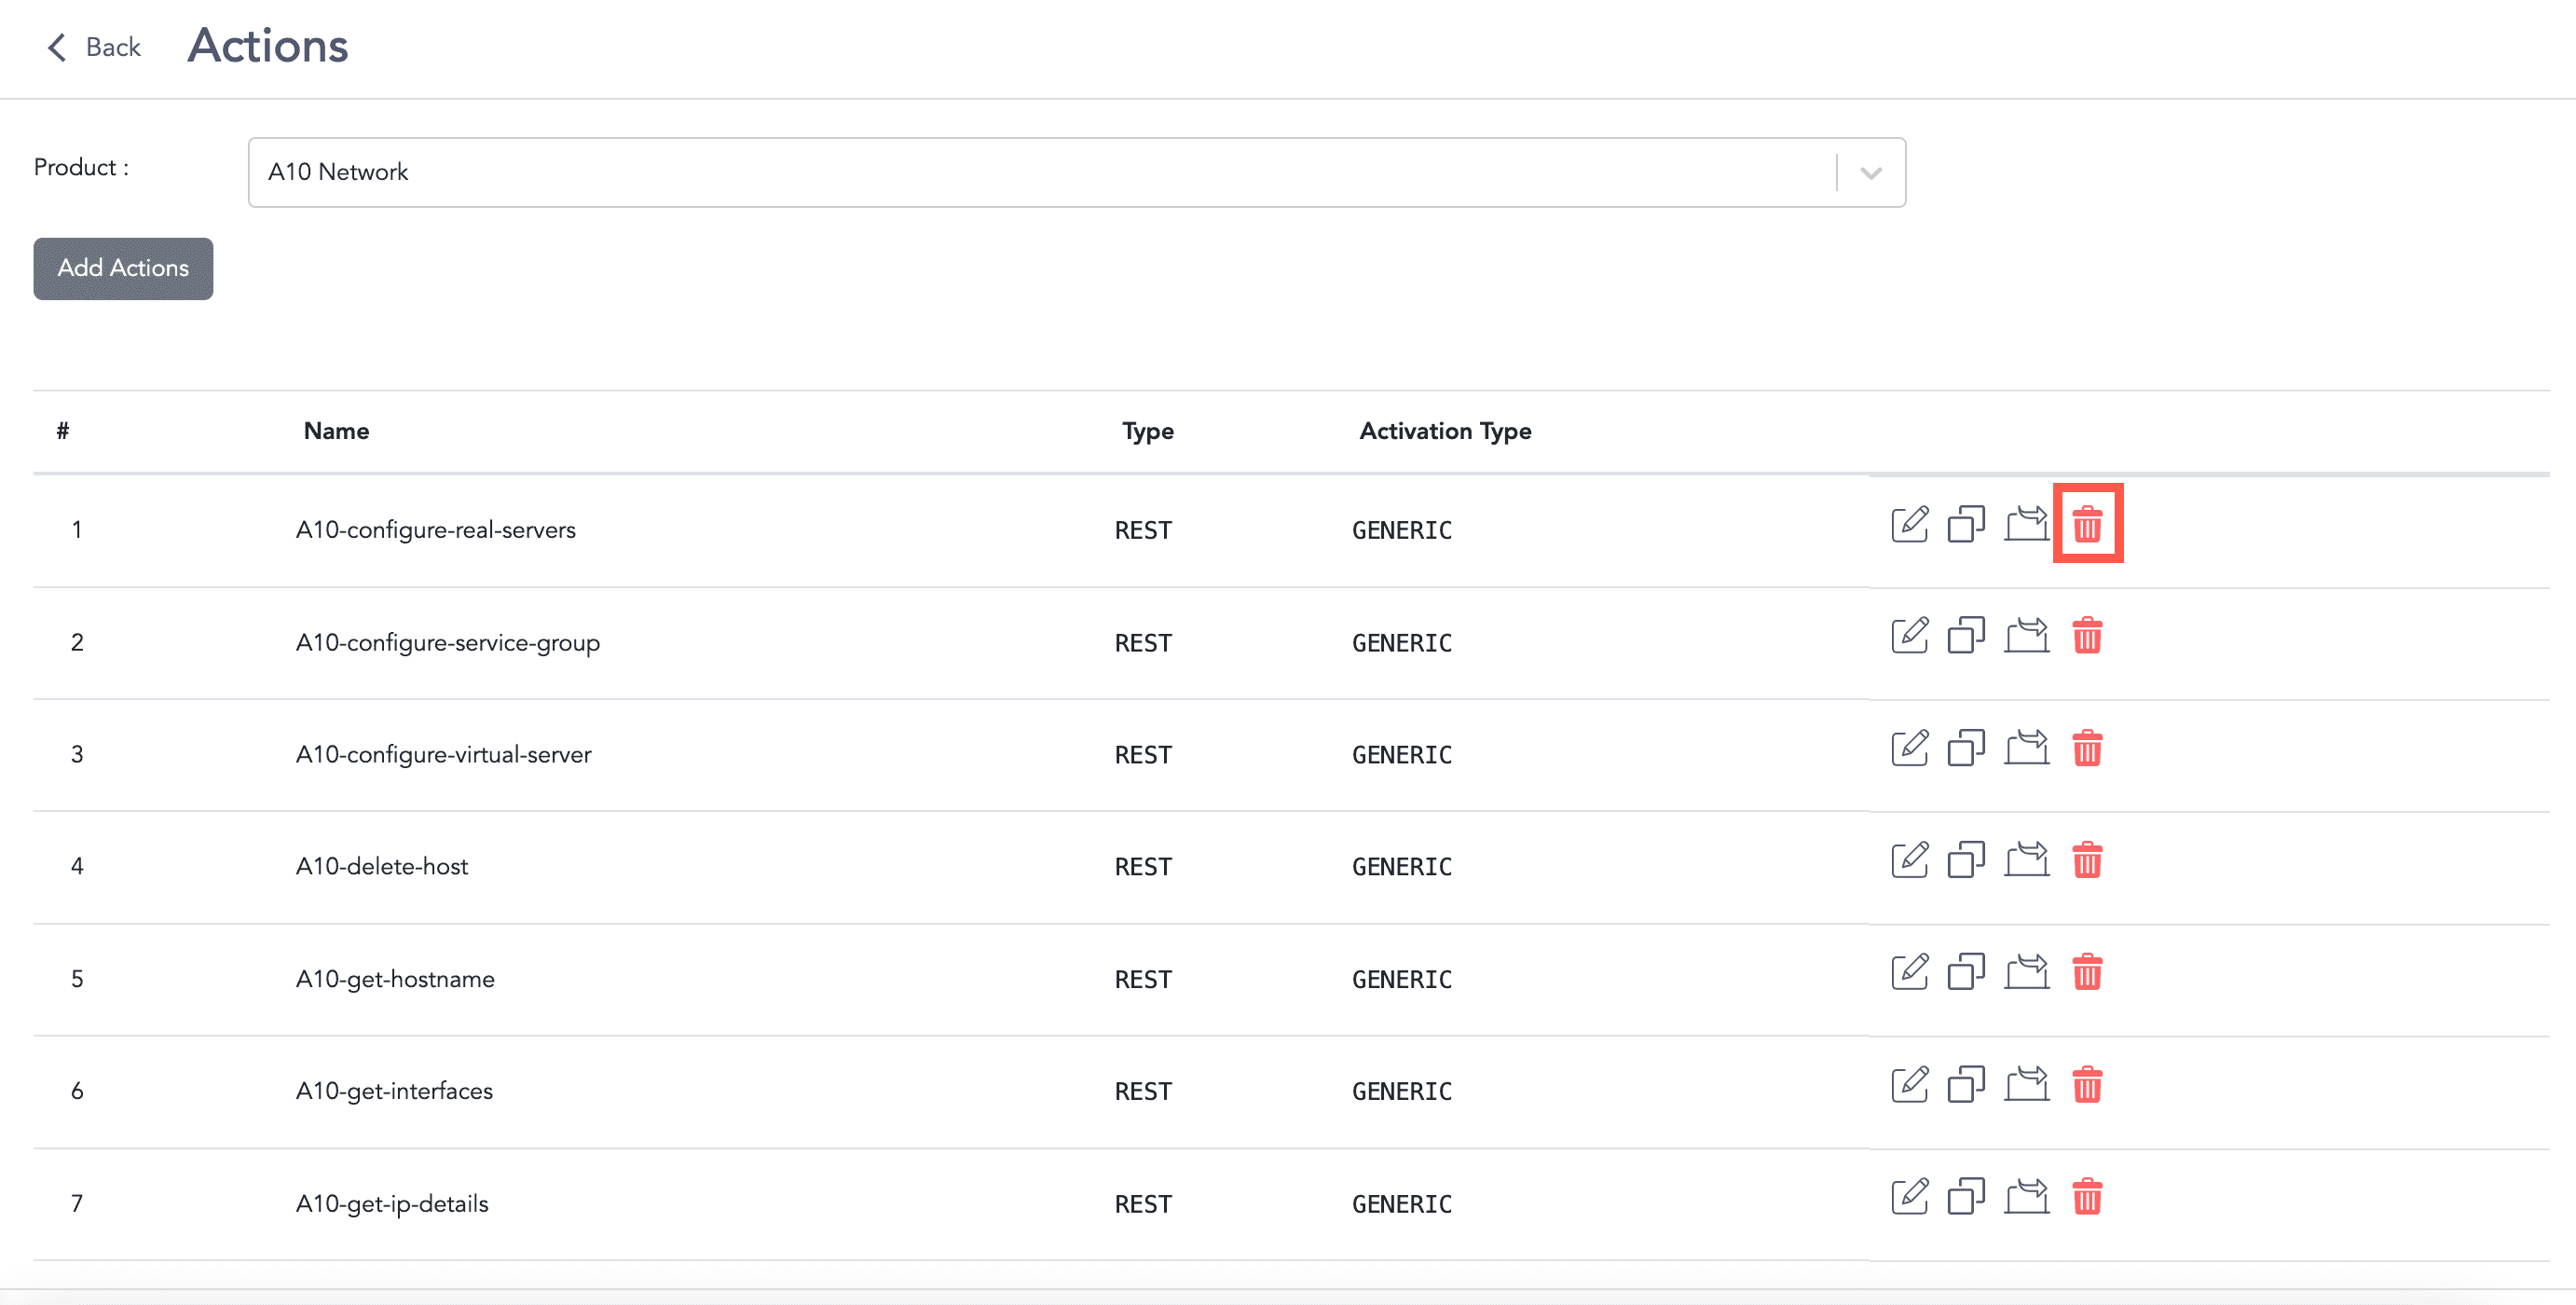
Deleting an Action
Click Delete.
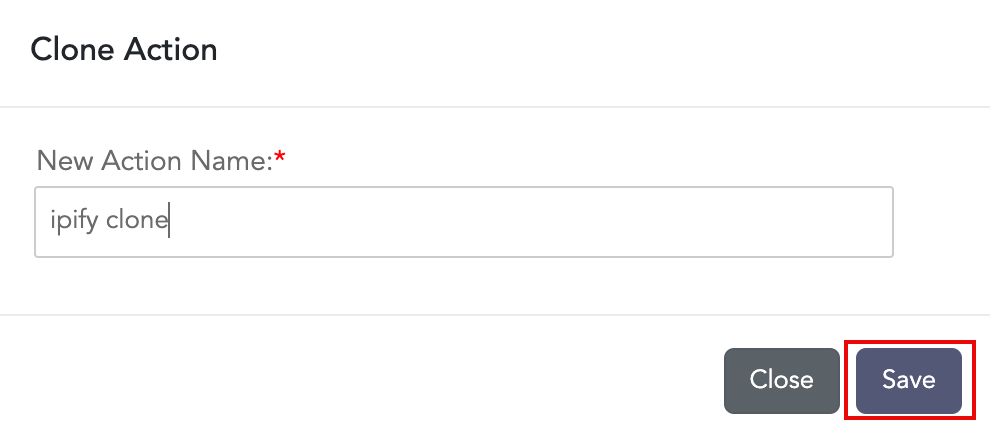
Go to Settings >> SOAR Settings from the navigation bar and click Actions.
Select a Product.
Click the ( ) icon. The exported data is then downloaded in the .zip file format.