User Configuration
Change User Password
An admin must change the default password after they log in for the first time.
The default password is as follows:
Username: admin
Password: changemeChanging a User's Password
Go to Settings >> User Accounts from the navigation bar and click Users.
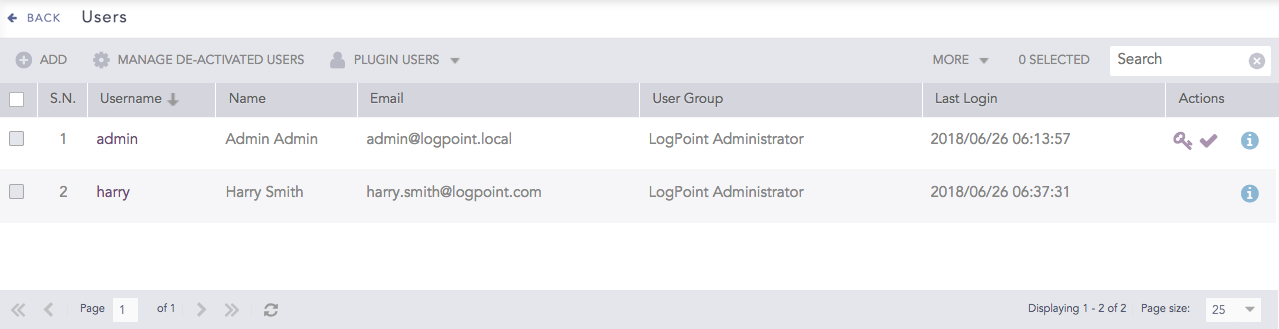
Click the Change Password icon in Actions.
Enter a New Password and re-enter it.
Click Submit.
User Preferences
User Preferences allows you to customize your Logpoint experience through account and interface settings. Manage your personal details, passwords, time zone preferences, and API access keys under Account settings. Configure your User Interface by adjusting pagination limits, enabling context-sensitive help and live searches, controlling notification positions, customizing search help options, selecting visible log fields, and applying Dark Mode to suit your workflow and preferences.
Viewing Personal Details
In the navigation bar, go to User >> My Preferences.

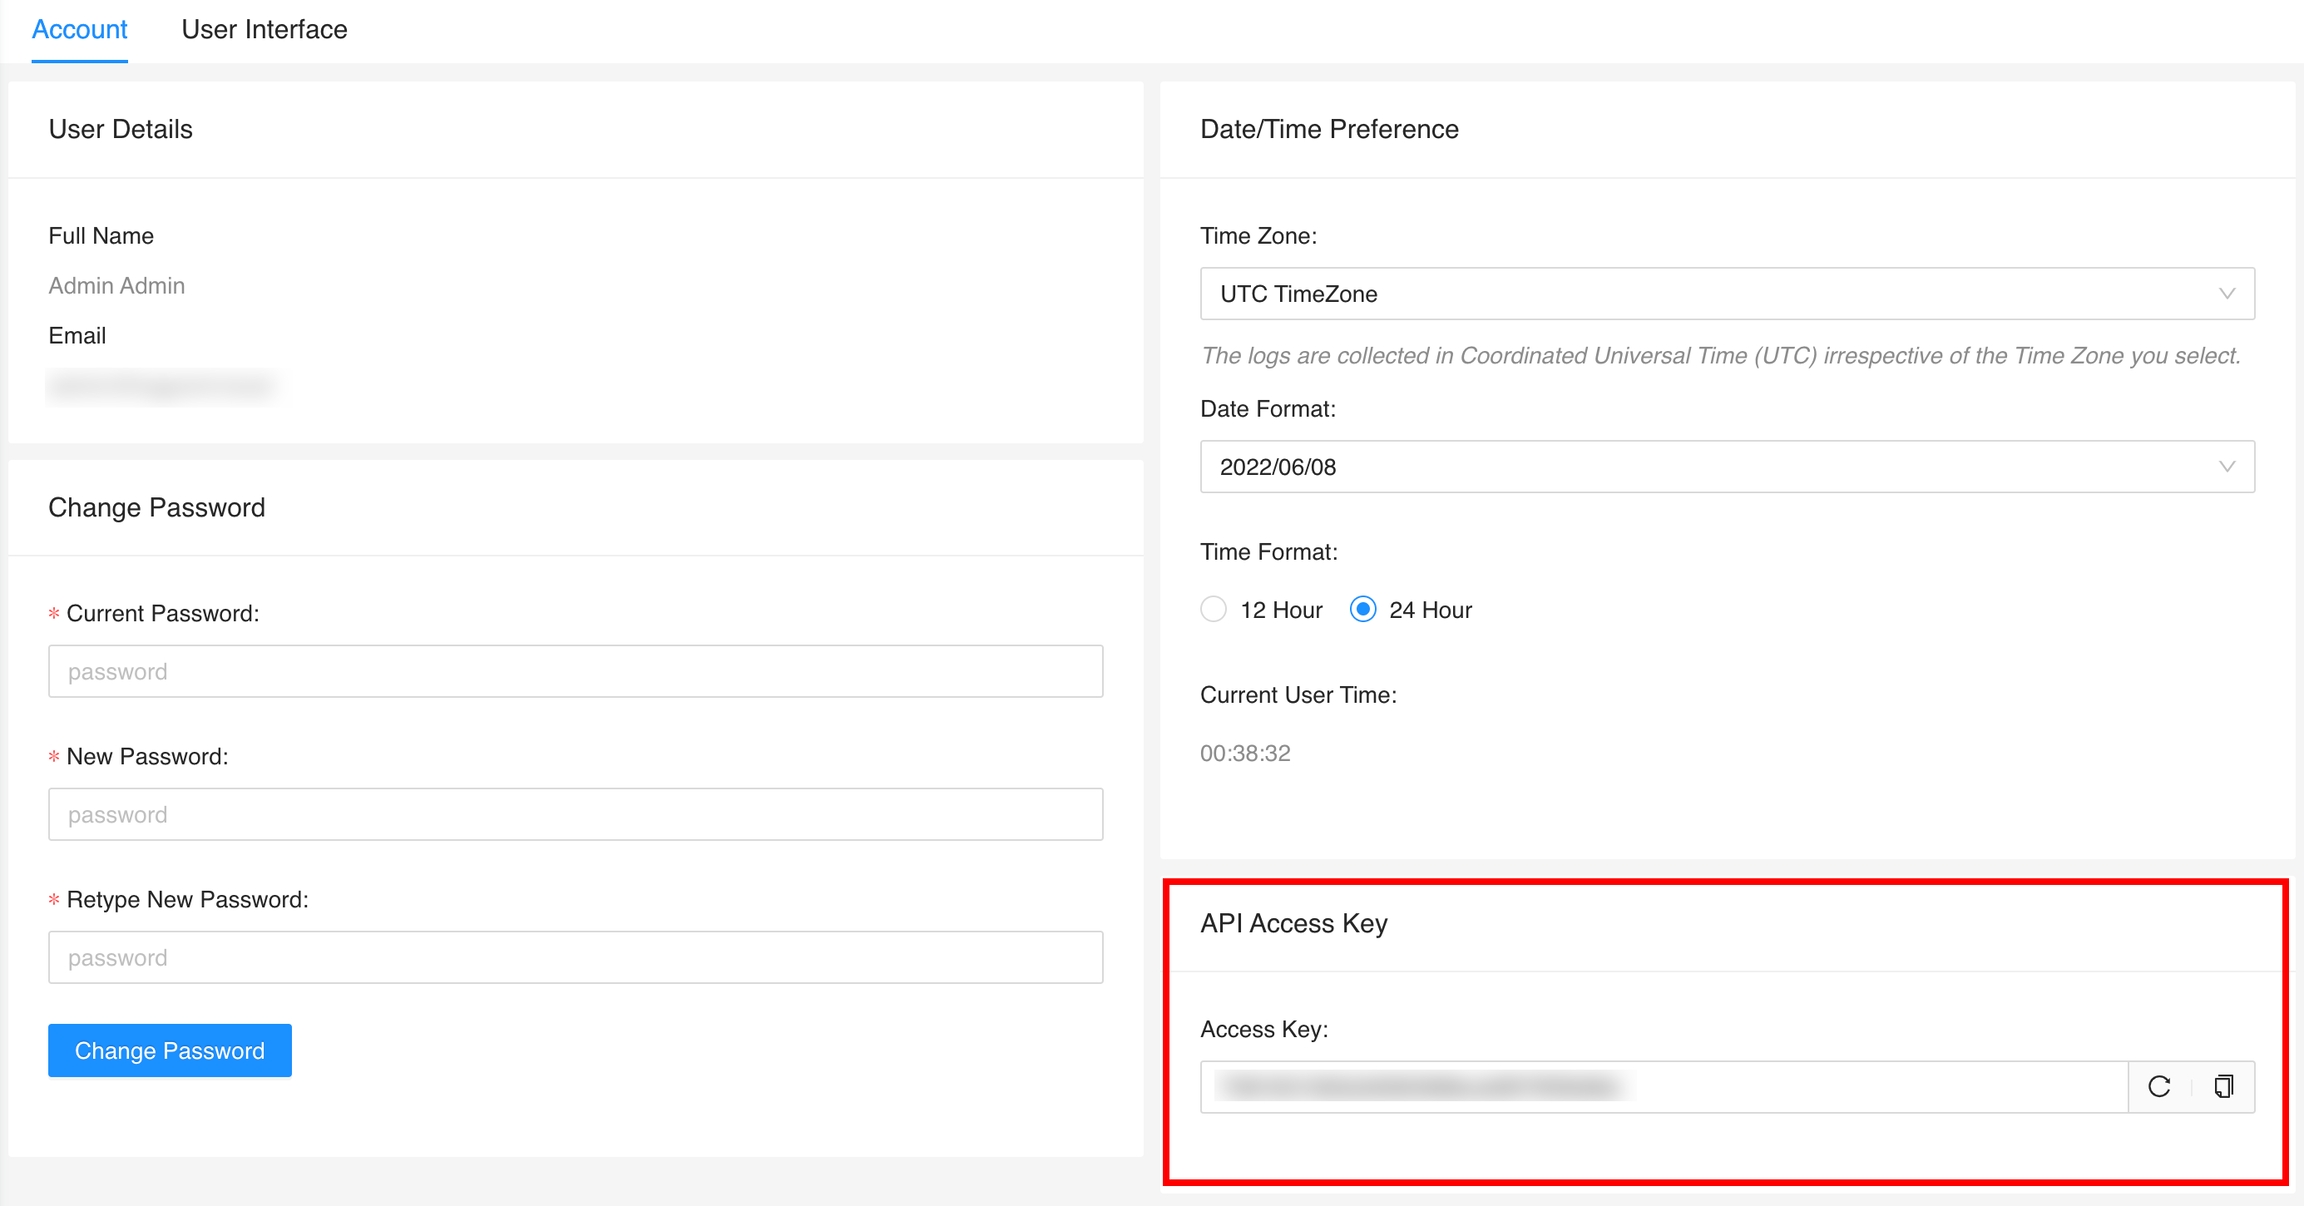
In Account >> User Details, view your username and password settings.
Changing Logpoint Password
If you are using a different authentication than Logpoint, password cannot be changed.
In the navigation bar, click My Preferences.
In Account >> Change Password, enter your current password.
Enter the New Password.
Click Change Password.
Date and Time Preferences
Users view logs according to their time zone. For example, a user in Denmark viewing logs collected in England will see the logs in the Danish time zone (UTC +1). The default timezone is UTC.
Logs are collected in UTC irrespective of the timezone you apply. The timezone changed from the UI is for the specific user in Logpoint and will not change the timezone of the Logpoint server.
Do not change the Logpoint server timezone from the CLI, as this impacts timestamp recording. Changing the server timezone can cause logs to be stored in the future or past, leading to delays or missing logs.
Changing Date/Time Preferences
In the navigation bar, click My Preferences.
In Account >> Date/Time Preference, select time zone, date format, and time format.
API Access Key
The API Access Key is a unique identification for each user. Use it to access the API endpoints Logpoint exposes. Copy your automatically generated key from your user preferences, or generate a new key.
Copying the API Access Key
In the navigation bar, click My Preferences.
Locate the API Access Key and click the Copy icon to copy it to the clipboard.
Generating a new API Access Key
In the navigation bar, click My Preferences.
Click the Refresh icon to generate a new key, then click the Copy icon to copy it to the clipboard.
Lists and Search Pagination
When you apply pagination, it controls all lists and results. You can't apply different limits.
Changing Pagination
In the navigation bar, click My Preferences.
Click User Interface.
In Page Size Configuration, enter or select the number of results to list.
Context Sensitive Help
You can turn off or on context sensitive help for all Logpoint UI entities, such as User Accounts, Configuration, Knowledge Base, and System Settings.
Live Searches
Turning on or off Live Searches
In the Navigation bar, click My Preferences.
Click User Interface.
In Dashboard Behaviour>> Pre Compute Dashboard Data, turn on or turn off.
Notifications Position
Notification position lets you choose where automatic alerts display on your screen. Pick a placement that fits your workflow and keeps notifications visible and easy to access.
Selecting Notifications Position
In the Navigation bar, click My Preferences.
Click User Interface.
In Growl Notification Position, select one of the following:
Top Left
Top Right
Bottom Left
Bottom Right
Search Help Preferences
In Search Help,
Use Search Help Pop-up to get search assistance as you type keywords.
Display or hide the histogram on the Search page.
Display or hide the Interesting Fields on the Search page.
Turning on or off Search Help Preferences
In the Navigation bar, click My Preferences.
Click User Interface.
In Search Help, turn on or turn off:
Display Search Help Pop-up
Hide Histogram in Search Page
Disable Interesting Fields in Search Page
Log Fields to Display in Search Results
You can choose which log fields appear in search results to control the level of detail displayed.
Selecting Search Log Fields
In the Navigation bar, click My Preferences.
Click User Interface.
In Search Log Fields, click:
Display All to display all log fields.
Display Minimum to only show
log_ts, device_ip, device_name, col_type, source_nameandrepo_name.Custom enter the fields to hide.
Dark Mode
Dark Mode switches the interface from the default light background to a dark theme.
Switching to Dark Mode
In the Navigation bar, click My Preferences.
Click User Interface.
In Enable Dark Mode, turn it on or turn it off.
Setup SSH Key Pair for li-admin
After installing Logpoint, access it through the command line using the li-admin username. To establish an SSH connection, the li-admin user requires an SSH key pair, which can be generated using either the Logpoint UI or the command line.
Once the SSH connection is established, authenticate to Logpoint using either a password or an SSH key pair.
For Windows Users: If you're using PuTTY on Windows, you must first convert the SSH key into a PuTTY-compatible format using PuTTYgen.
Setup SSH Key Pair from the UI
Login as an Admin user.
Go to Settings >> System Settings from the navigation bar and click System Settings.
Select SSH Key Pair for li-admin.
Enter a Passphrase.
Click Regenerate Key Pair.
Click the copy icon.
On your device, navigate to the ~/.ssh folder.
Change the permission of the private key file.
Use SSH to connect to Logpoint:
Enter the Passphrase to establish the SSH connection from the remote device.
Setup SSH Key Pair from the Command Line
Create an SSH pair in Logpoint.
Copy the public key to authorized keys.
Move the newly created private key to a remote machine. You can use SCP to do this.
Change the permission of the private key file.
Use SSH to connect to your Logpoint.
Lockout Policy
A lockout policy enhances security by temporarily restricting access to user accounts after multiple failed login attempts. It defines two key parameters: the maximum number of unsuccessful login attempts permitted and the duration for which the account remains locked. Administrators can monitor locked accounts through the user list, where locked users are clearly marked, and can manually unlock accounts when needed.
Adding a Lockout Policy
Go to Settings >> System Settings from the navigation bar and click System Settings.
In System Settings, click Lockout Policy.
Click Lockout Threshold and select or enter the number of unsuccessful attempts a user has. The default is 5 times.
In Lockout Duration (minutes) and select or enter how long a user is locked out. The default is 30 minutes.
Click Save Changes.
Unlocking Users
When users are locked out of Logpoint SIEM due to failed login attempts, they appear in the User List with a distinct icon next to their username. Only administrators can unlock these users, allowing them to restore access and enable locked users to log back into the system.
Unlocking Users
Go to Settings >> User Accounts from the navigation bar and click Users.
Find the users in the list who is locked.
Click the Unlock icon next to their name.
Click Submit.
Logout
Go to User >> Logout in the navigation bar to logout.

Last updated
Was this helpful?