Backup and Restore
Backup
Create backups of Logpoint configurations and/or log files. Backups are generated in the background, and are saved in the Backup Archive. While creating a backup of files, Logpoint stores the buffer of the logs in a separate file. Files cannot be restored if you rename the file containing the buffer. Configuration backups do not store the Logpoint License. You must separately add a new license before restoring a configuration backup to a new Logpoint.
The CSV files uploaded and used when creating a CSV Enrichment Source are not backed up. After restoring the configuration, you must re-upload the CSV files.
Creating Backups
There are two ways to create backups:
Save configuration files and generated reports to Logpoint. You can setup a scheduled backup in addition to an immediate backup of configuration files and reports.
Use Simple File Transfer Protocol (SFTP) client and an external device to create an external backup of your logs.
Use the put command to transfer the backup files to Logpoint.
Log file backups are stored in
/opt/immune/backup/repos/<folder_name>.Configurations are backed up in
/opt/immune/backup/configurations/zipped
The log backup files are named after the backup date. If any logs are delayed, they are backed up with an incremental value. For example, the backup for February 5, 2025, is saved as logs_2025-02-05.backup, while delayed logs for the same date are stored as logs_2025-02-05_1.backup. A snapshot is also created with the .snap extention.
Saving Configuration Files to Logpoint
Go to Settings >> System Settings from the navigation bar and click Backup and Restore.
Click Backup Settings.
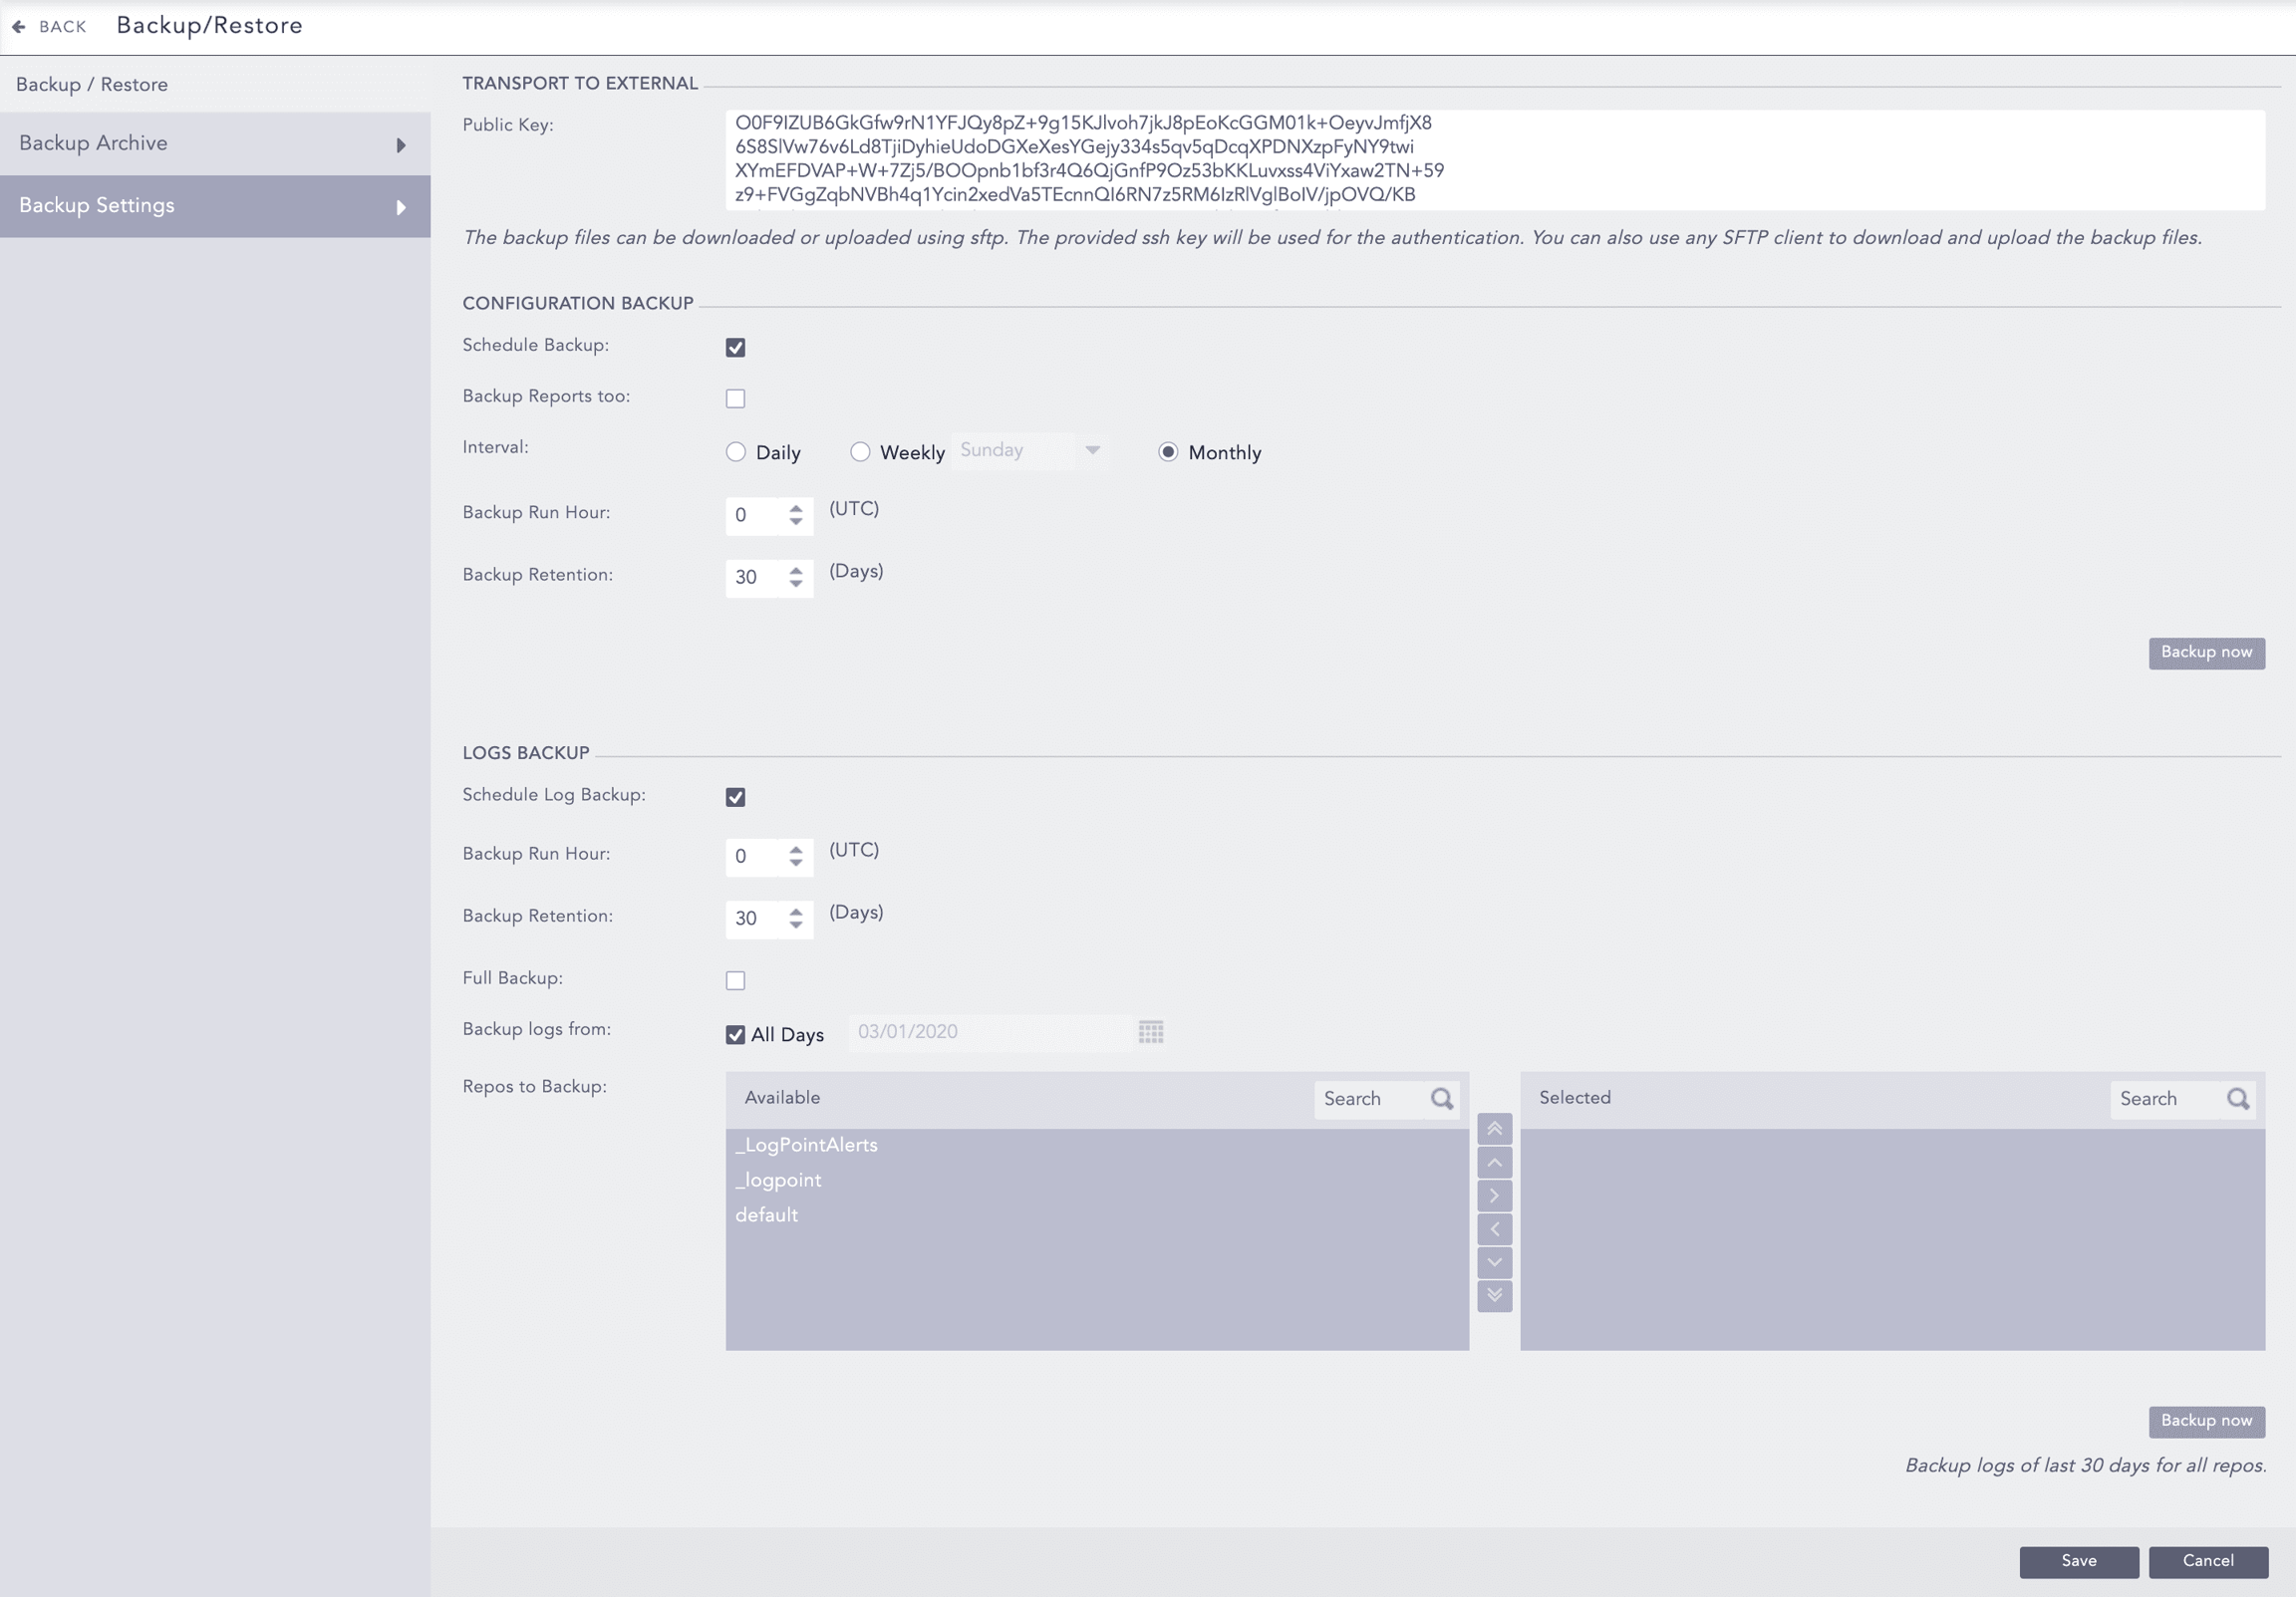
In CONFIGURATION BACKUP, click Schedule Backup to schedule the backup time and retention period.
Select Backup Reports too to backup generated reports.
In Interval, select how often to backup the report.
If you select weekly, select the day of the week to backup.
In Backup Run Hour, enter the time to run the backup. Use Coordinated Universal Time (UTC).
In Backup Retention period enter the number of days Logpoint stores the backup files.
Click Backup now to create a backup of all current configurations.
Saving Configuration Files to External Device
Prepare the external device
Generate a public SSH key on the device to transfer the backup files using
ssh-keygencommand.In Logpoint, go to Settings >> System Settings from the navigation bar and click Backup and Restore.
Click Backup Settings.
In TRANSPORT TO EXTERNAL, enter the public key of the device.
Configure log backups and transfer
In LOGS BACKUP:
Click Schedule Log Backup to schedule the time and retention period for the logs backup.
In Backup Run Hour, enter the time to run the backup in UTC.
Enter the Backup Retention period. It is the amount of time (in days) for which Logpoint stores the backups of the logs collected in the repos. It is independent of the retention period for repos.
Select Full Backup to back up logs from all repos for the past 7 days. To ensure optimal performance, we recommend performing a full backup only when Logpoint is receiving a lower volume of logs.
In Backup logs from, select All Days to backup all the logs stored in the repo from past 7 days or select a date to backup logs from that date.
In Repos to backup, select the repos to backup and click the forward icon.
Click Backup now to create a backup of the current logs and indexes from past 7 days.
In the external device, make an SFTP connection to the Logpoint instance or server as a
loginspectuser:
sftp loginspect@<IP address of Logpoint server>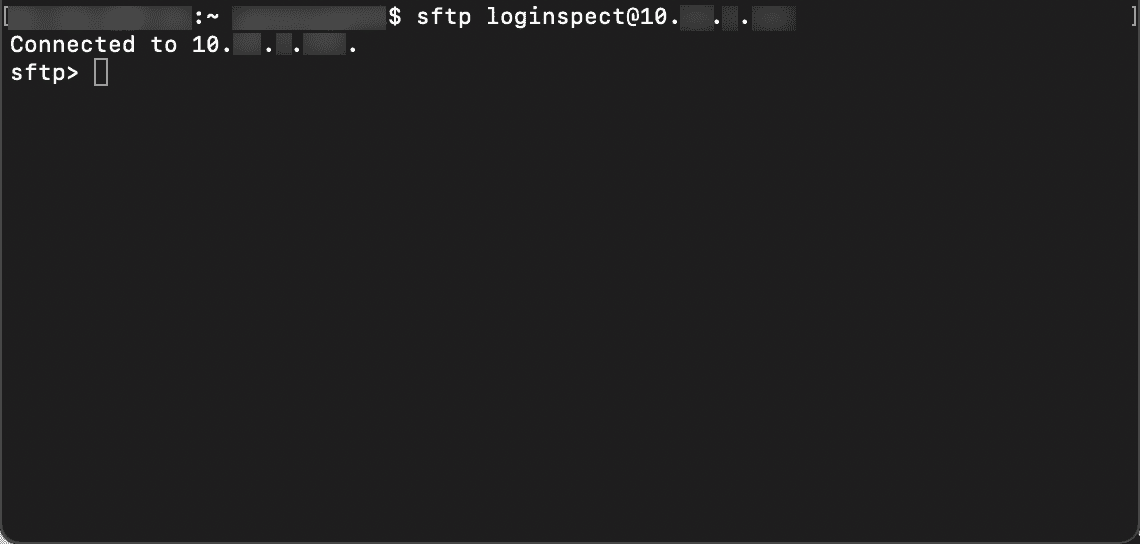
Verify the current folder in the local machine using the
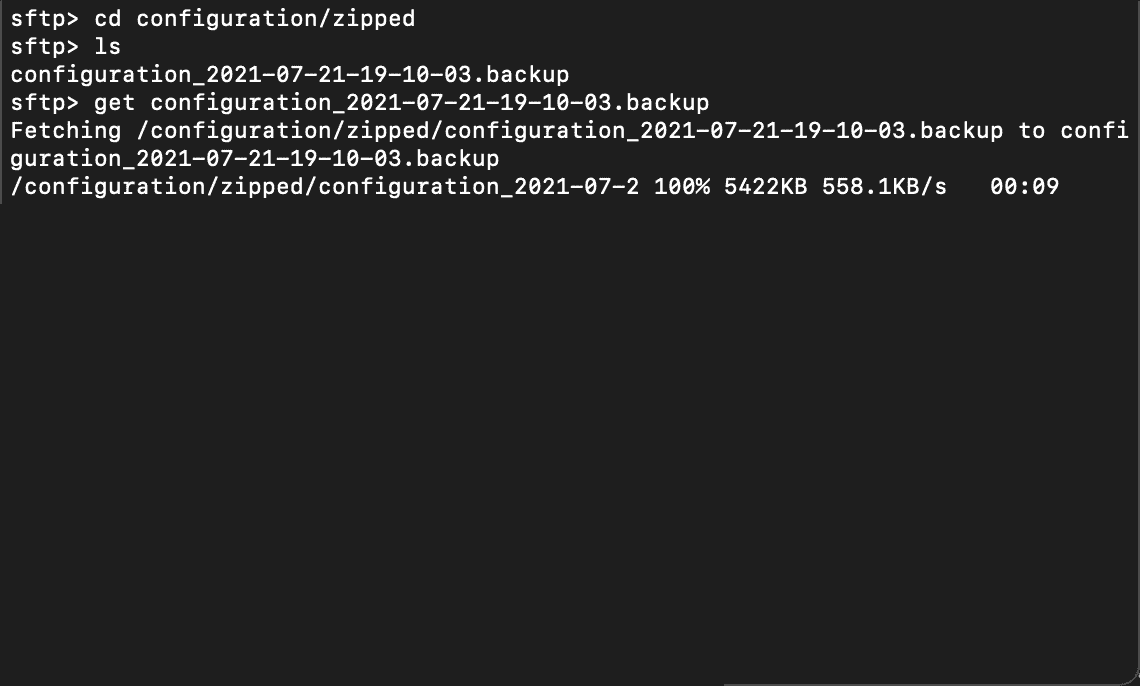
lpwdcommand. You can switch folders usinglcd.Use the
getSFTP command to download the backup files to the current folder:
cd configuration/zipped
get <backup file name>
When the backup is done, the command prompt displays:
Restore
You can restore backup files from Logpoint or an external device by using a public SSH key to access another Logpoint instance or server, and SFTP to transfer the backup files from:
/opt/immune/backup/repos/<folder_name>for log file backups/opt/immune/backup/configurations/zippedfor configuration file backups
The name of the repository must match the name of the directory where you are restoring or importing the backup. The Logpoint version to create a backup must be the same version when you restore a backup.
If you are using a Standalone or Distributed Logpoint you can't restore their backup files to a Fabric-enabled Logpoint. You also can't restore Fabric-enabled backup files to a Standalone or Distributed Logpoint.
When you restore log file backups they replace existing logs. You must restore backed up configuration files before restoring their log backups.
You can restore single backup files, or restore multiple backup files at the same time.
Restoring Backup Files
Go to Settings >> System Settings from the navigation bar and click Backup and Restore.
Click Backup Archive.
The list of backup files can be long. The default view lists all backups. To filter the list, use FILTER at the top left to select:
Log backups only
Configuration backups only
Checksum backups only
To backup:
a single backup file, find it in the list and select it. In the Actions column, click the arrow icon.
multiple backups, select them in the list. At the top right, click the MORE dropdown and click Restore Selected.
Click Yes to confirm file restoration.
Deleting Backup Files
Go to Settings >> System Settings from the navigation bar and click Backup and Restore.
Click Backup Archive.
The list of backup files can be long. The default view lists all backups. To filter the list, use FILTER at the top left to select:
Log backups only to backup the log files.
Configuration backups only to back up what you configured in Logpoint.
Checksum backups only to ensure data integrity and verify that logs and configurations are not altered and that there are no errors.
To delete:
a single backup file, find it in the list and select it. In the Actions column, click the delete icon.
multiple backups, select them in the list. At the top right, click the MORE dropdown and click Delete Selected.
all backups, select them all in the list from the top left. At the top right, click the MORE dropdown and click Delete All.
Click Yes to confirm file deletion.
Was this helpful?